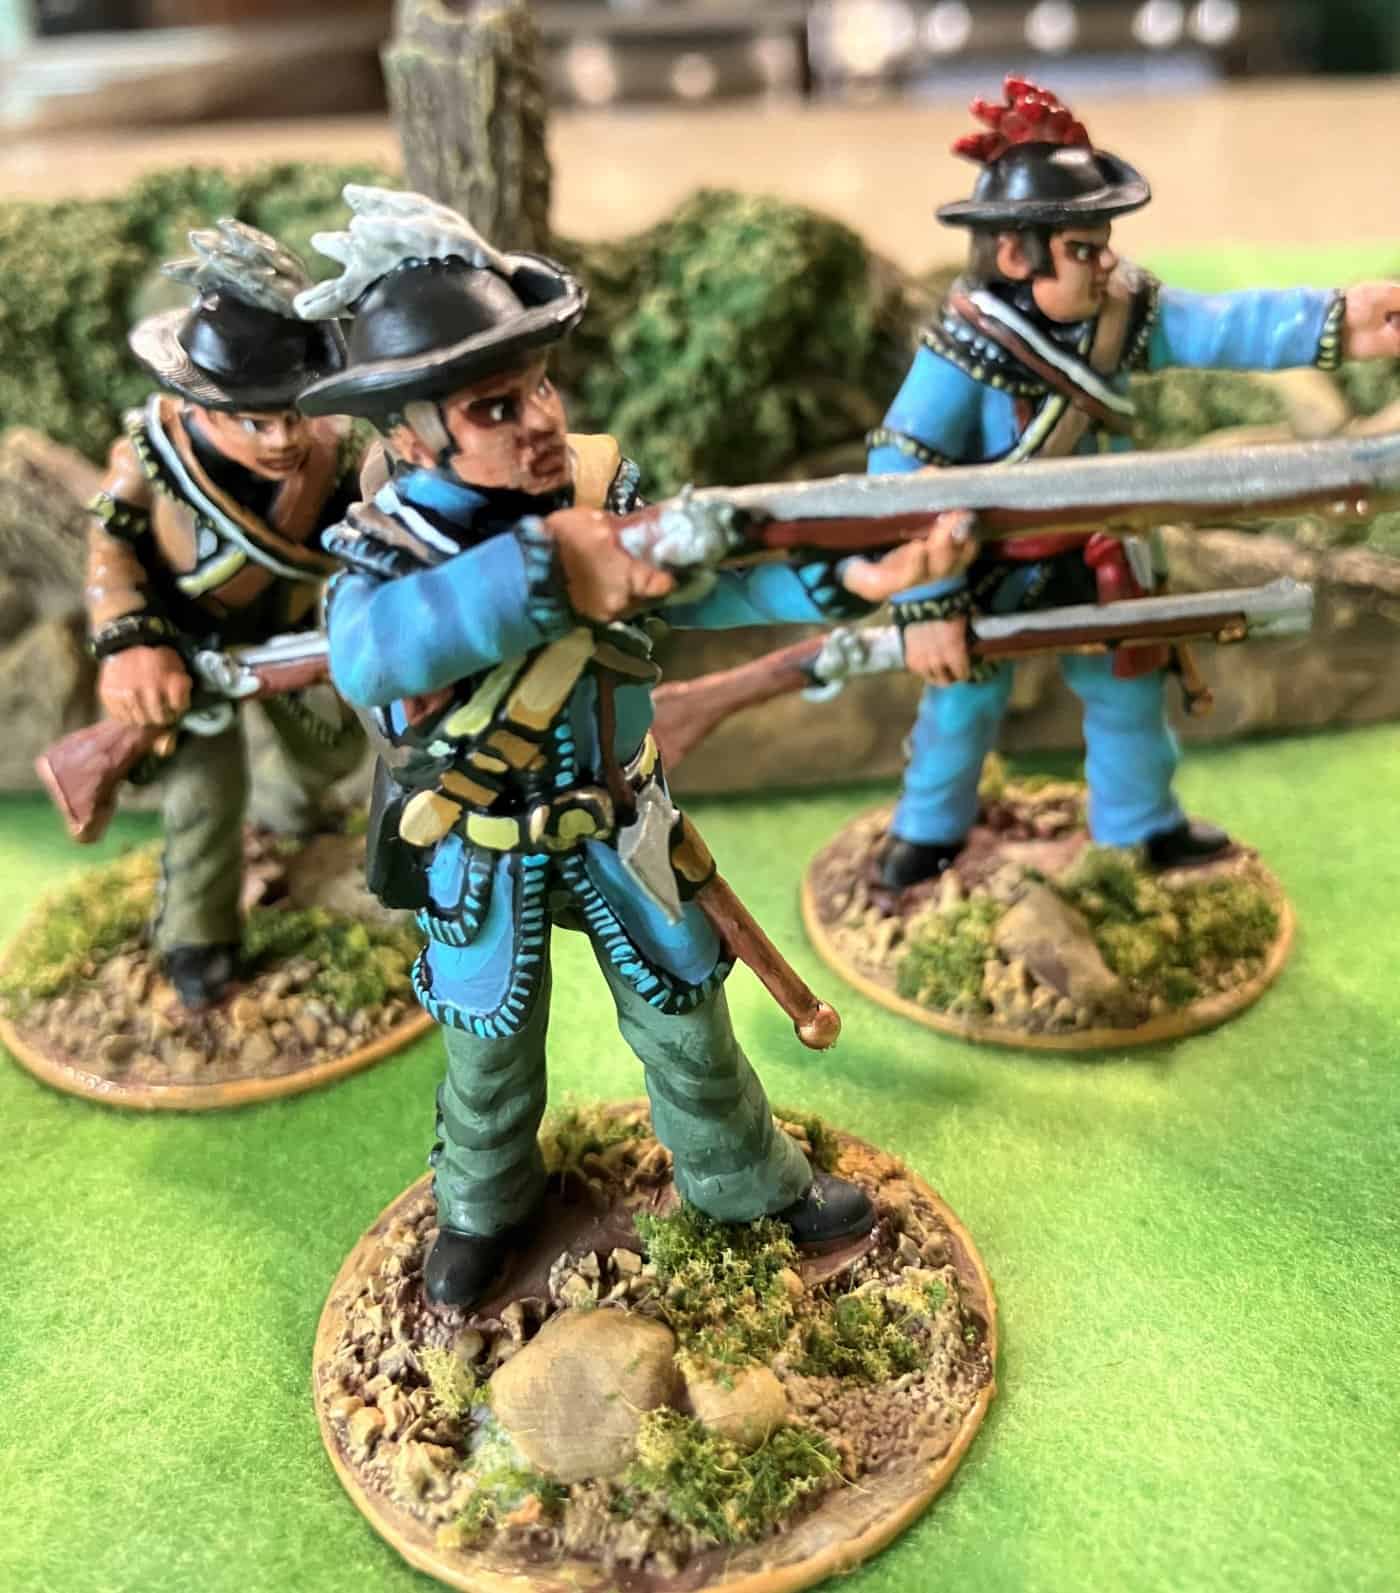
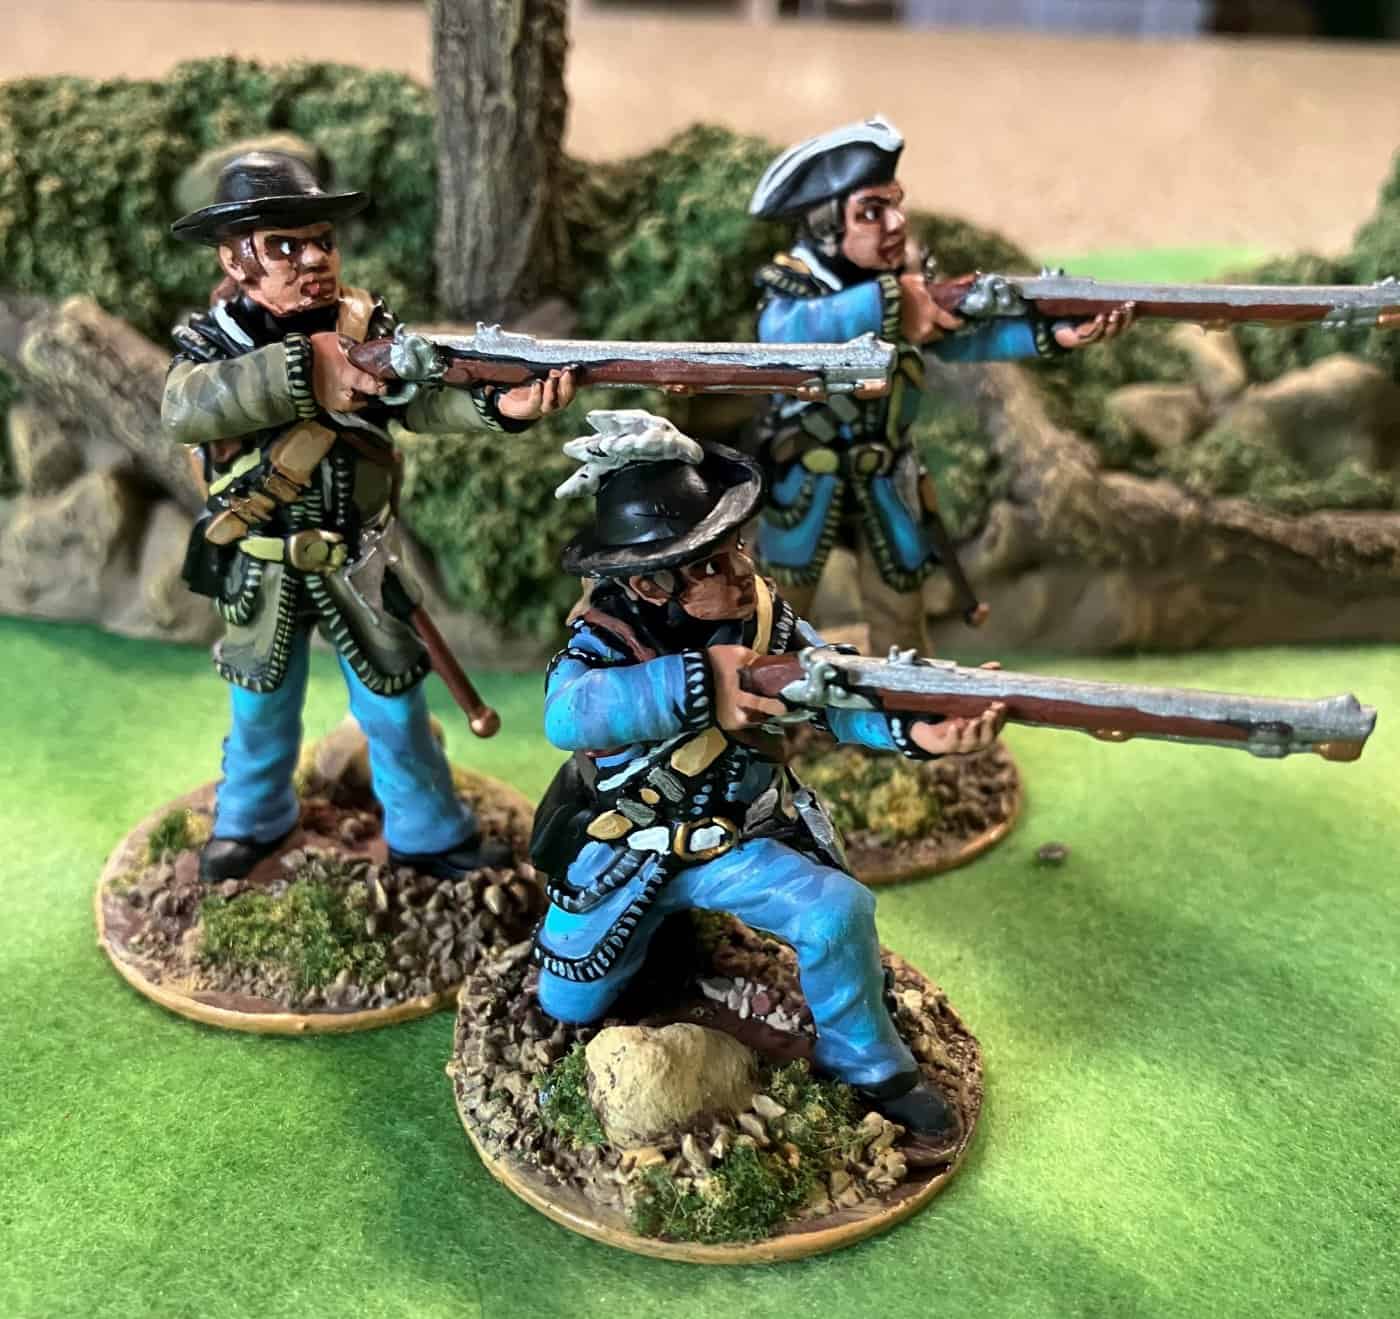
I have started page layout for the new version of Light Bobs. It will contain a lot of great “approved” re-enactor images and game examples using the BW drawings I showed in a previous post here >>>
I wanted to share a new game aid I have designed for the different markers used in the game and how they are placed on the table.
I hope you will comment here if you like it or not and if you can see any issues or have any suggestions to make it better.
Light Bobs Solo Campaign, Battle 2: The Crossroads
Our Story So Far
Our hero, then-Captain Smyth, in command of the fictitious 1st battalion/250th Regiment, and his faithful Lieutenant Royce shipped out of Boston—the starting zone on the campaign map—and headed south toward New York. They performed so well that a unit of Loyalist Militia joined them, adding another 60 men to their ranks.
The Loyalists have now been uniformed in green and been given some rudimentary training. They are still considered milita but their Training Level has raised been raised from D to C. The 250th Regiment (fictitious) then joined the British army while they reformed in Nova Scotia during 1776.
This is the second battle in Lt. Colonel Smyth’s solo campaign. Readers who missed the beginning can first read Part 1: The Ambush.
British Objective: Occupy and hold the hill overlooking the crossroads until Clinton’s flanking force arrives. British Entry: North table edge, entering by the road. Colonial Deployment: Two Units begin on the hill. Colonial Reinforcements: Two Units arrive on Turn 3 and the final Unit on Turn 4 by the southern road. Special Circumstance: Smyth advanced without sending scouts ahead.
If you recall Captain Smyth was promoted after his last battle to Lt. Colonel, Military Rank 4 (MR4) in Light Bobs terms. This raised the strength of his Regiment to 400 men plus the 60 Loyalists that joined him. Lt. Colonel Smyth and his Regiment have now sailed to Long Island NY and are preparing to engage the Rebels with their German Allies in what will later be known as The Battle of Long Island.
The Mission
Lt. Colonel Smyth has been given orders to march through a small possibly unguarded pass a little east of Bedford onto the Jamaica Road. He is to march to west to the first crossroad and occupy the hill nearby and hold it and the crossroad until General Clinton’s flanking force arrives to relieve him.
British OOB
As this is a failry long post with more details on the rule mechanics during the game I have created it as a full page on the website.
Captain Smyth’s first march south nearly ended before it began. Outnumbered and caught in an ambush, his battalion would have to hold until reinforcements arrived.
For over a year, I have been researching how other online wargamers utilize the board game Chutes and Ladders as a solo or multiplayer campaign engine. I’ll share more on that journey in a future post.
Over this past July 4th weekend, I found myself with no work and no plans, so I decided to finally break out my campaign materials and spend the time working through the mechanics and fighting some battles.
First, I had to finish my prototype map. I had found several examples online from other gamers and, while I borrowed a few of their ideas, I ultimately customized my own to better suit the specific needs of a solo game of Light Bobs.
Light Bobs Solo Wargame campaign map
I want to digress for a moment to point out something I really noticed during these games. The combination of playing cards, Leader Skills, and randomized First Move Determination makes Light Bobs particularly well suited to solo play. I frequently found myself reacting to situations I had not planned or expected.
Over the weekend, I played two solo battles, both of which were quite close. I will report on the first engagement, which took place in the Mid-Atlantic states. As each theater of the war corresponds to specific army lists, the campaign follows a logical progression: Boston, the Mid-Atlantic states, Saratoga, the South and finally the Mid-Atlantic again.
Our hero, Captain Smyth, in command of the fictitious 1st battalion/250th Regiment, and his faithful Lieutenant Royce shipped out of Boston—the starting zone—and headed south toward New York. They rolled a 1 on the Battle Board, which sent them much further ahead than expected. We cannot disclose where Smyth’s battalion was put ashore, as that remains a secret; however, once they landed, they began their march south. They performed so well that a unit of Tory Militia joined them, adding another 60 men to their ranks.
Almost immediately, Captain Smyth entered a Battle Box and encountered an ambush. For my scenario battles, I borrowed lightly from the excellent rules by Neal Thomas titled “One Hour Wargames.” Captain Smyth was significantly outnumbered, facing a battalion led by a Military Rank 4 leader with 400 men under his command. Smyth, with a Military Rank of 3, had only 300 regulars and 60 Tory Militia. While it looked like a fair fight on paper, it was anything but—as I said, it was an ambush.
Unaware of the impending conflict, Captain Smyth had bivouacked in a secure position but left artillery and some German Jägers to guard the pass. The engagement began at dawn when the two Units were roused by sudden rifle fire from their front.
Although Lieutenant Royce immediately called for reinforcements, he knew they wouldn’t arrive for at least three turns. As the morning sun rose, he watched as six Colonial units began their slow, deliberate march onto the table.
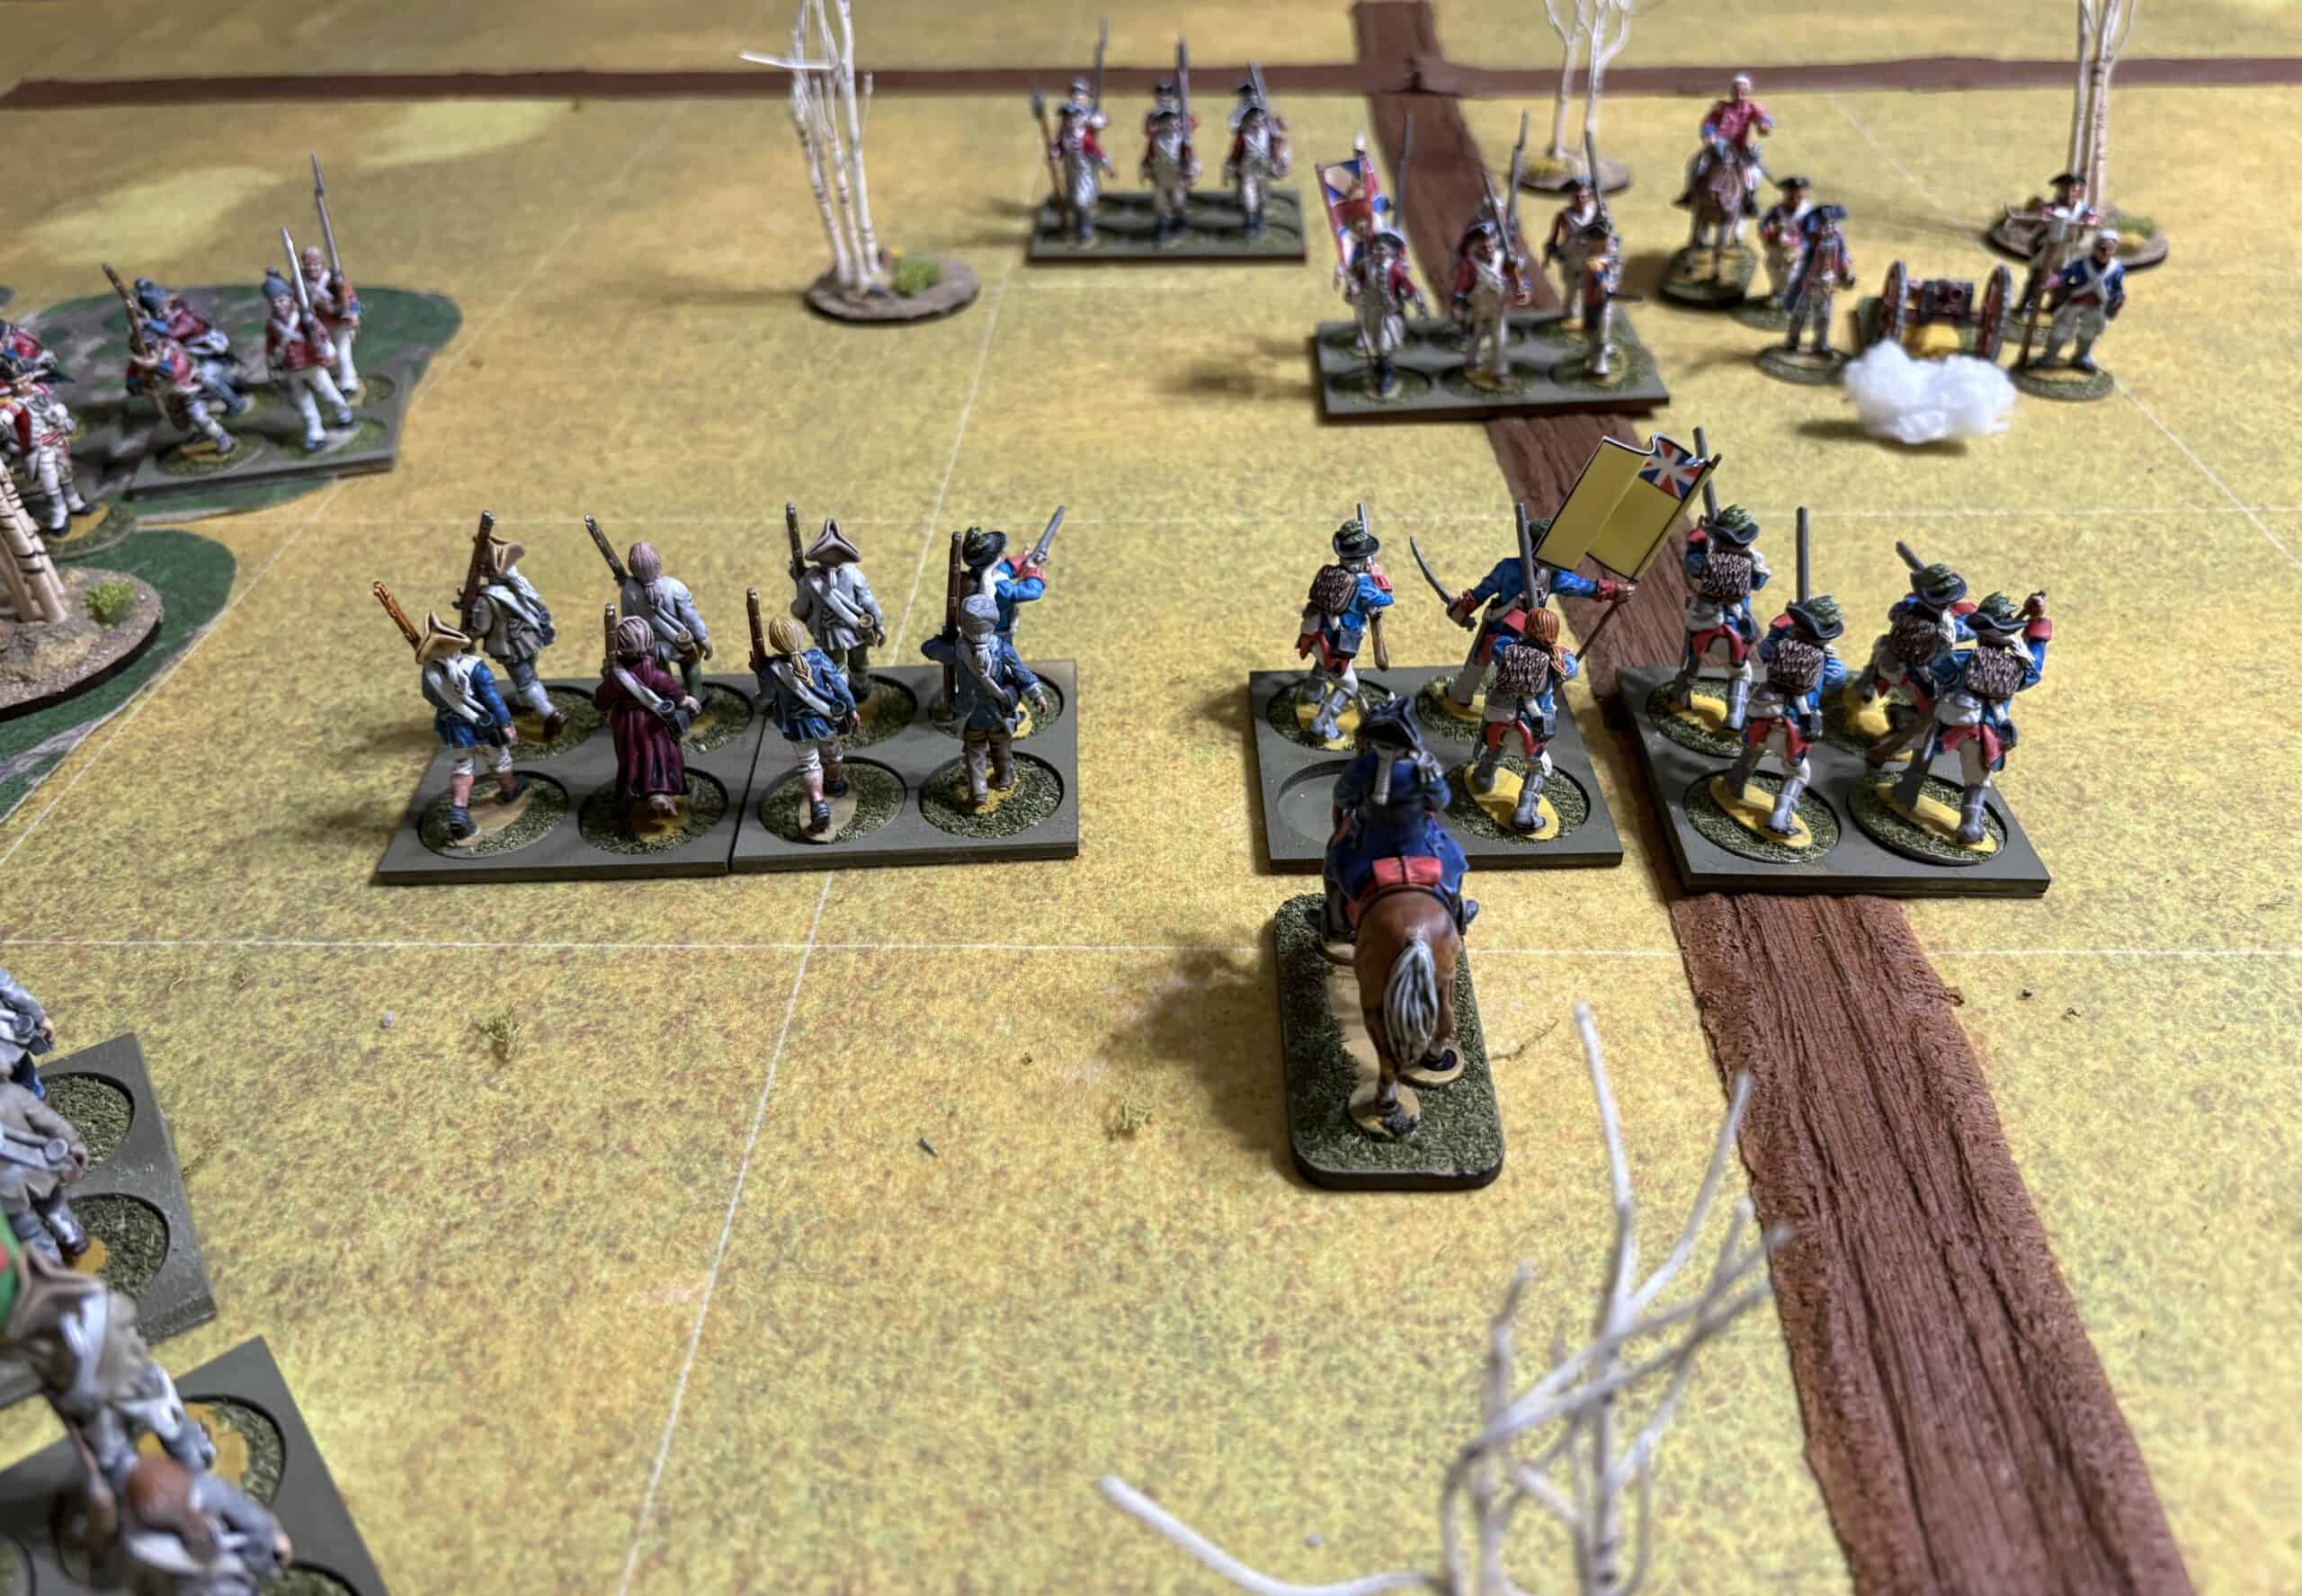
Royce had positioned his troops between a hill on the left and a woods on the right, providing a clear field of fire. He quickly deployed the artillery to cover the road, placing the Jägers to the gun’s right with the intention that they could retreat into the woods to protect the flank if necessary. To bolster their defensive fire, Royce attached himself directly to the artillery. Advancing against them was a confident formation of American riflemen and Continental infantry.
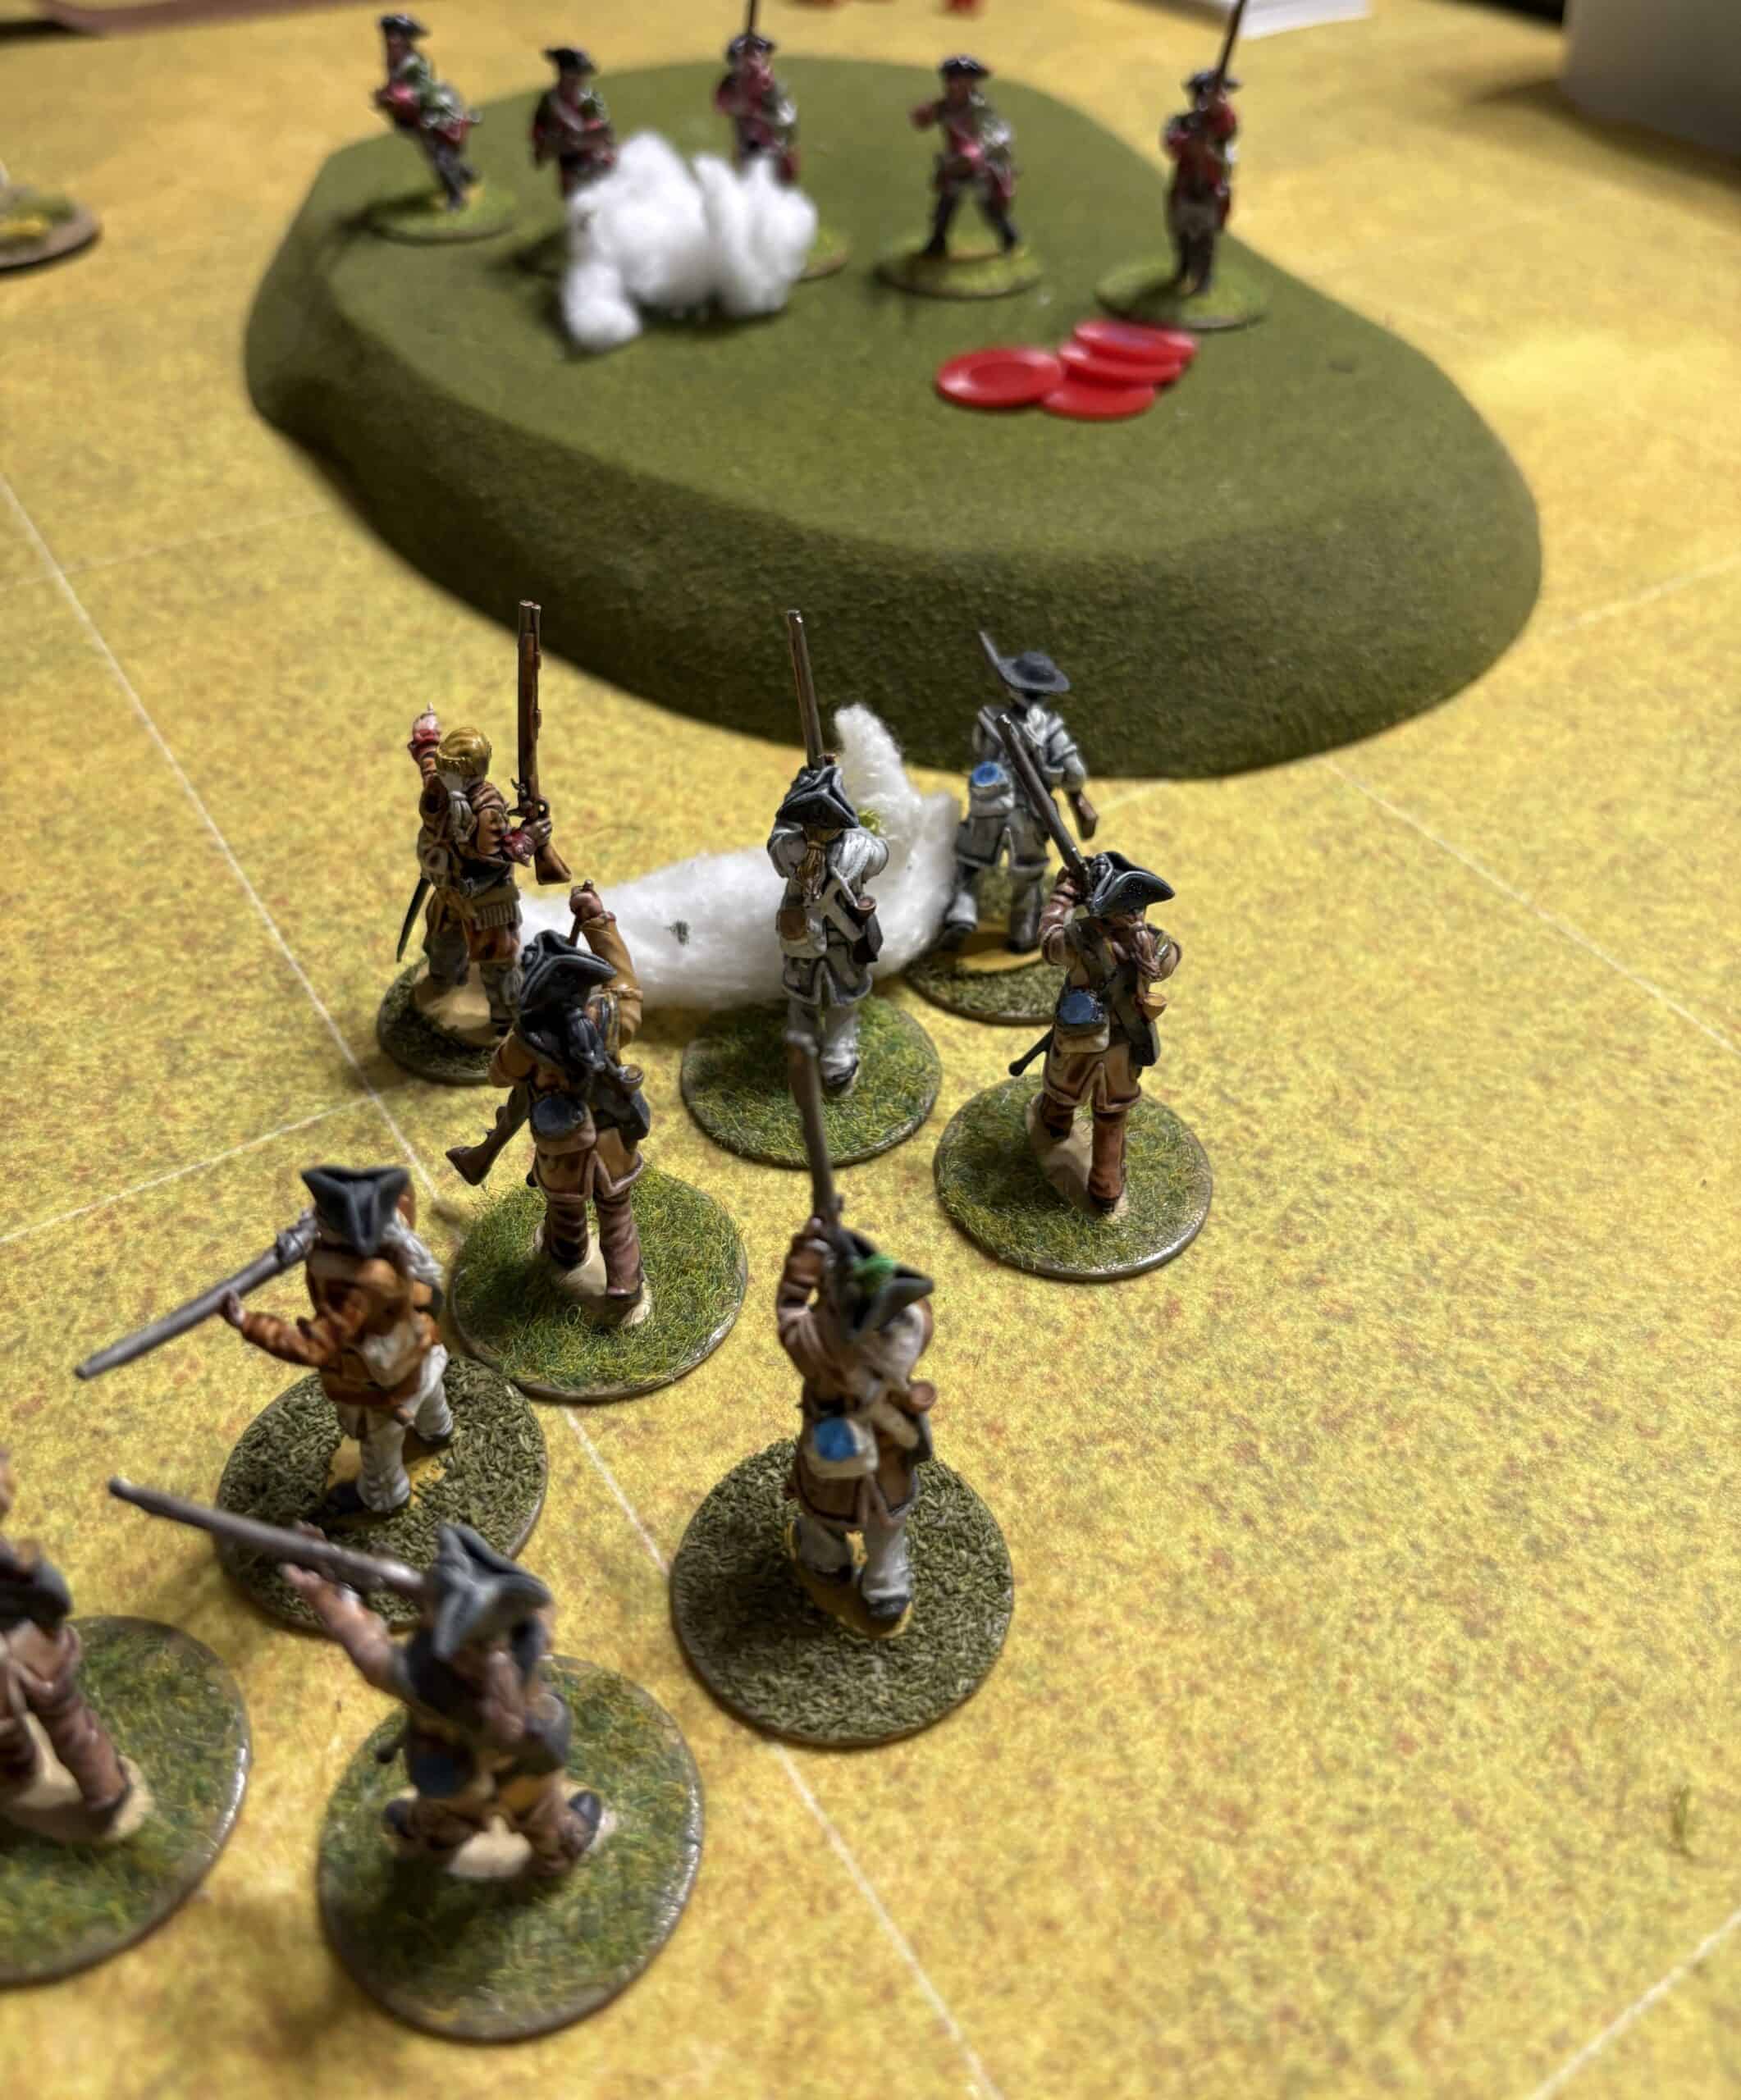
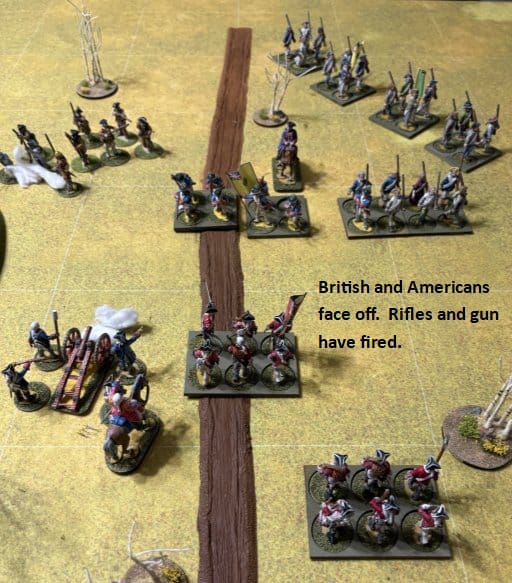
For the first turn, the riflemen and Jägers traded fire, with the rifles gaining the upper hand. The American riflemen were a specialized elite unit, granting them two extra combat dice, but the Jägers held their ground despite the heavy incoming fire.
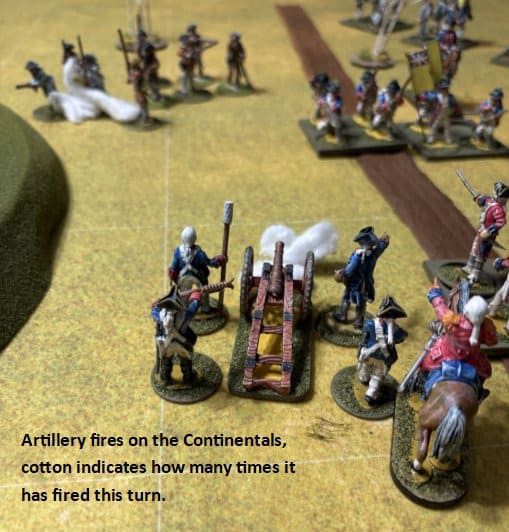
The artillery opened the action. Although the Jägers took another casualty, their status as skirmishers meant they didn’t trigger a battalion Morale Check, allowing them to hold the line. They successfully drew the rifle fire away from the gun crew. Suddenly, the sound of drums echoed from the rear. British reinforcements were arriving.
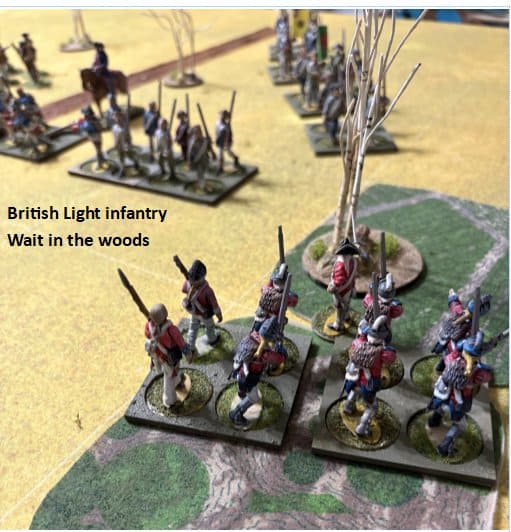
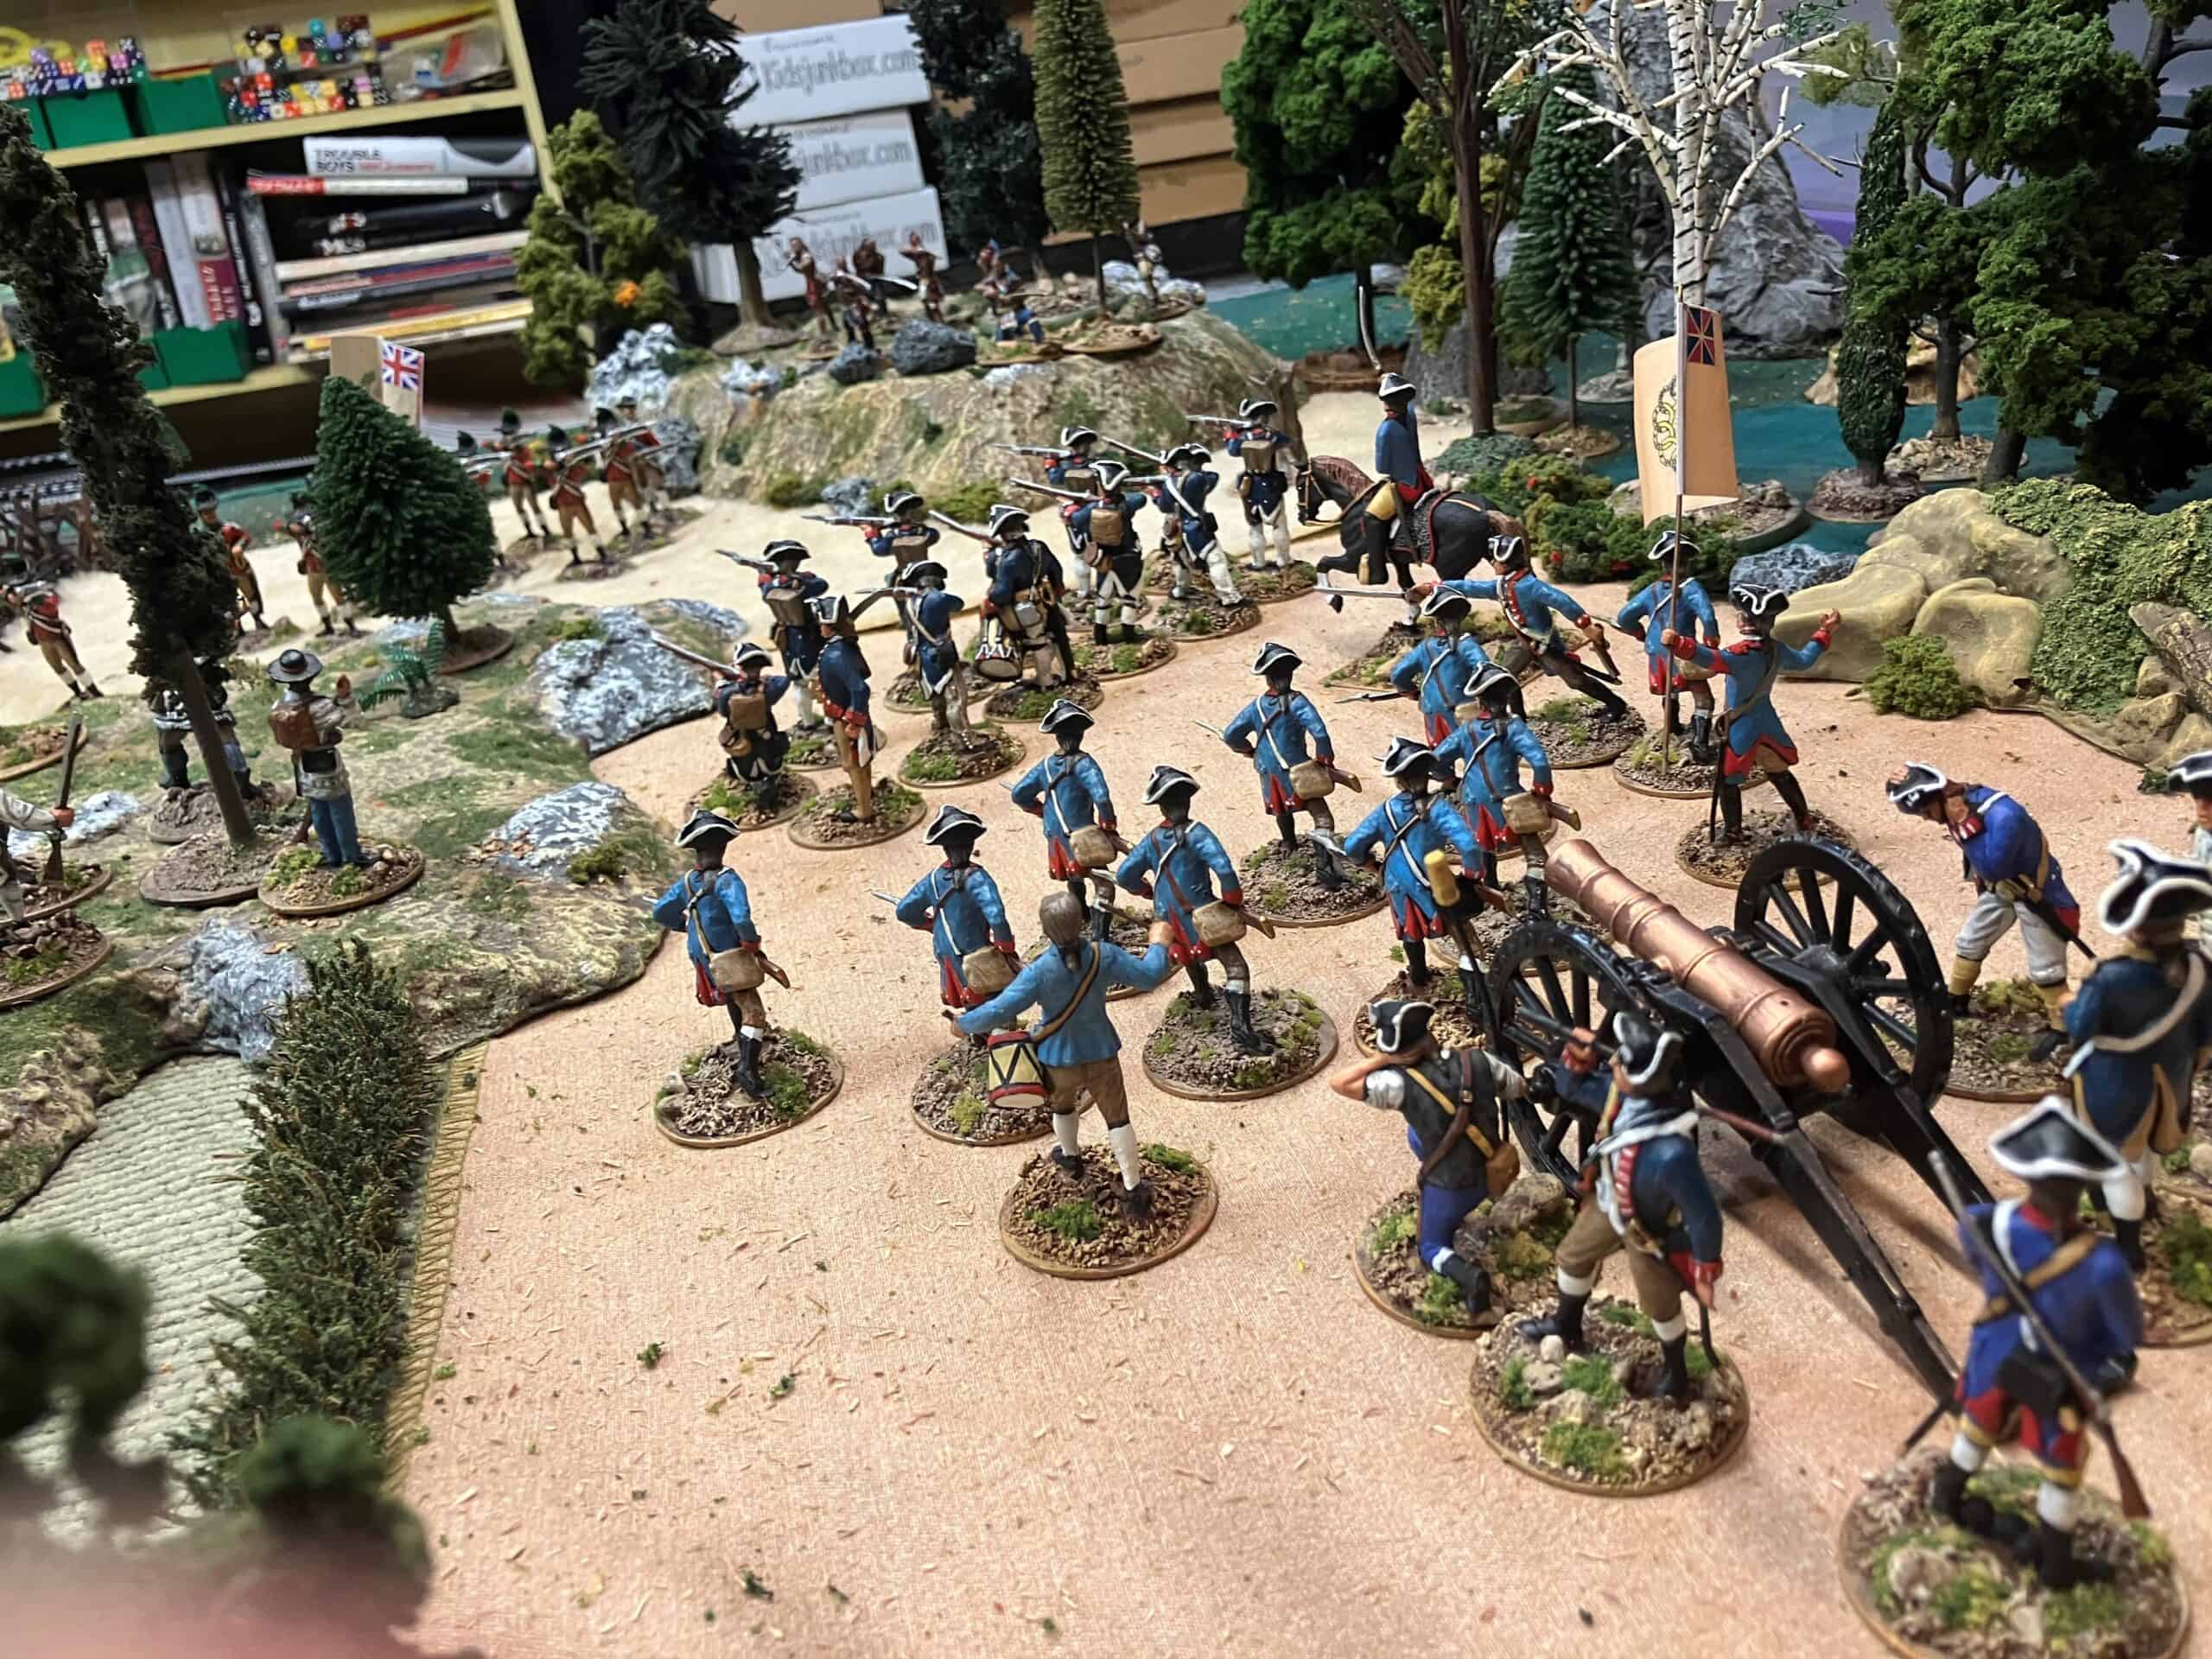
The next turn, the British managed to secure the first move, and a very welcome unit of Light Infantry marched onto the field, accompanied by Captain Smyth—much to Lieutenant Royce’s relief.
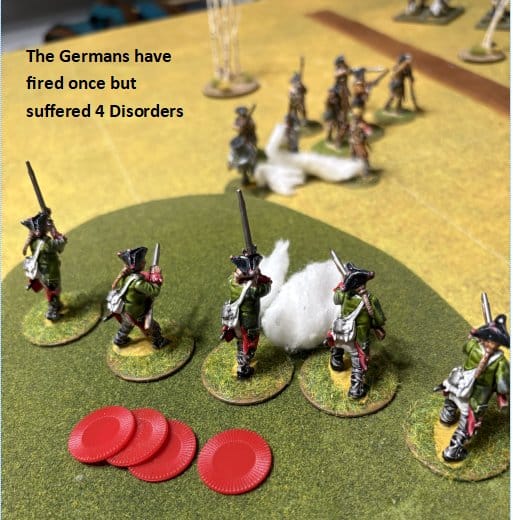
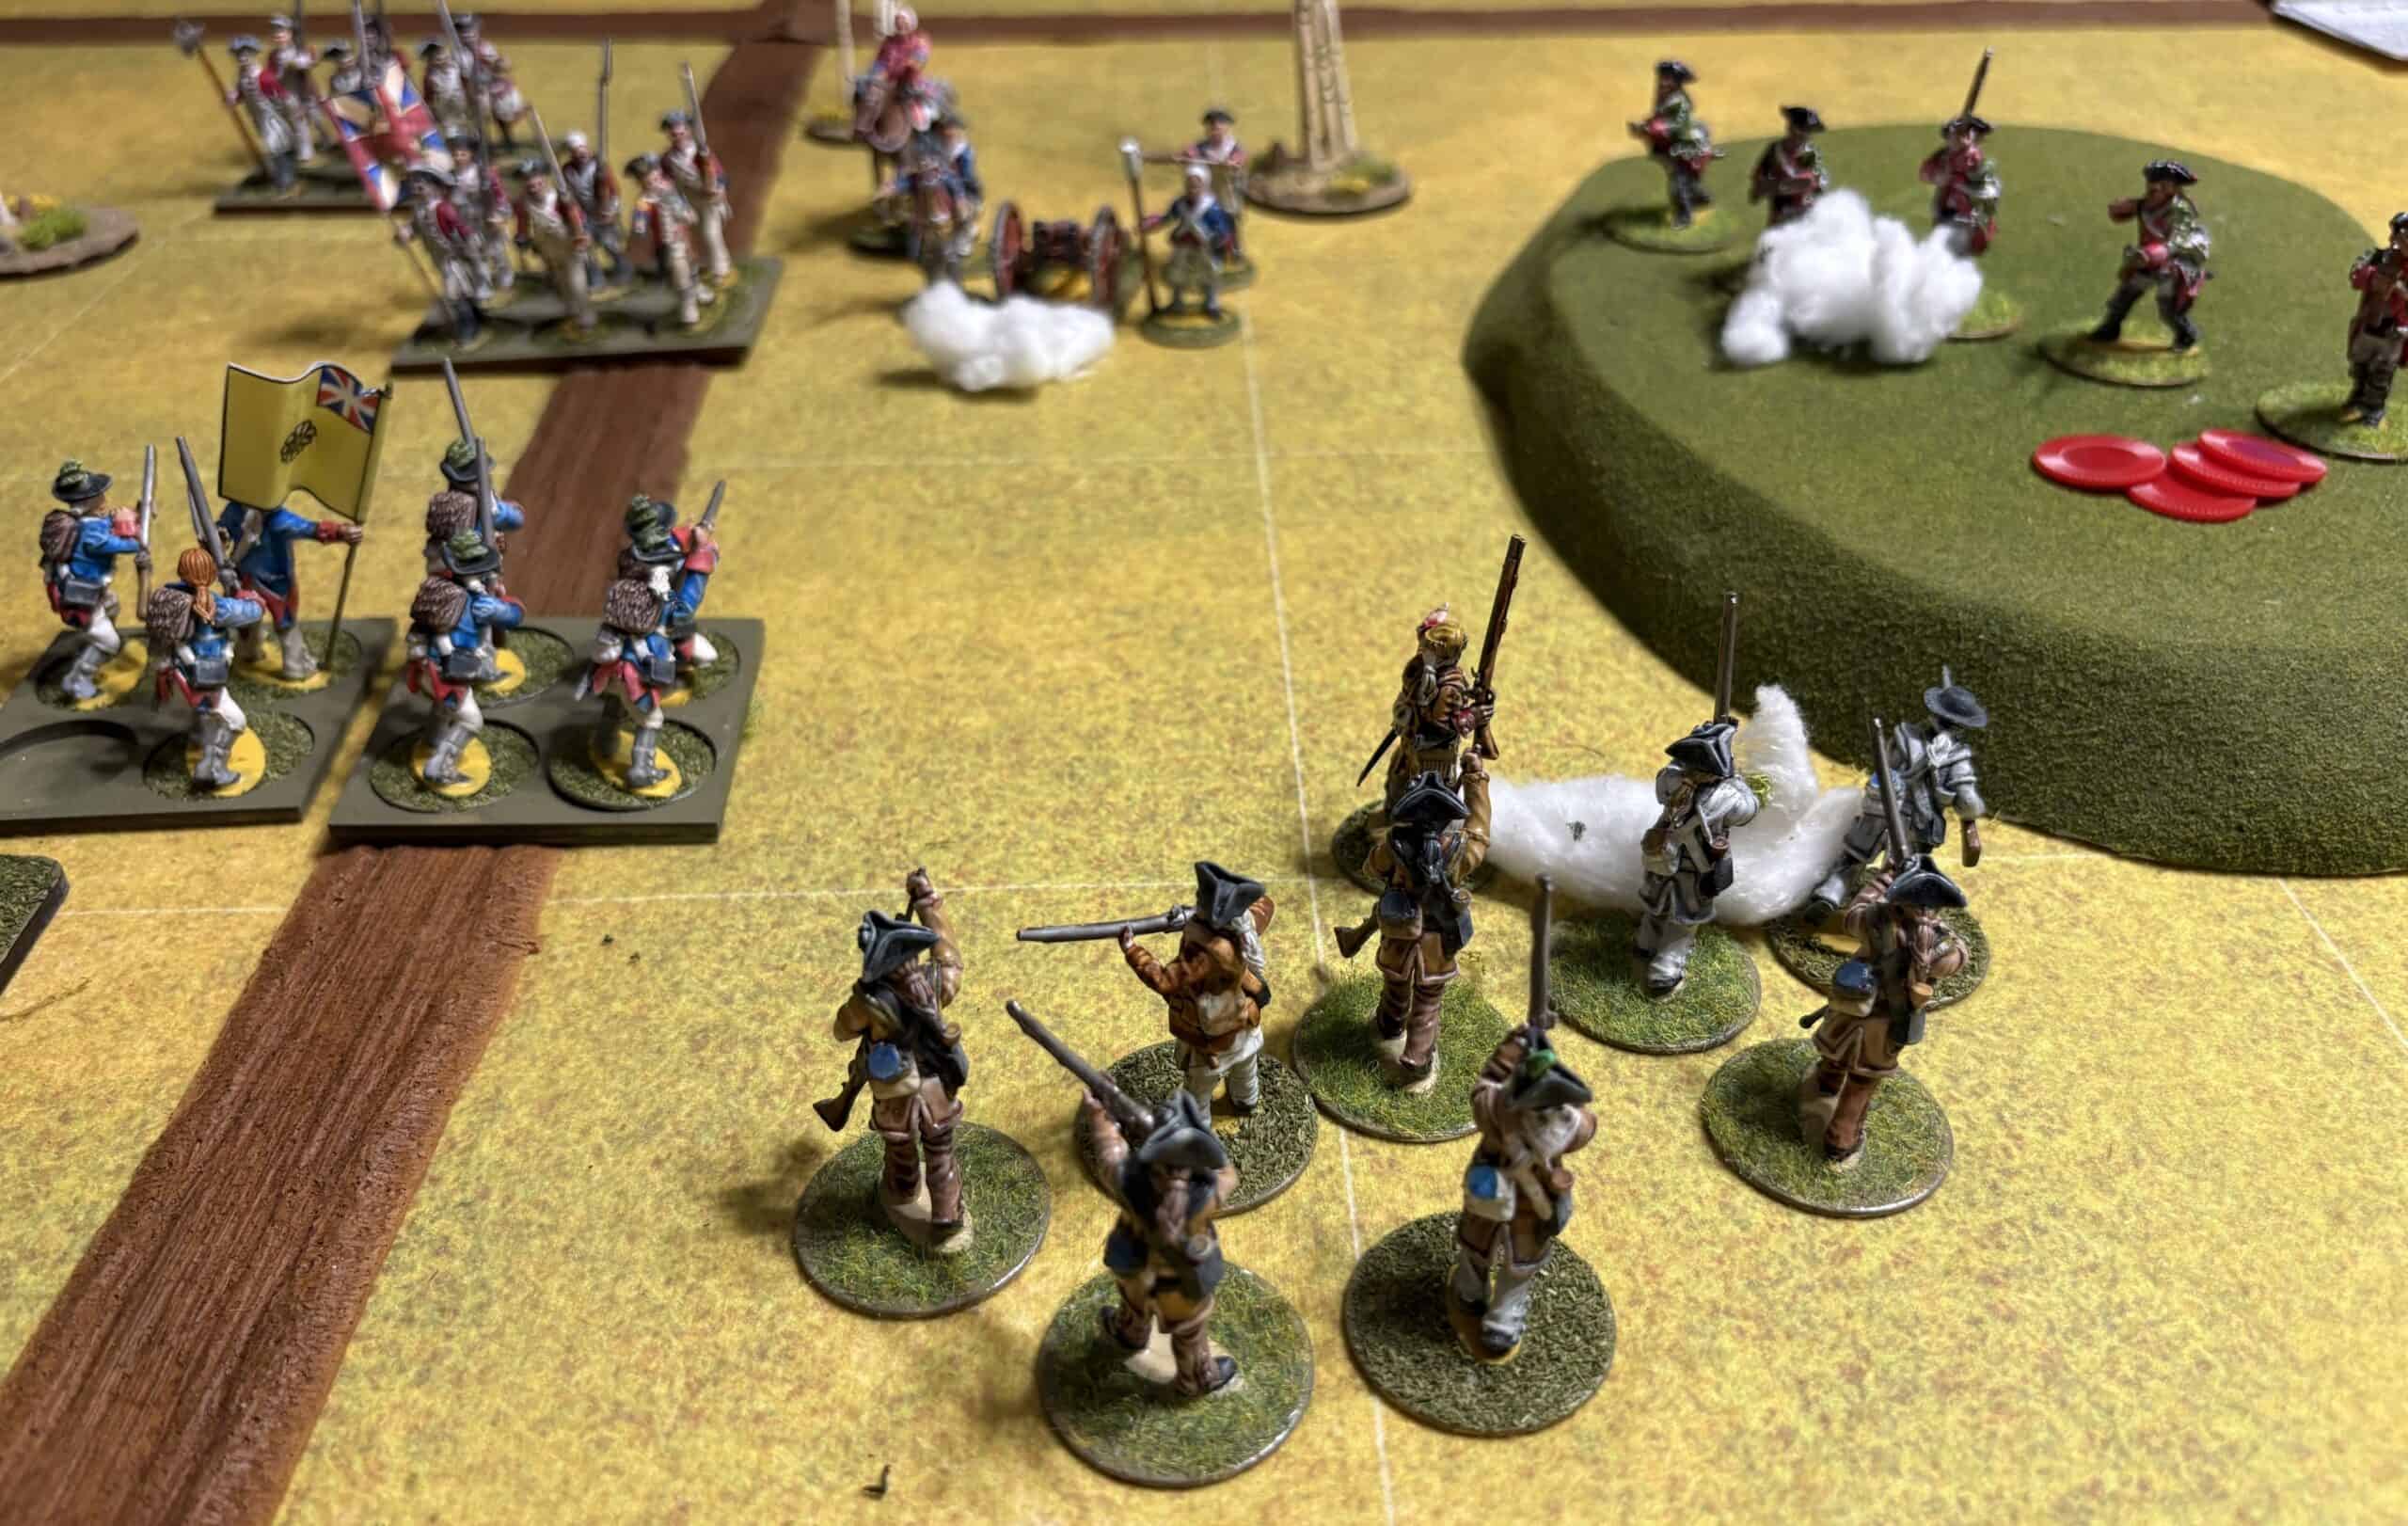
Captain Smyth possessed a unique trait developed over his years of service; he was known as “The Tactician”, which granted him a +1 bonus to his card draw for First Move Determination. With the arrival of the Light Infantry, he played an Ace on the Jägers, granting them three Command Points. They used two to maneuver behind the gun and in front of the Light Infantry, taking up a strong position on the hill to the left of the artillery. They spent the last Command Point of the Ace to remove 1 Disorder.
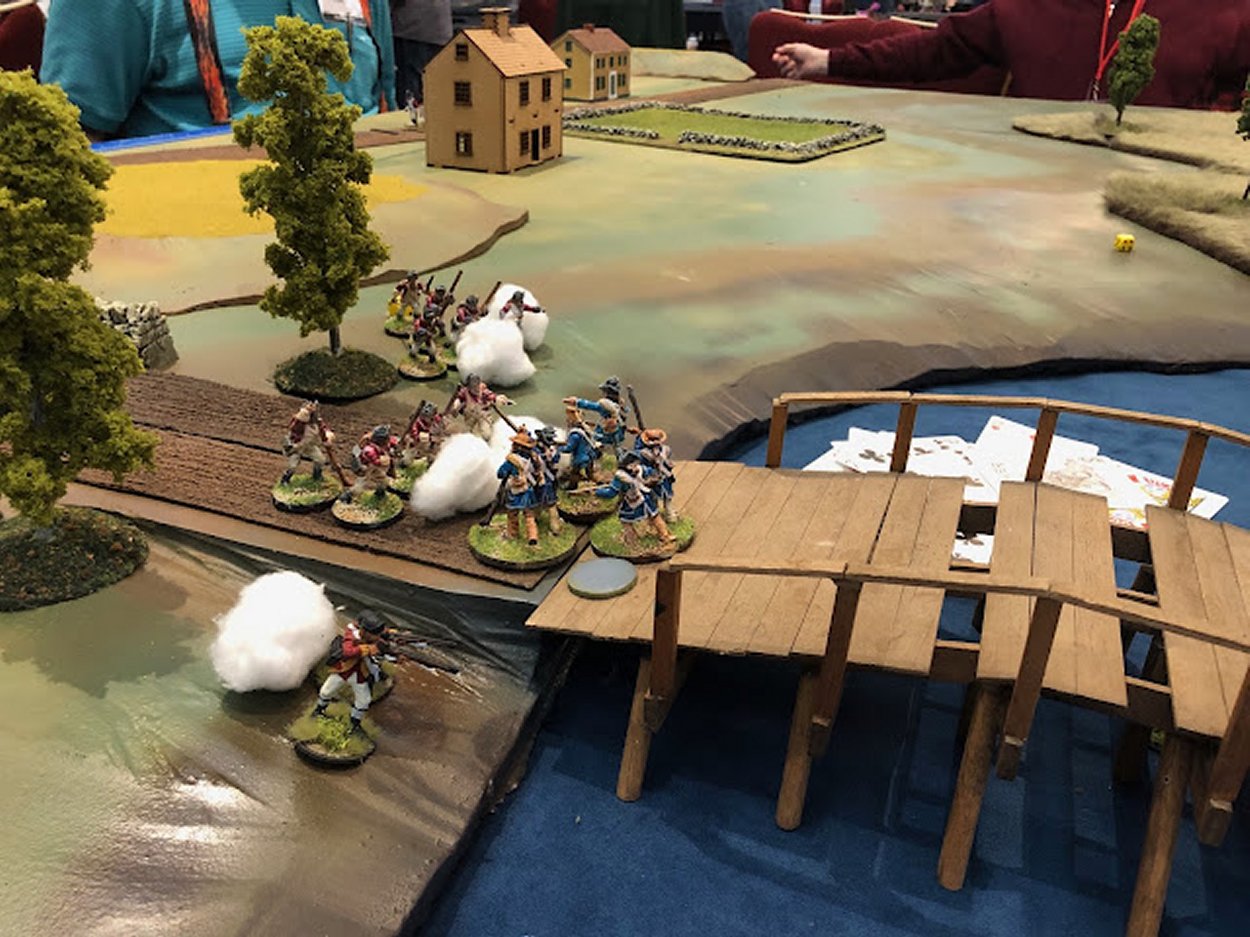
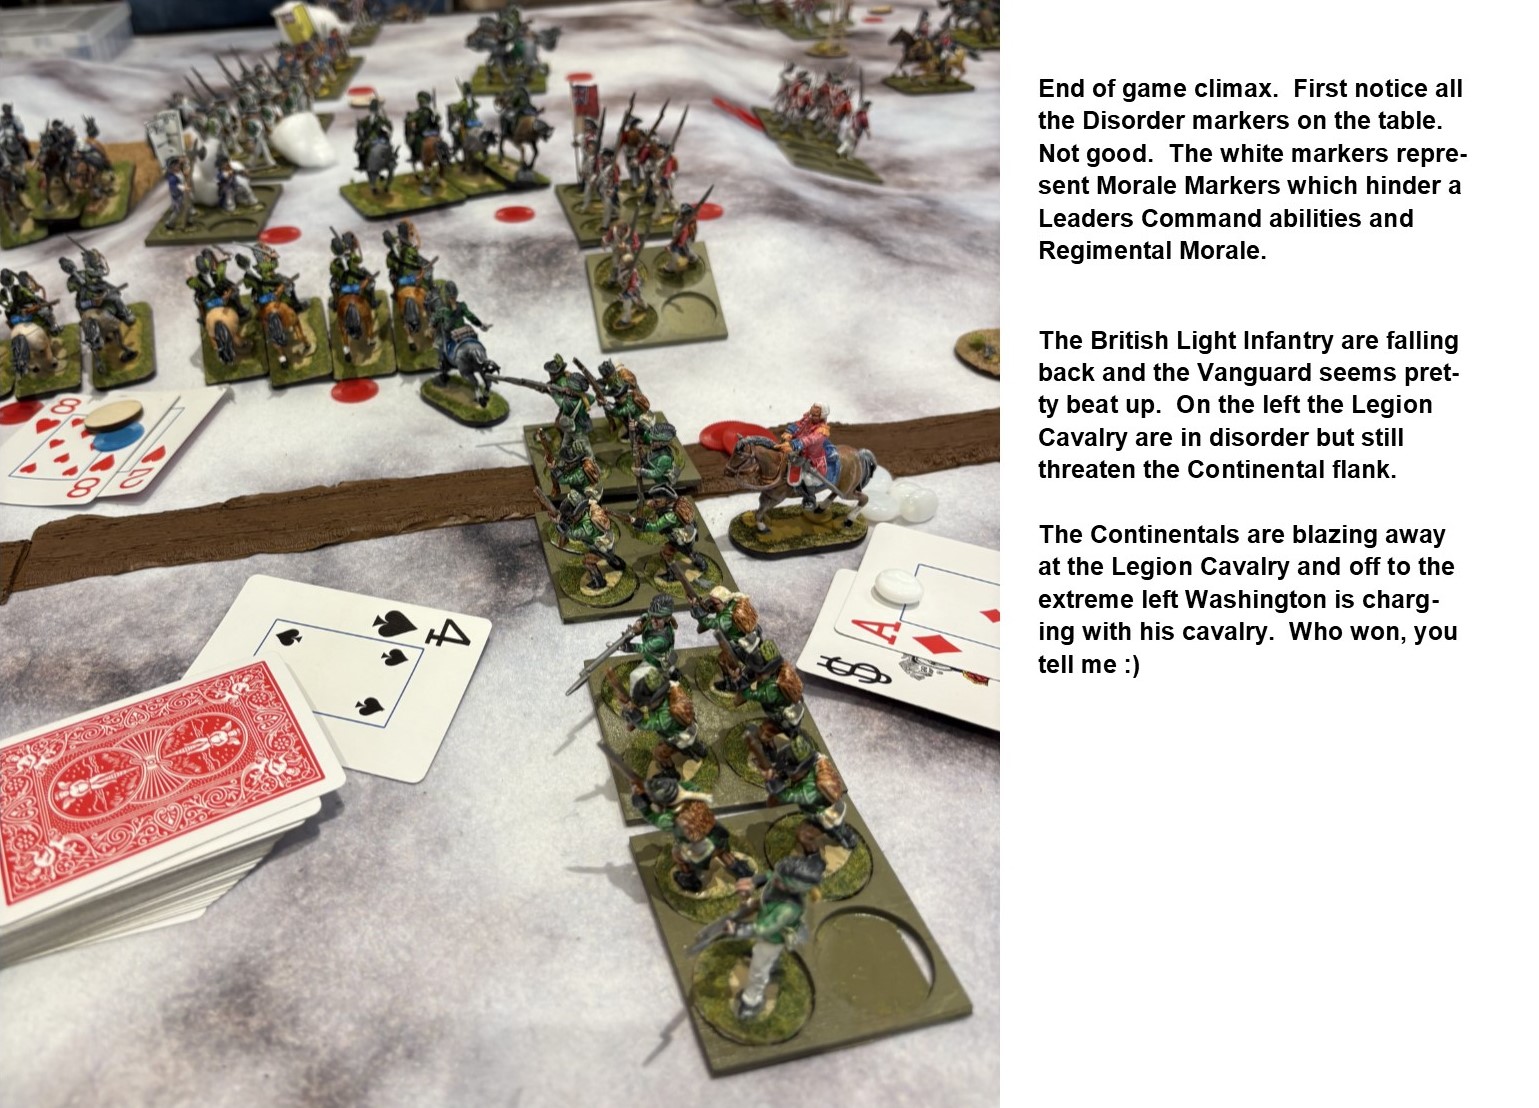
From this vantage point, they engaged the American riflemen at close range, slowly whittling them down. In one of the photos, you can see them marked with four red disorder tokens, indicating they were “spent” for part of the turn. Meanwhile, the Light Infantry held the center.
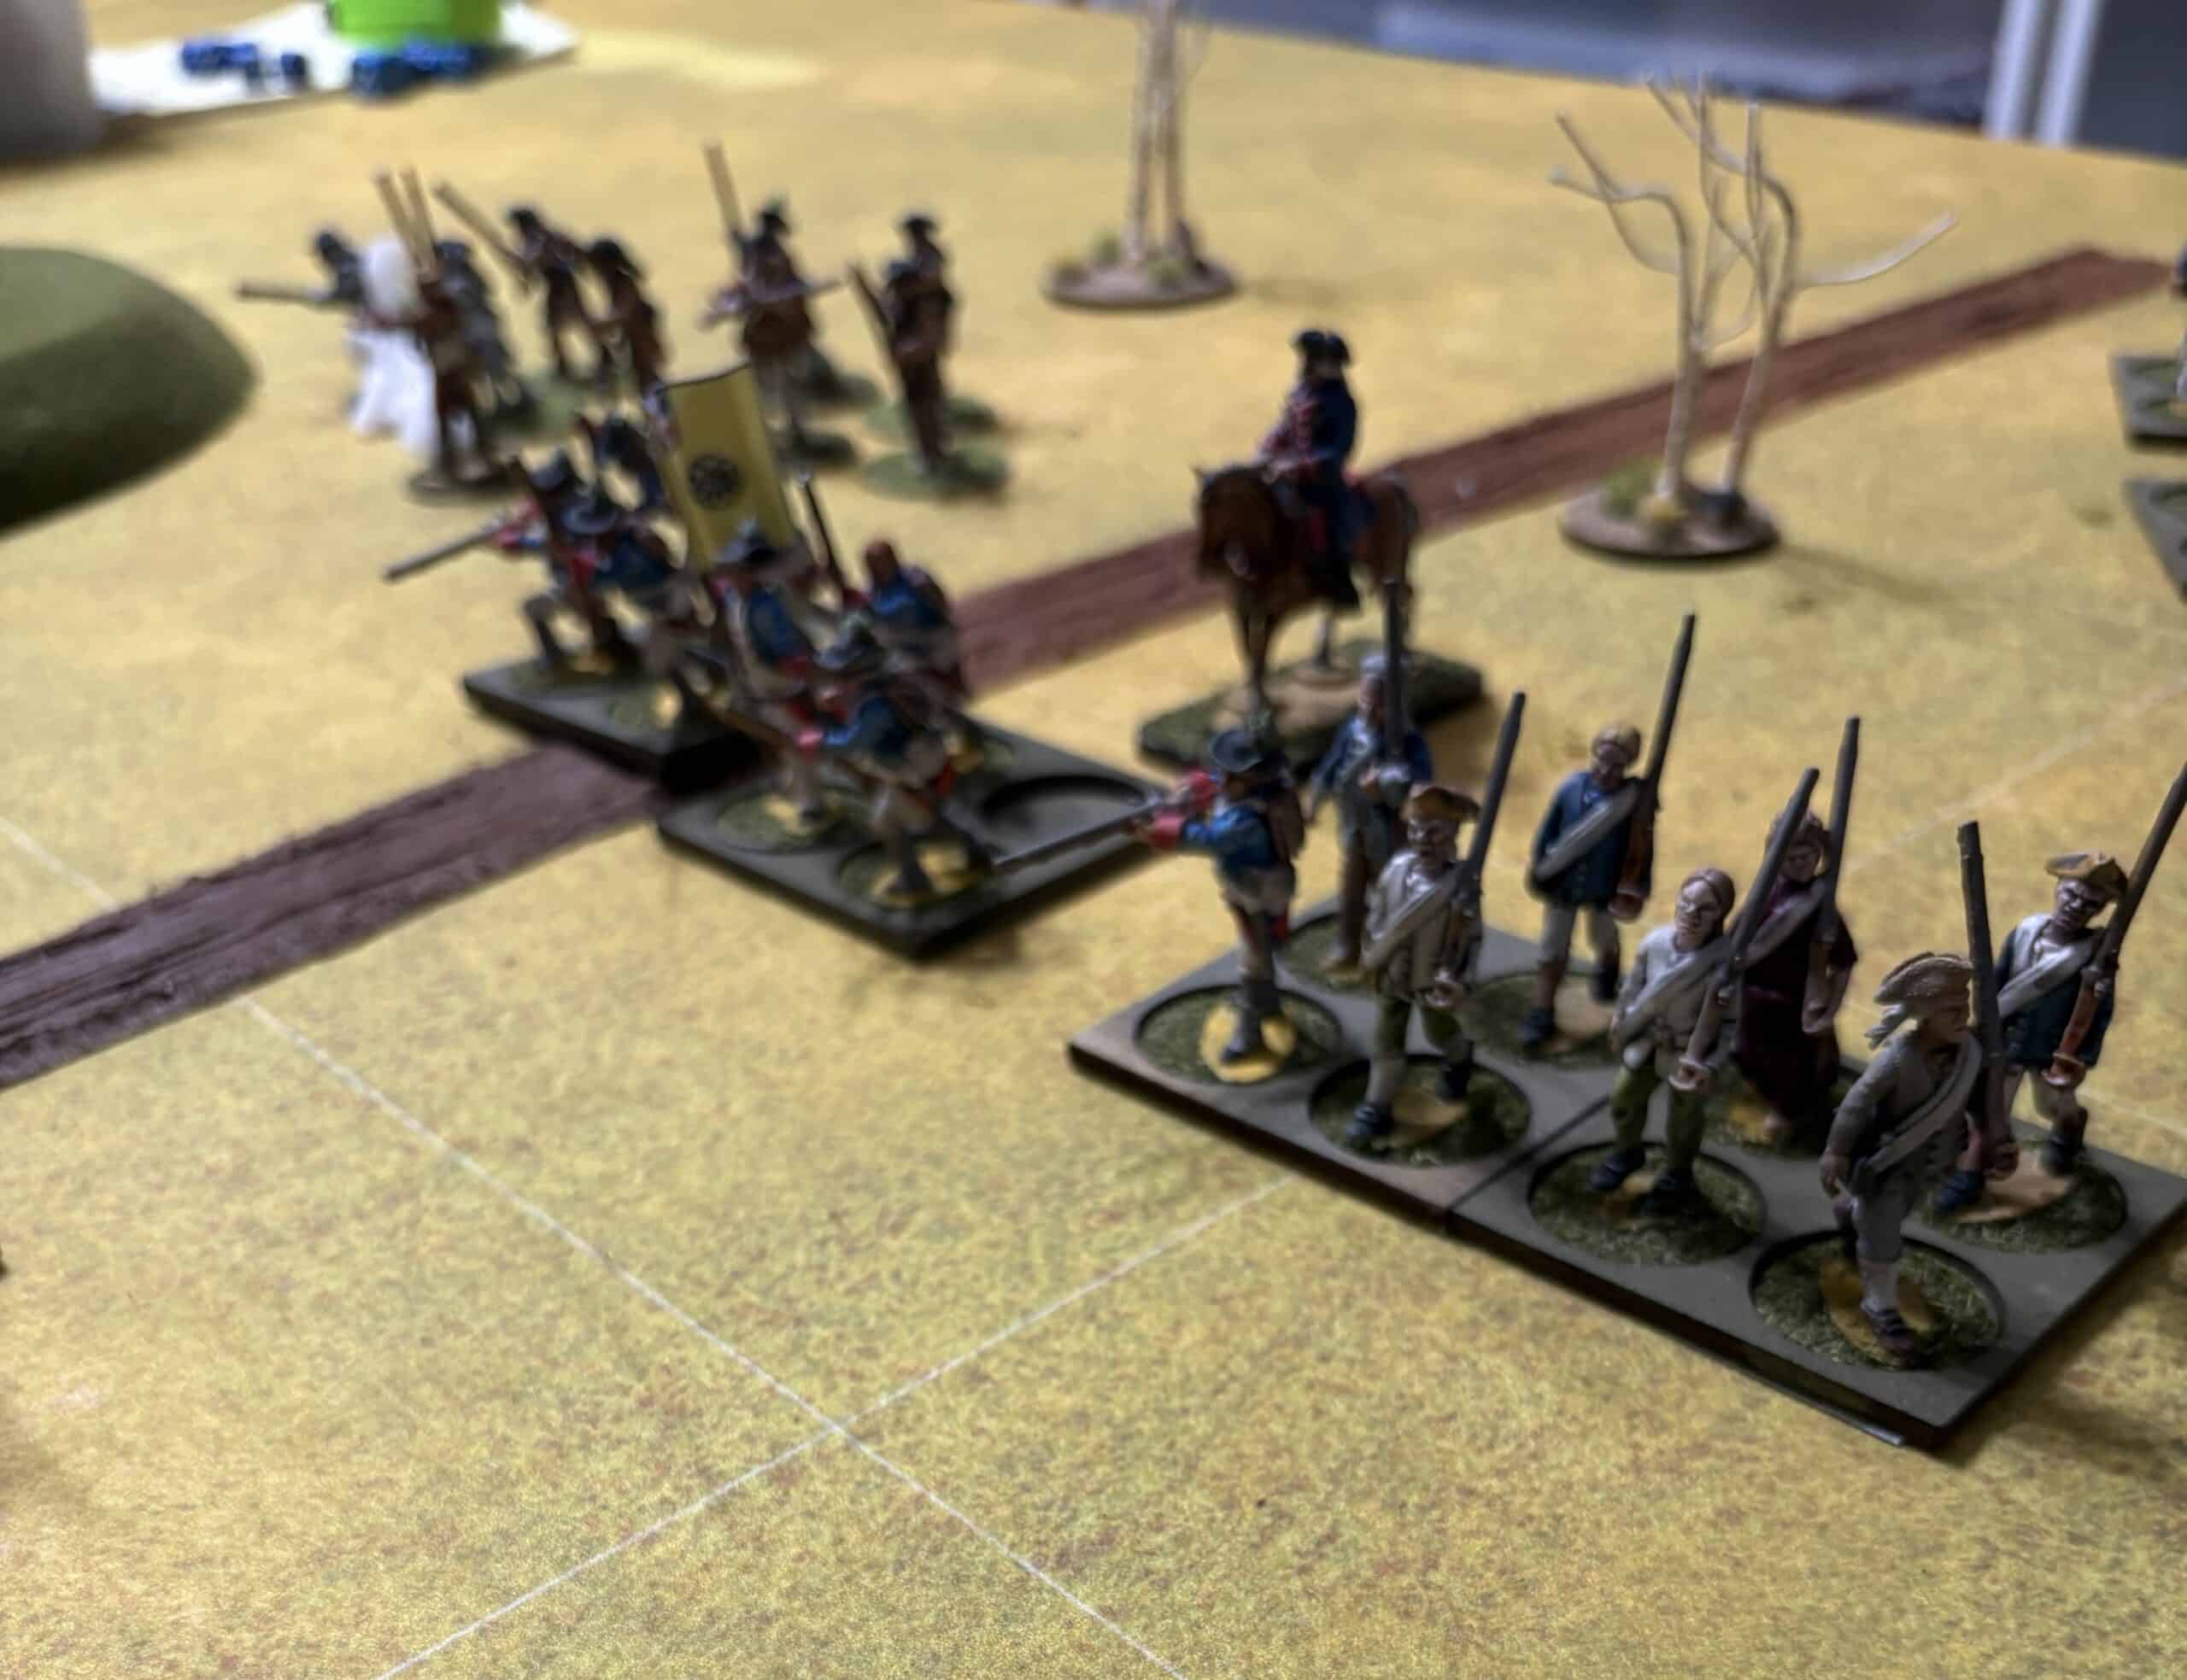
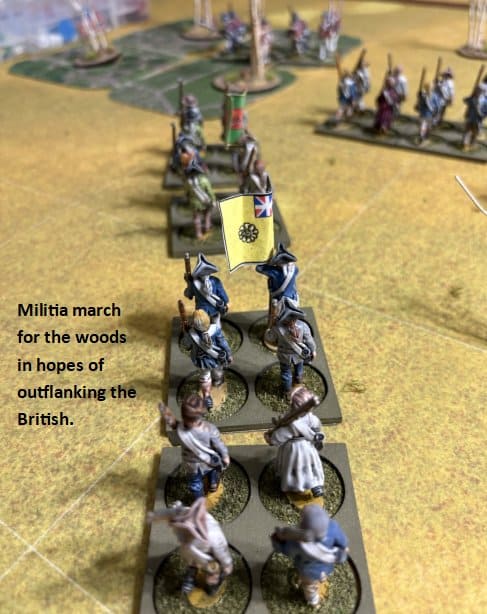
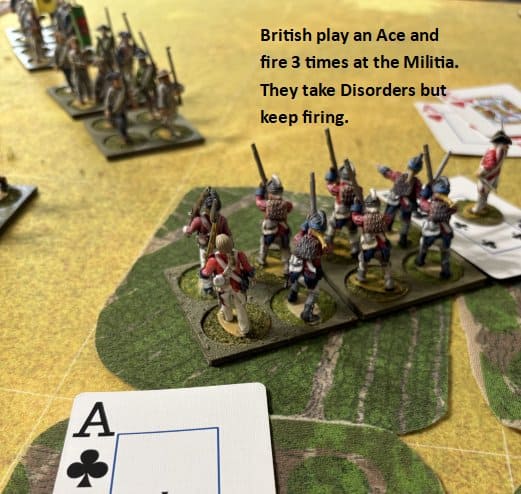
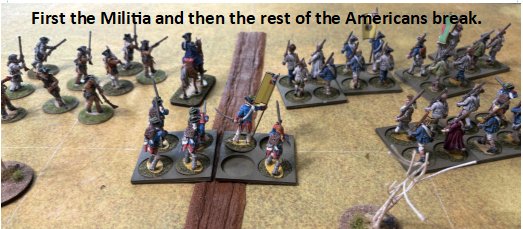
As the remaining American forces entered the board, two British Line Infantry units arrived to relieve the Light Infantry. In the distance, Captain Smyth spotted a long column of rebels marching toward the woods on his right flank. Playing another Ace on the Light Infantry, Captain Smyth maneuvered them into position to fire twice on the rebel militia column. This triggered a battalion morale check, which the militia failed spectacularly; they broke formation and fled to the rear. The rout was so decisive that the entire American force, seeing their left flank collapse, retreated from the field. It was a job well done by Captain Smyth and Lieutenant Royce.
The final picture shows him drawing a promotion card. He needed a 4 or better, and a 10 was well deserved. He was promoted to Military Rank 4, Lieutenant Colonel and his battalion was reinforced to 400 regulars plus the 60 Tory militia. With his forces bolstered, he continues his march toward New York.
I have just completed the most recent version of my two-sided, one-page Quick Reference Sheet (QRS), which now features a streamlined design based on flowchart technology. You can download the PDF version on the Light Bobs 250 Anniversary page. I look forward to hearing your feedback in the comments!
I am excited to share a first look at the new top-down illustrations commissioned for the upcoming edition of our ruleset. We would love to hear your thoughts on these—please let us know what you think in the comments!
The official title of the upcoming project is Light Bobs 25th Anniversary Edition, though for the sake of simplicity, I will refer to it here as Light Bobs 250.
I wanted to provide a quick update on the progress of the new rules; from a writing and development standpoint, they are nearly complete. I am excited to announce that I will be running five events at Carnage 29 in Killington, VT, over the weekend of October 16th, 2026. Additionally, I will be attending Fall In in Lancaster, PA, on the weekend of November 6th, 2026.
Our tentative publication date is set for December 2026.
Click to open for a larger view.
I have settled on the new cover. it is quite similar to the original. Though I am wondering with the name if I should use an image of Light infantry?
What do you think? Leave me your thoughts in the comments section.
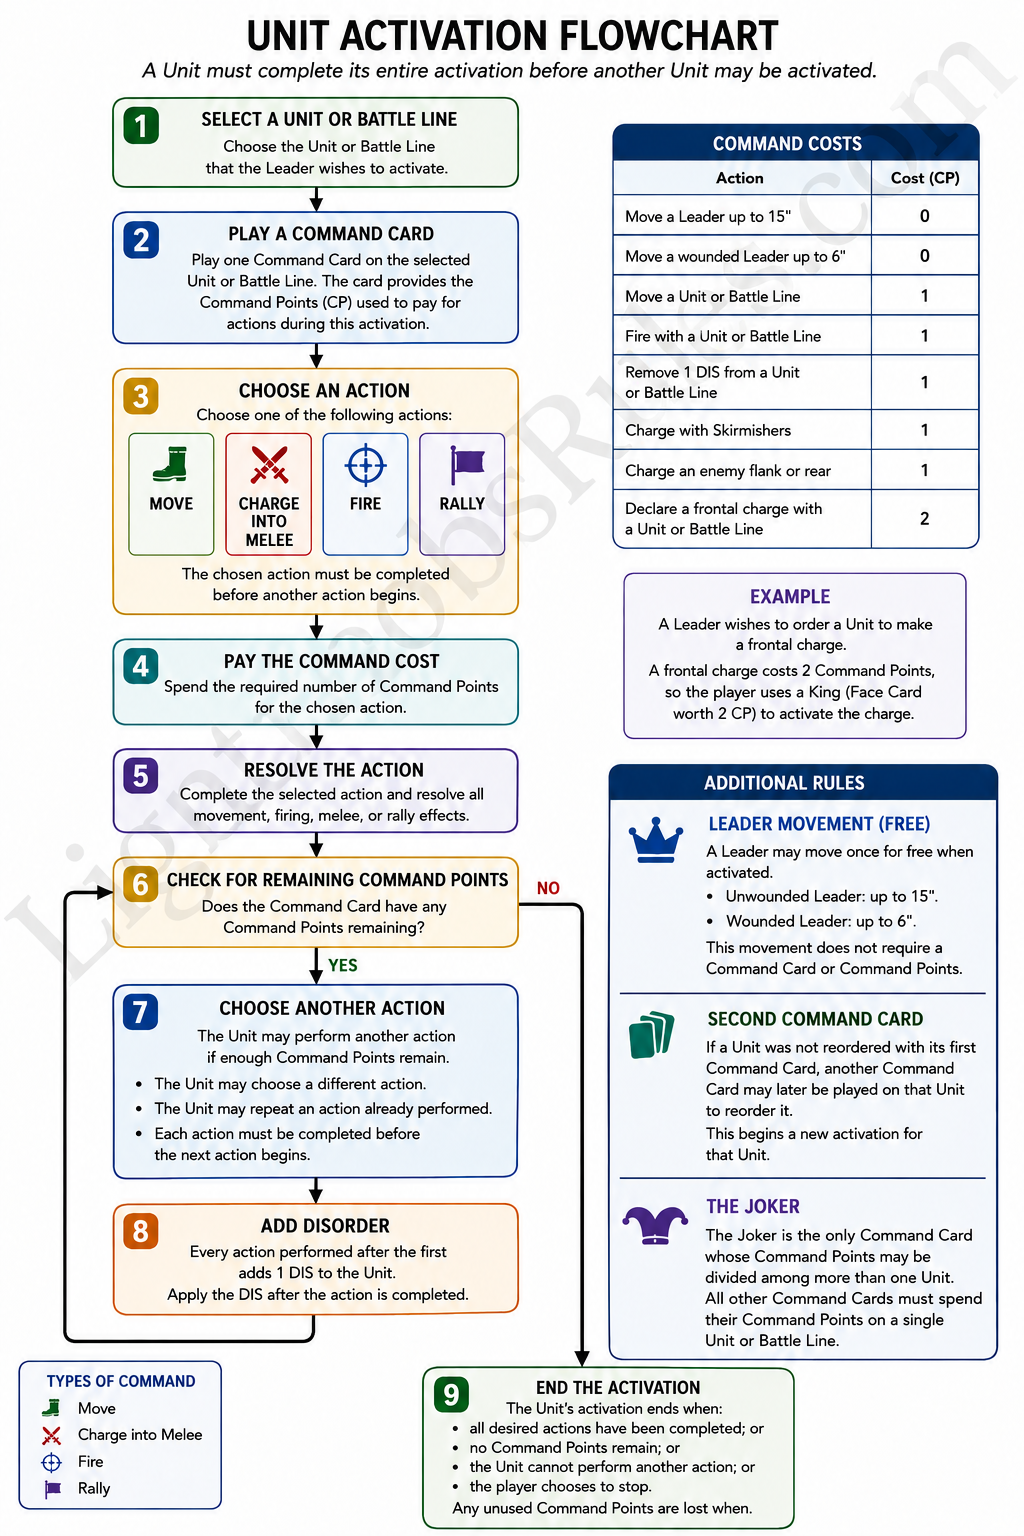
The latest addition to the rules is finally adding flowcharts. You can find most of them in a watermarked version on the Light Bobs 250 page here on the site. These flowcharts will really speed things up and will keep the gamer from forgetting some important parts of the rules. It will also save you from from having to refer back to the rules quite a bit.
Light Bobs 250 Unit Activation Flowchart, click for larger view
Lastly for this post is I want to announce that we will be starting a Kickstarter program to help with advertising funds and raise sales ahead of the release.
There will be a hardcover version as well as soft cover and pdf available. The flowharts will be in the rules but also sold as a laminated accesory set along with 2 copies of the QRS and 2 pages of Staff cards.
We will have a number of different tiers with the intent to get to increase interest in the rules. See more information soon.
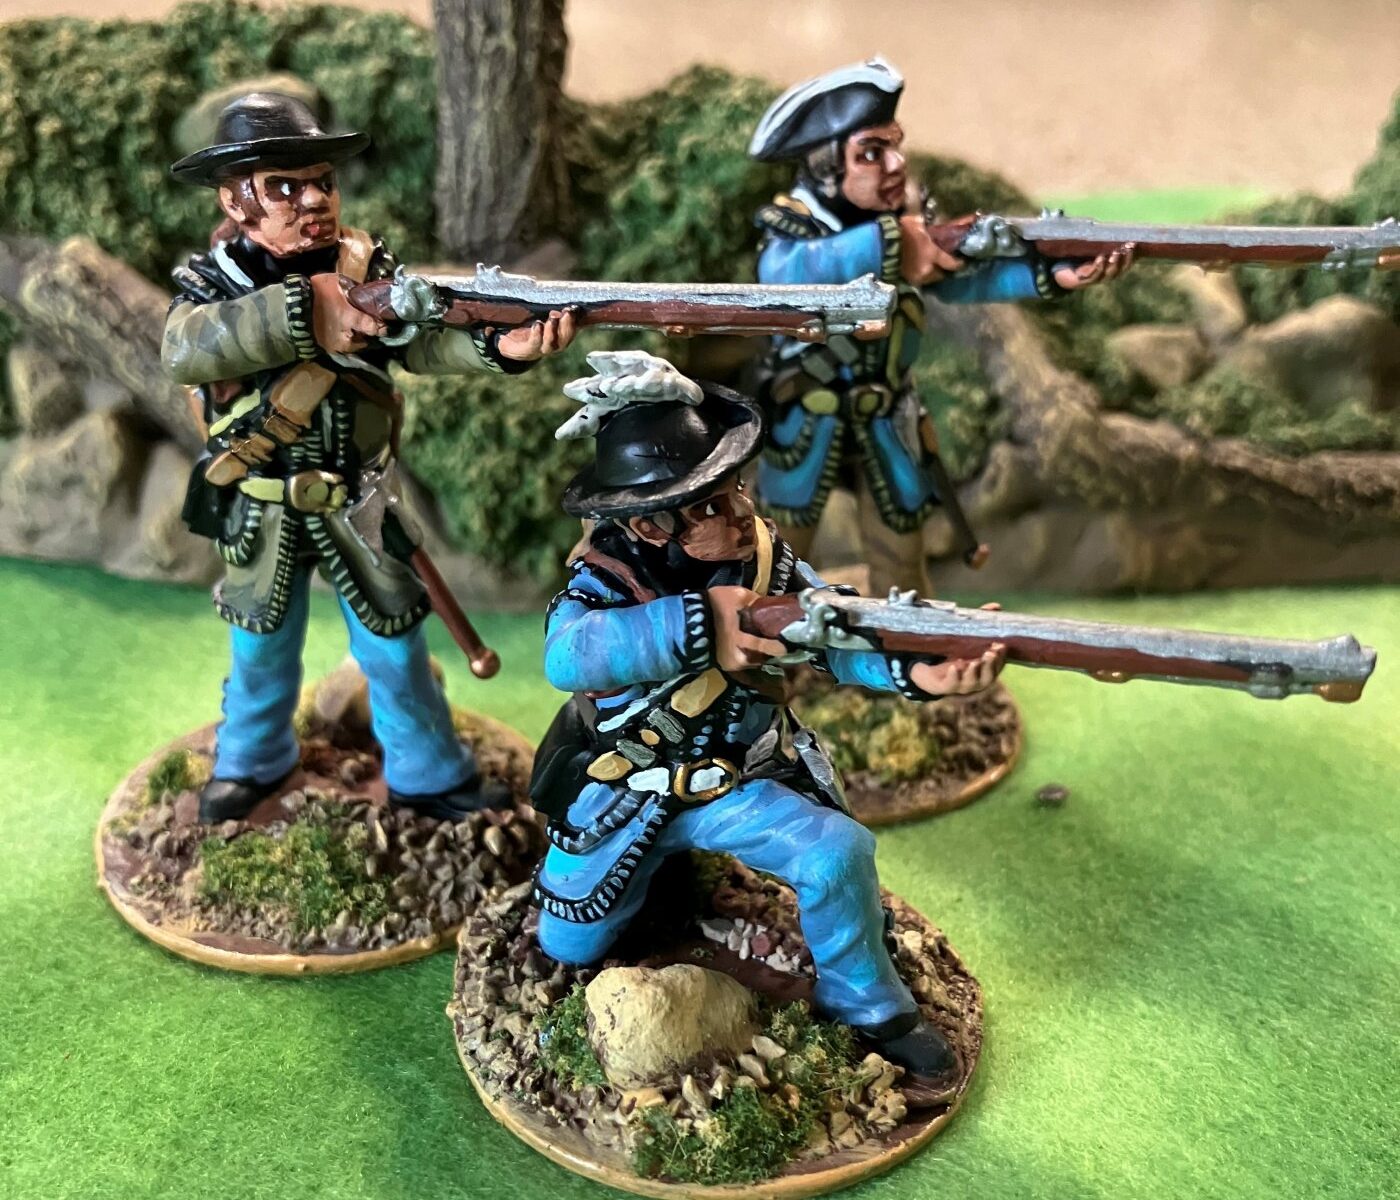
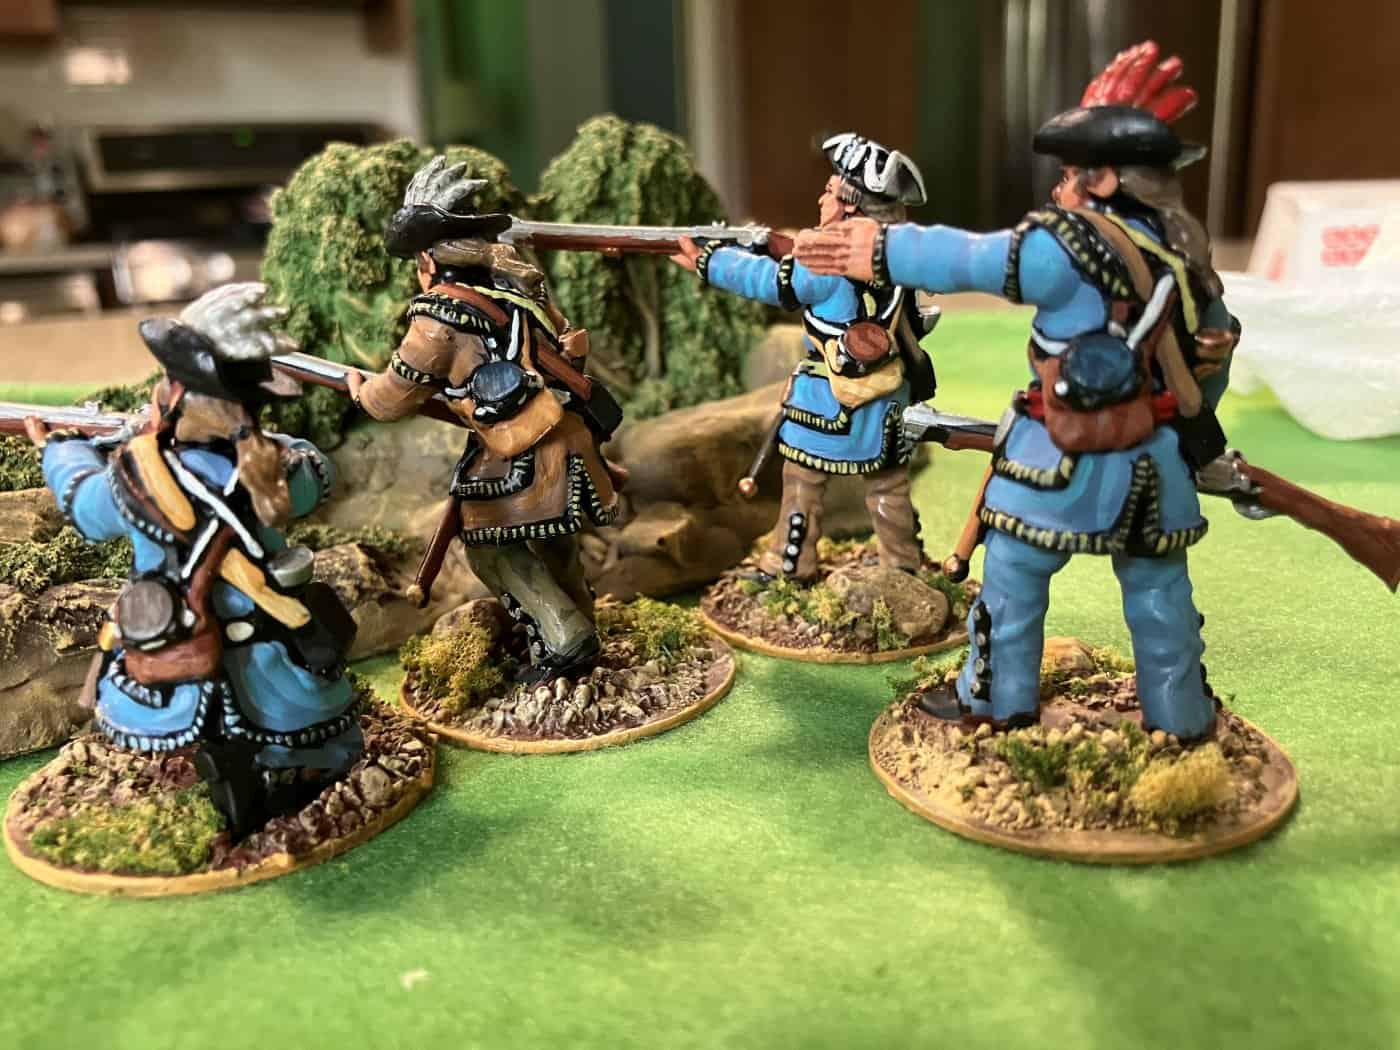
Here is a very nice review with pictures of some of our Continental Riflemen done in 54mm.
From Bradford:
Here are some pics of your American Riflemen with some comments.
The American war of Independence is one the few periods I do in 54mm (the Civil war and Mexican war being the other two). I must say that in my opinion the Day of Battle miniatures are some of the best figures I have seen for this scale. Their detail is unsurpassed. They are compatible with LOD, Barzo, Armies in plastic, Accurate and other 54mm plastic manufacturers.
Sadly many 54mm figures can require a lot of preparation prior to painting. Seam lines or mold imperfections must be cut away or sanded off, and many of the sculpting designs had flaws like arms or equipment blending into body parts. Not so with the Day of Battle miniatures! These excellent figures are collector quality and require only the heads to be attached and then they are ready to be primed. Painting the Day of Battle Minis is a joy and they look beautiful on the game table!
British light infantry are next!
Bradford N.
Thank you Bradford, as a note the files are desiggned by BattleCat Miniatures and licensed to me to sell.
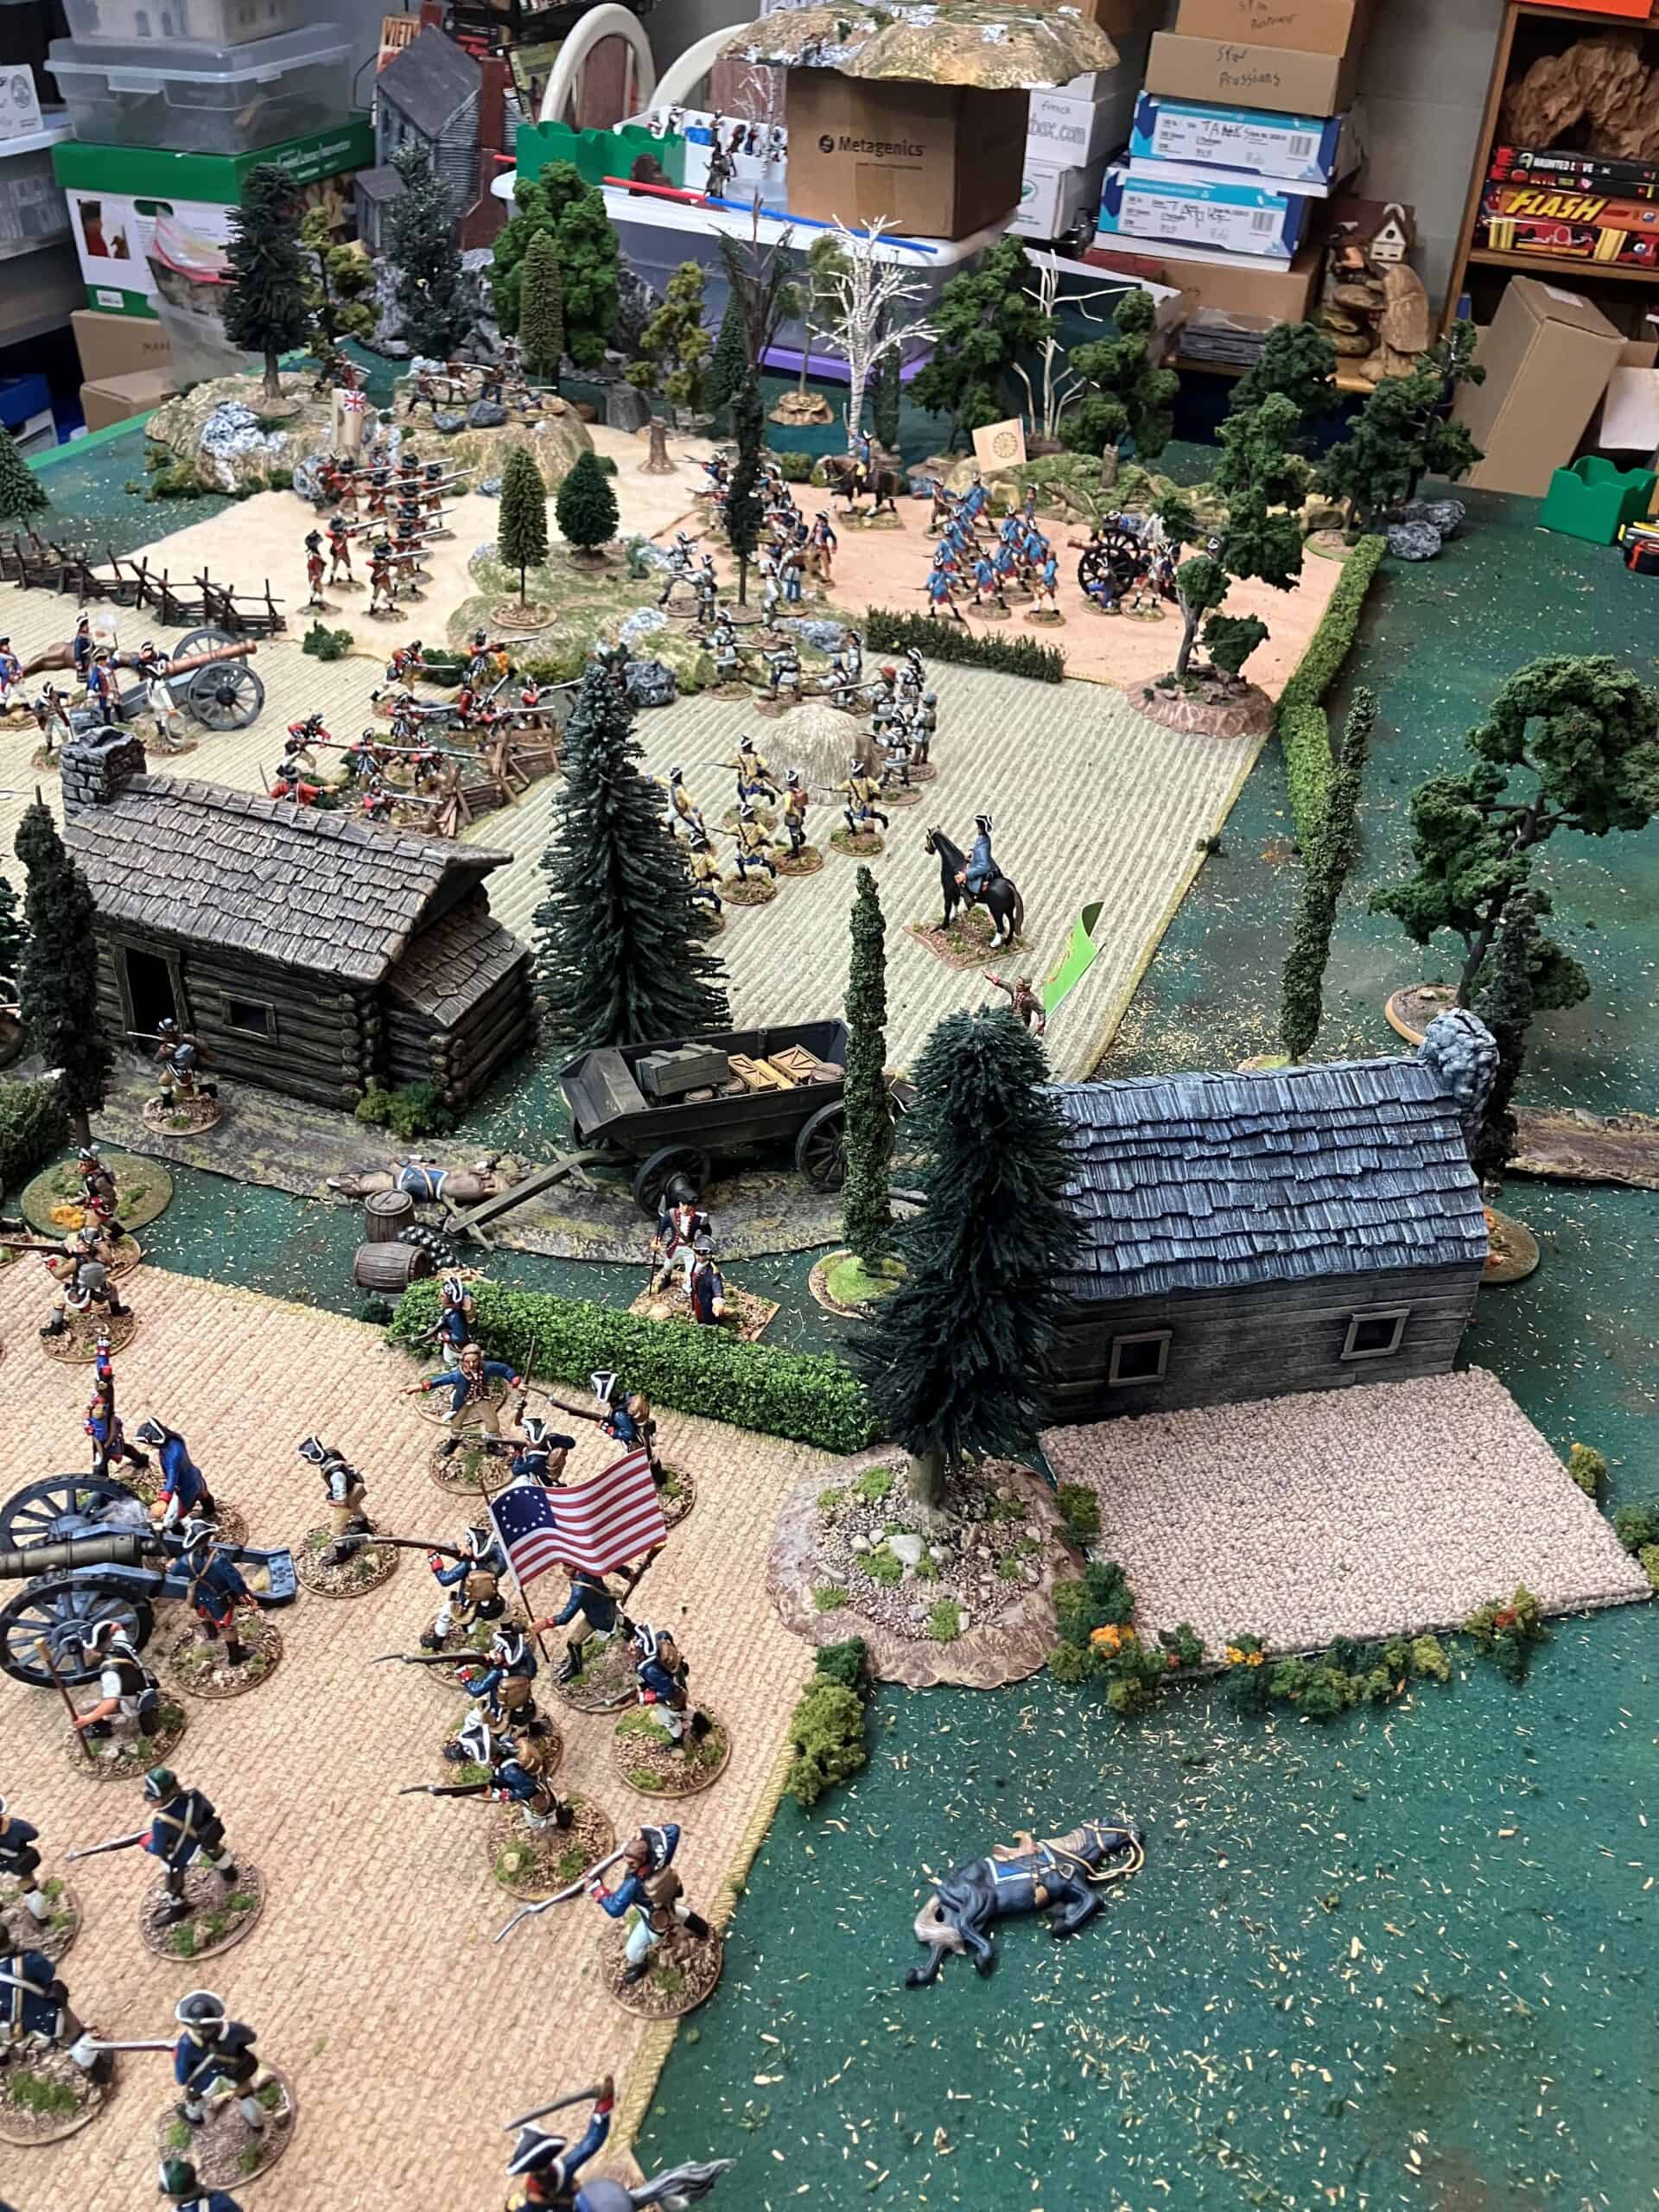
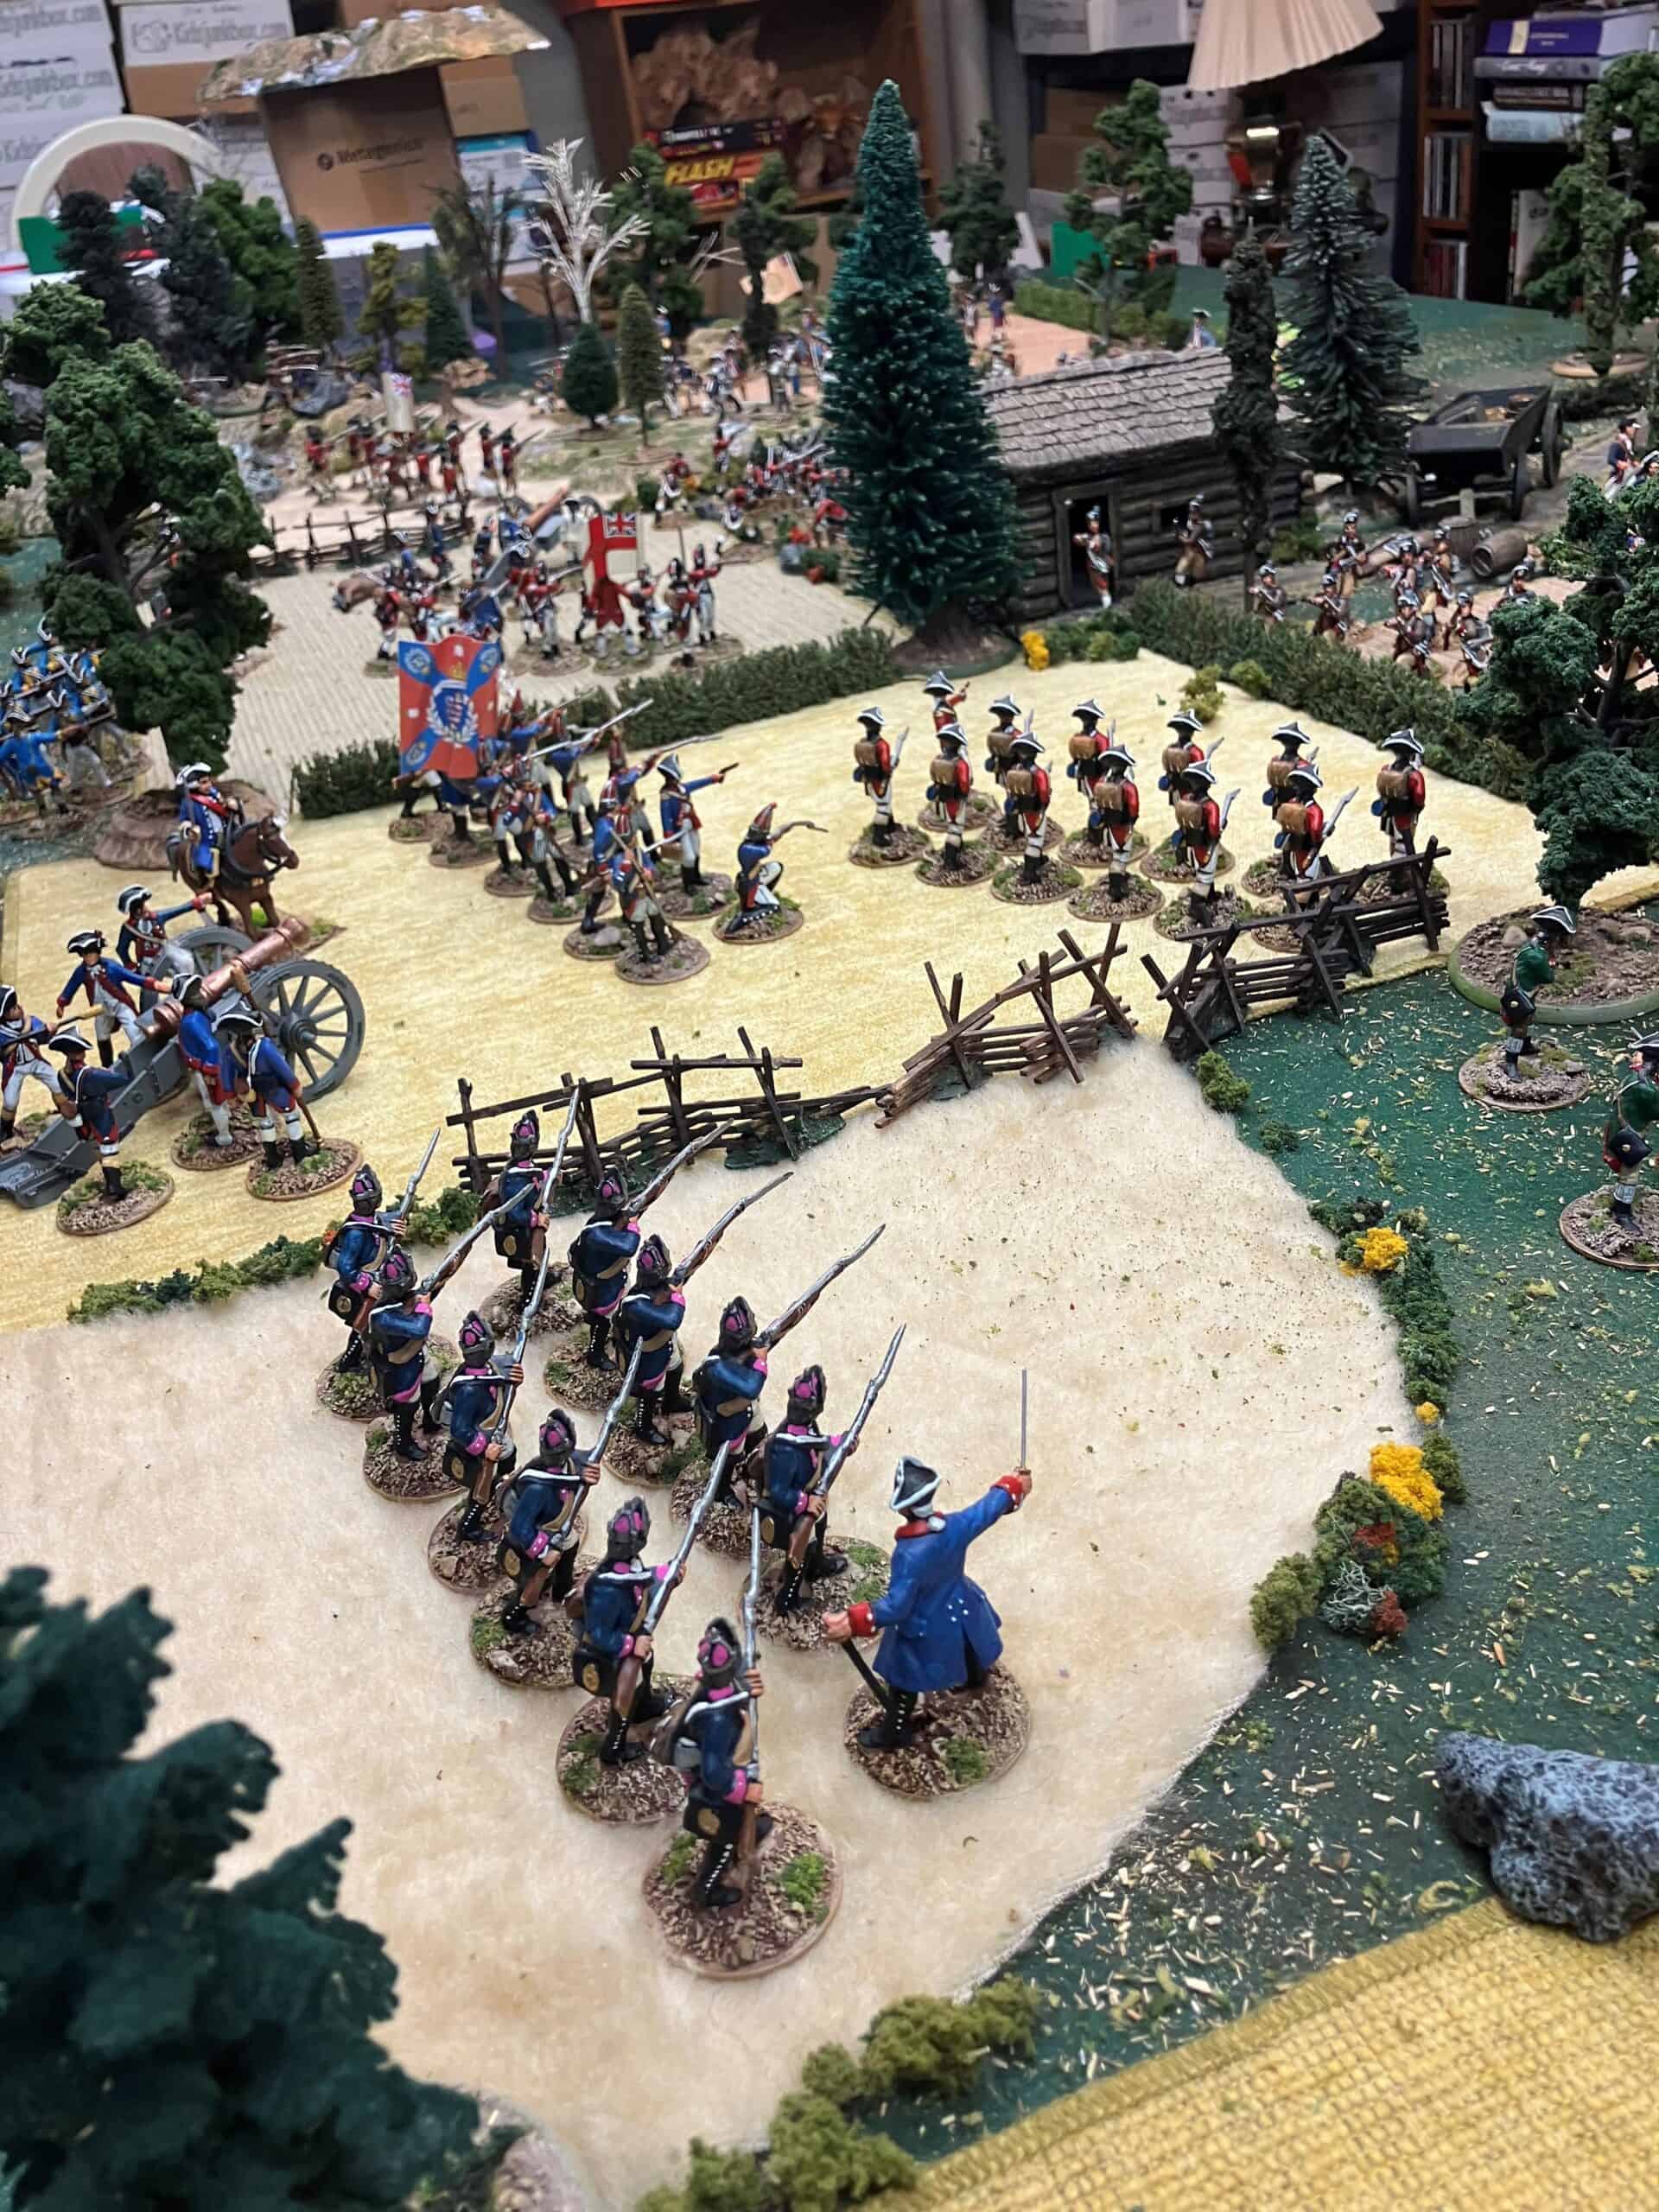
Hi Chris-here are some pics of the Freeman’s Farm game I ran last month.
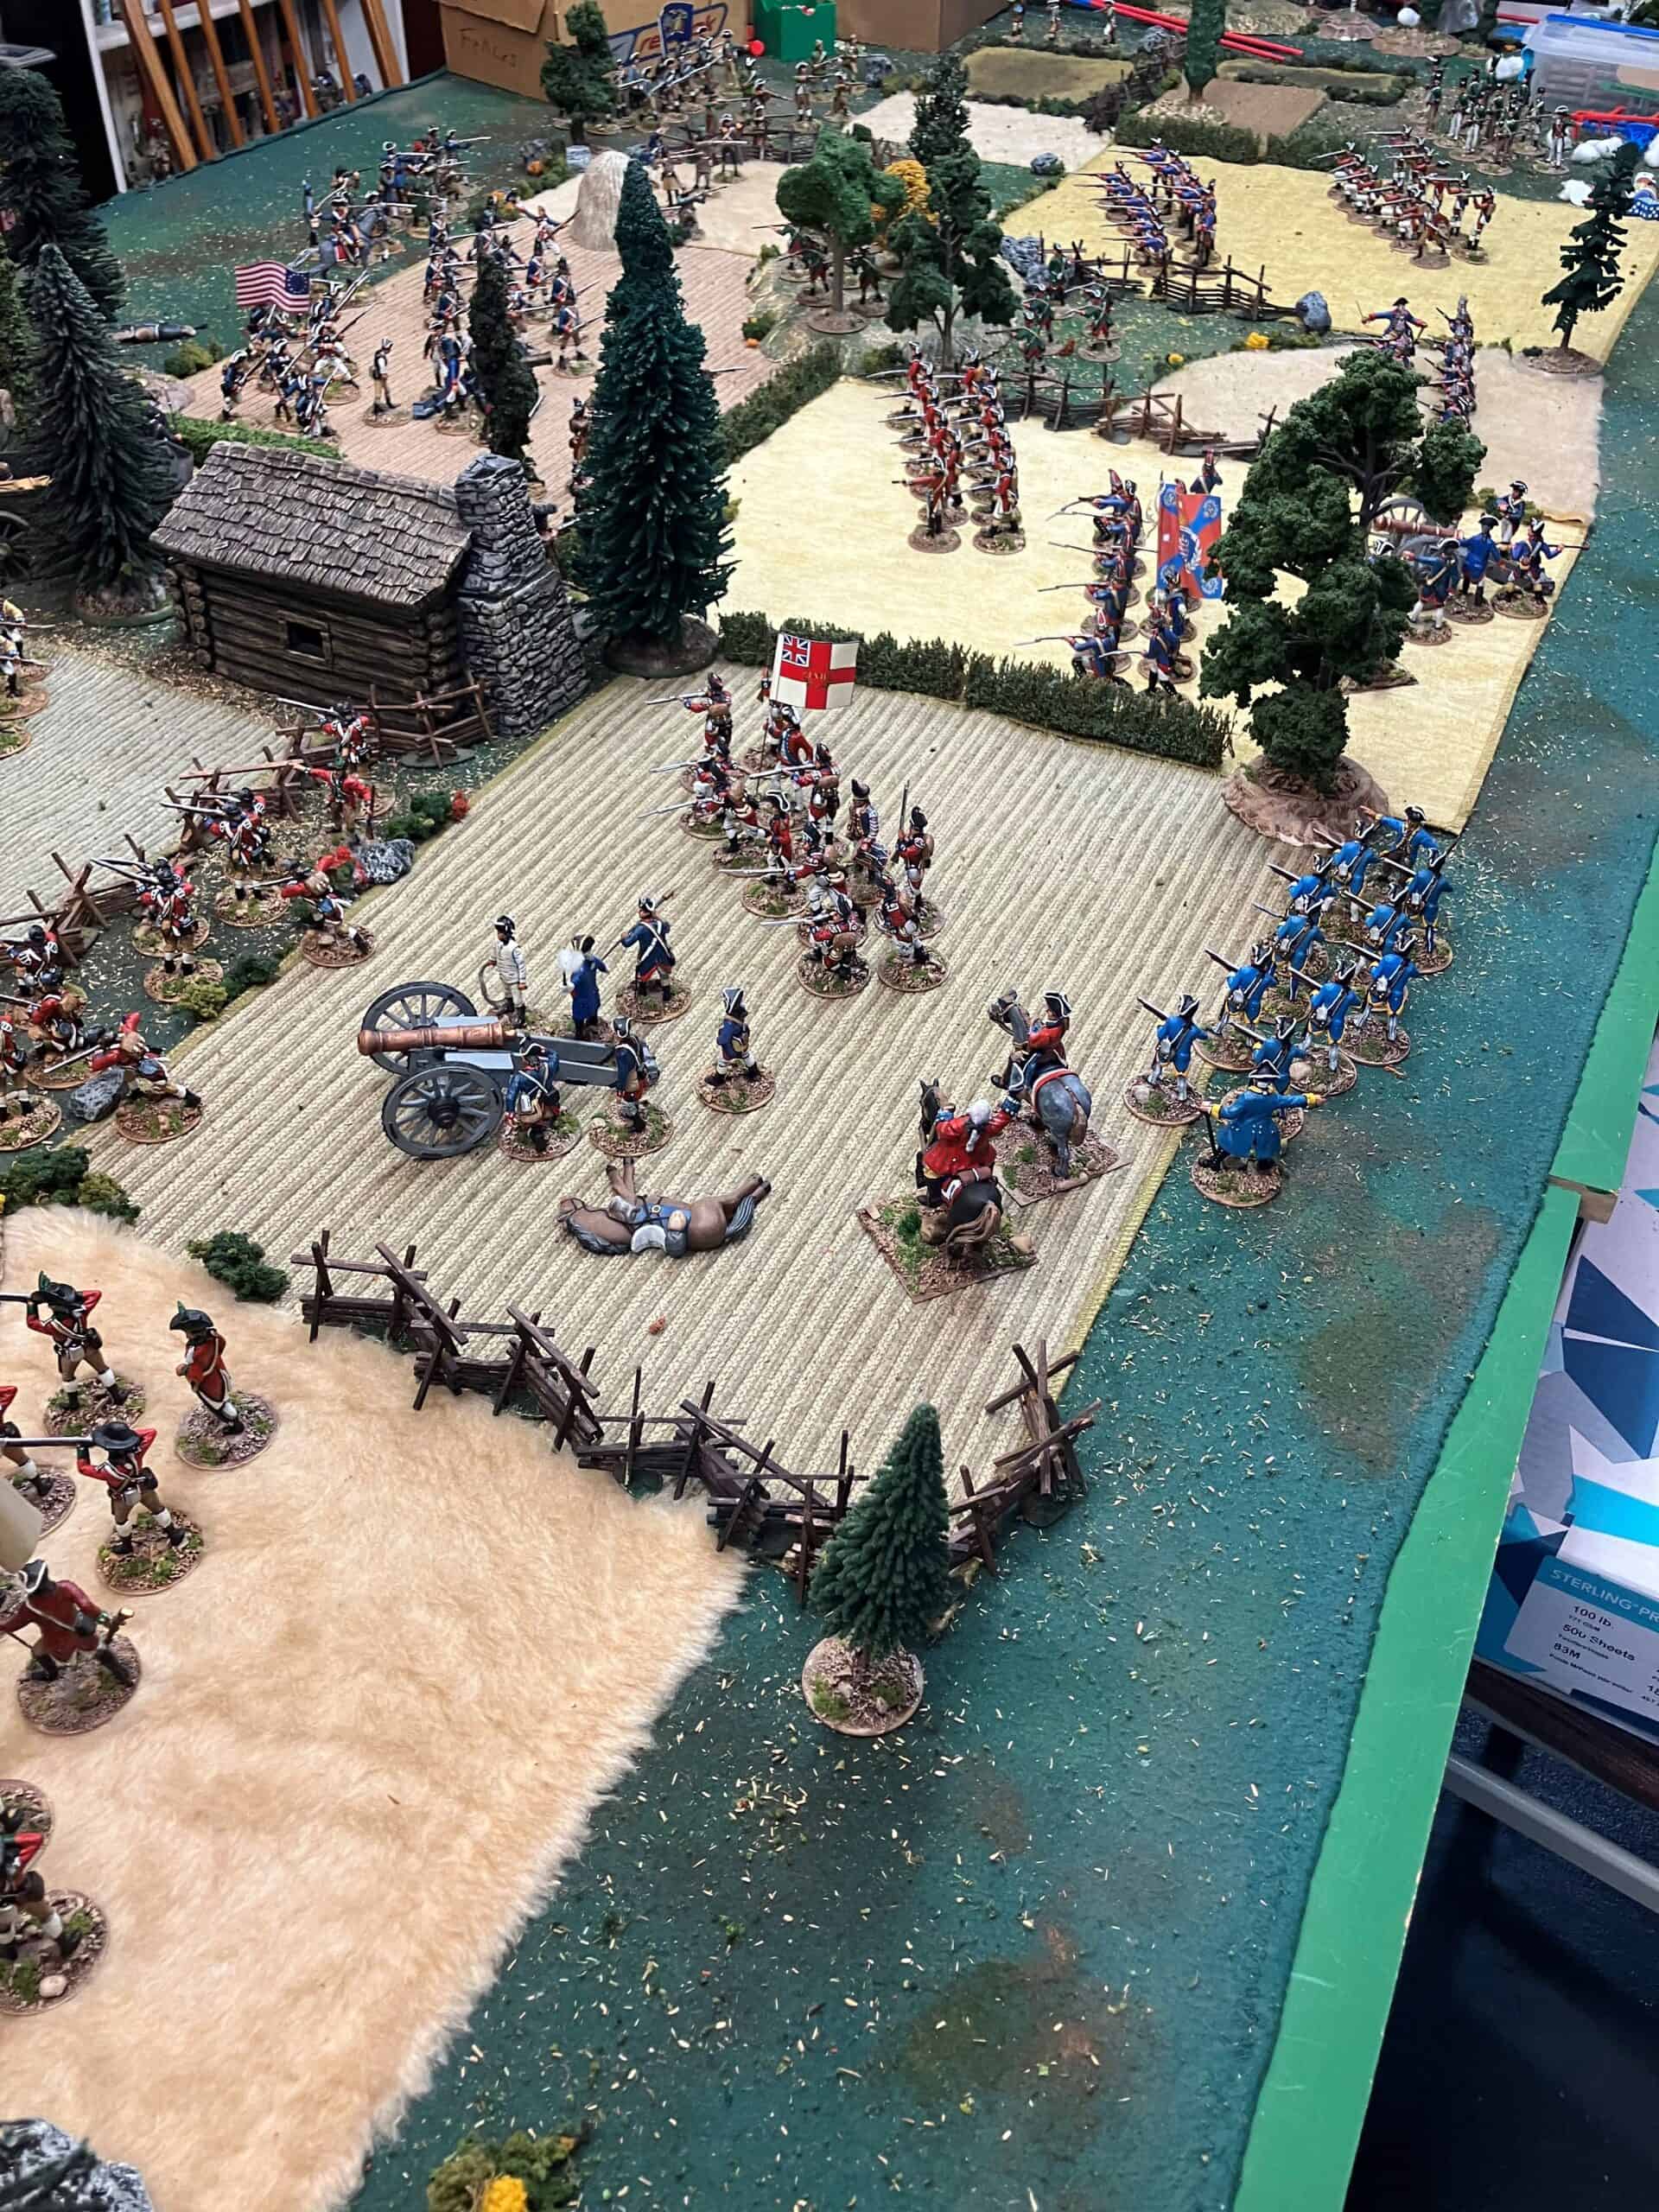
The battlefield was a hypothetical imagining of the terrain at freeman’s farm in 54mm scale with lots of open areas and numerous fence lines interspersed with some rough wooded areas.
Many of the troops pictured were not at the historical battle but I had six players, lots of figures and I wanted to make sure everyone had enough units in their commands for an entertaining evening.
The final outcome of the scrap had the British holding the field but at a dreadful cost in casualties which were hard to replace as was the case in 1777.
I do like it when games reflect recognizable historical outcomes!
Looking forward to resetting the table and using the Light Bobs rule set for round two!
Brad
Note – I am happy to say that Brad has purchased and painted up a lot of my 54mm troops and they look great.
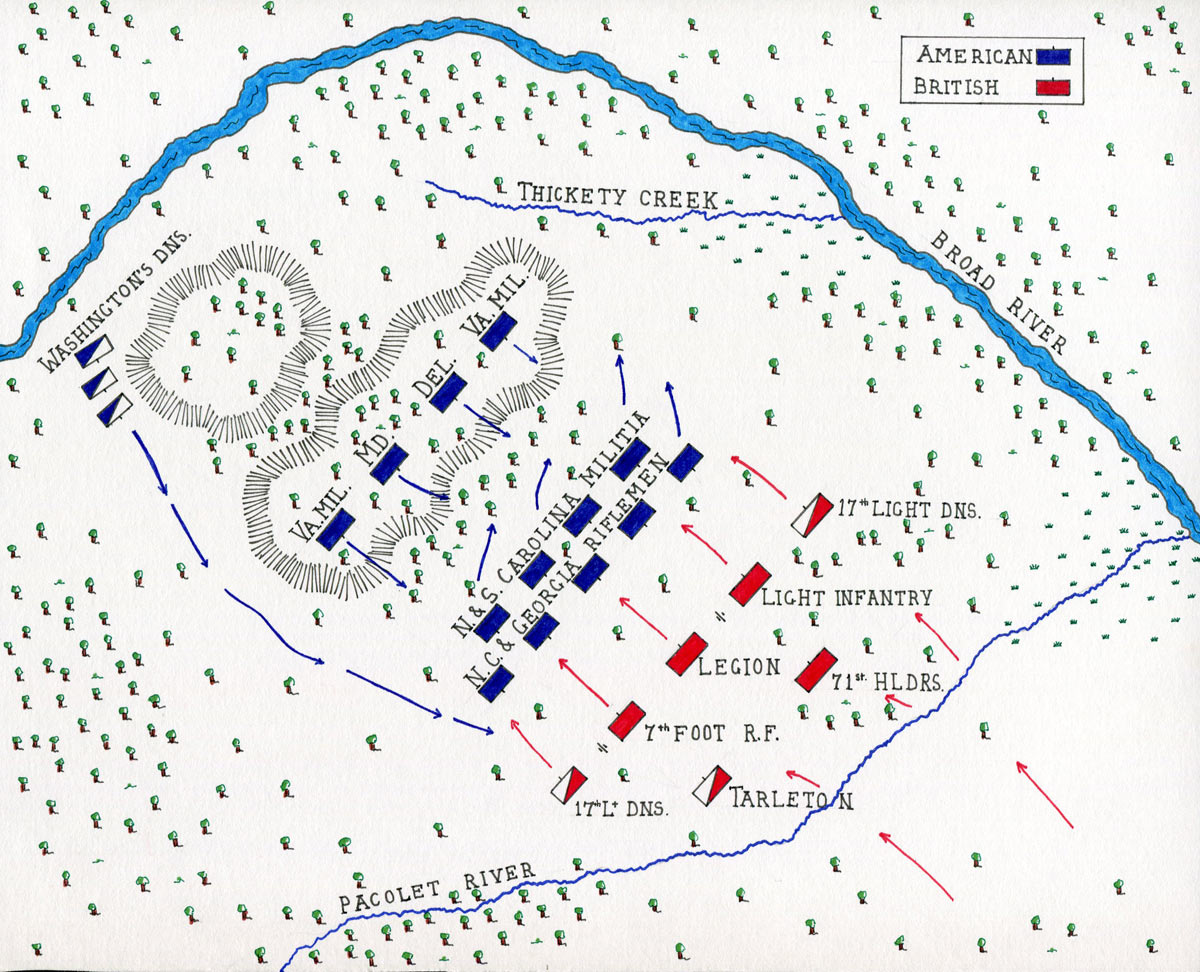
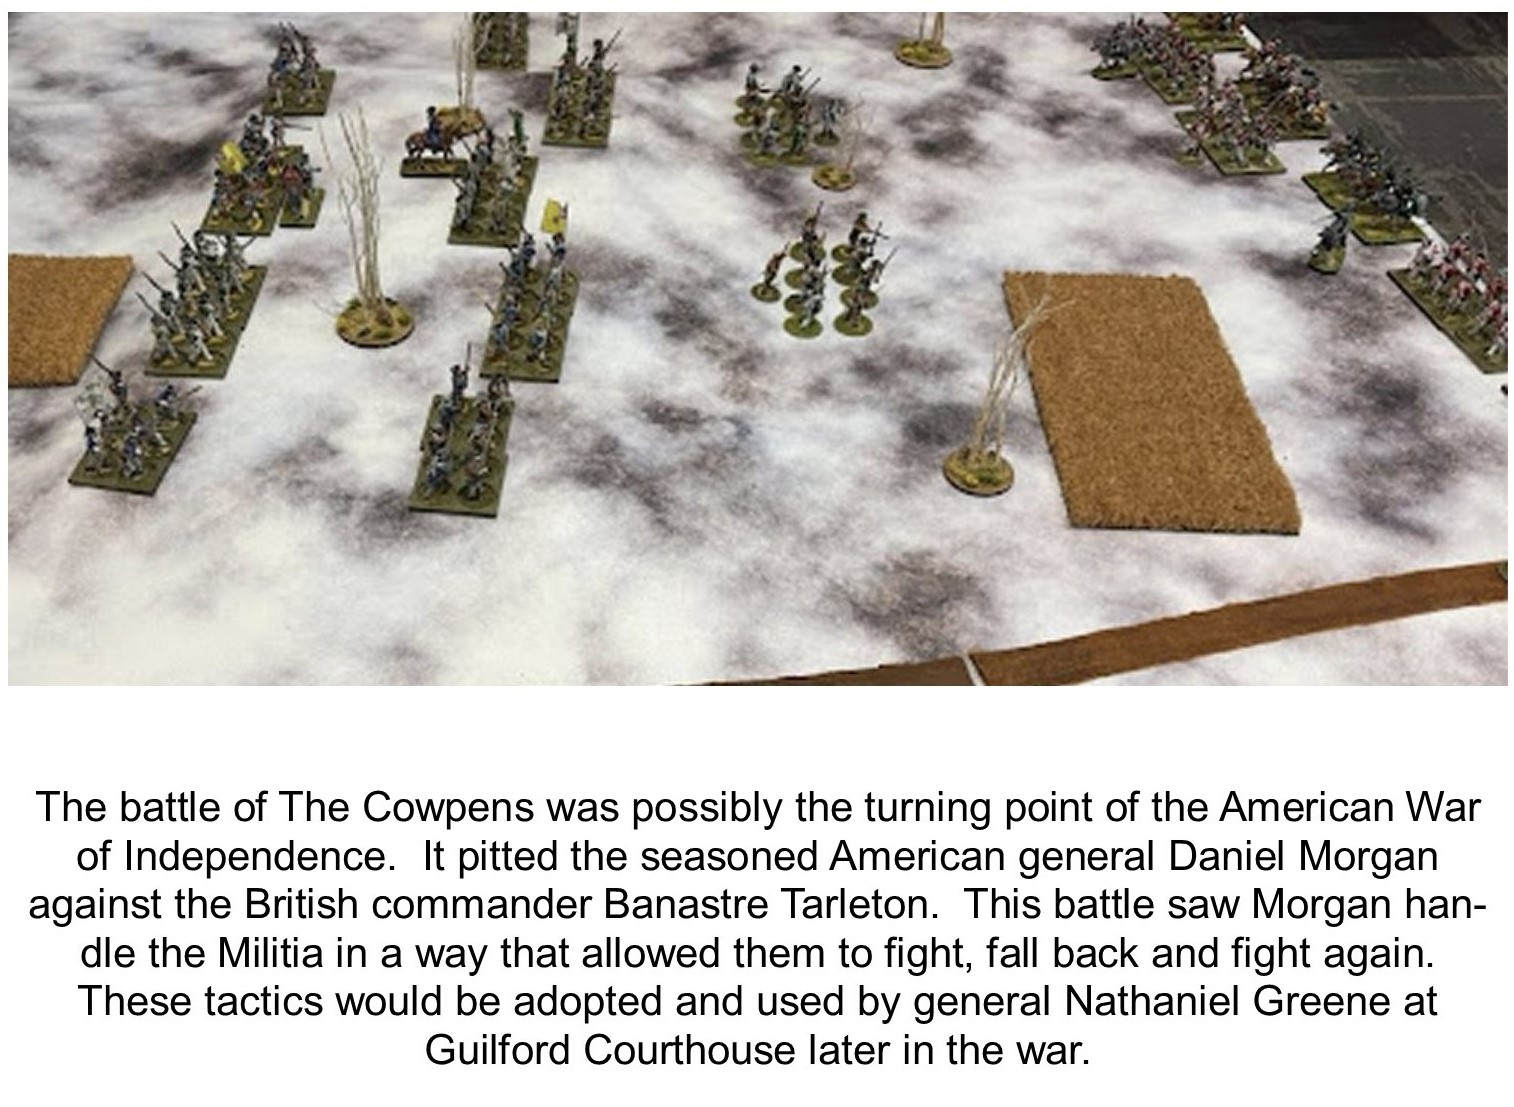
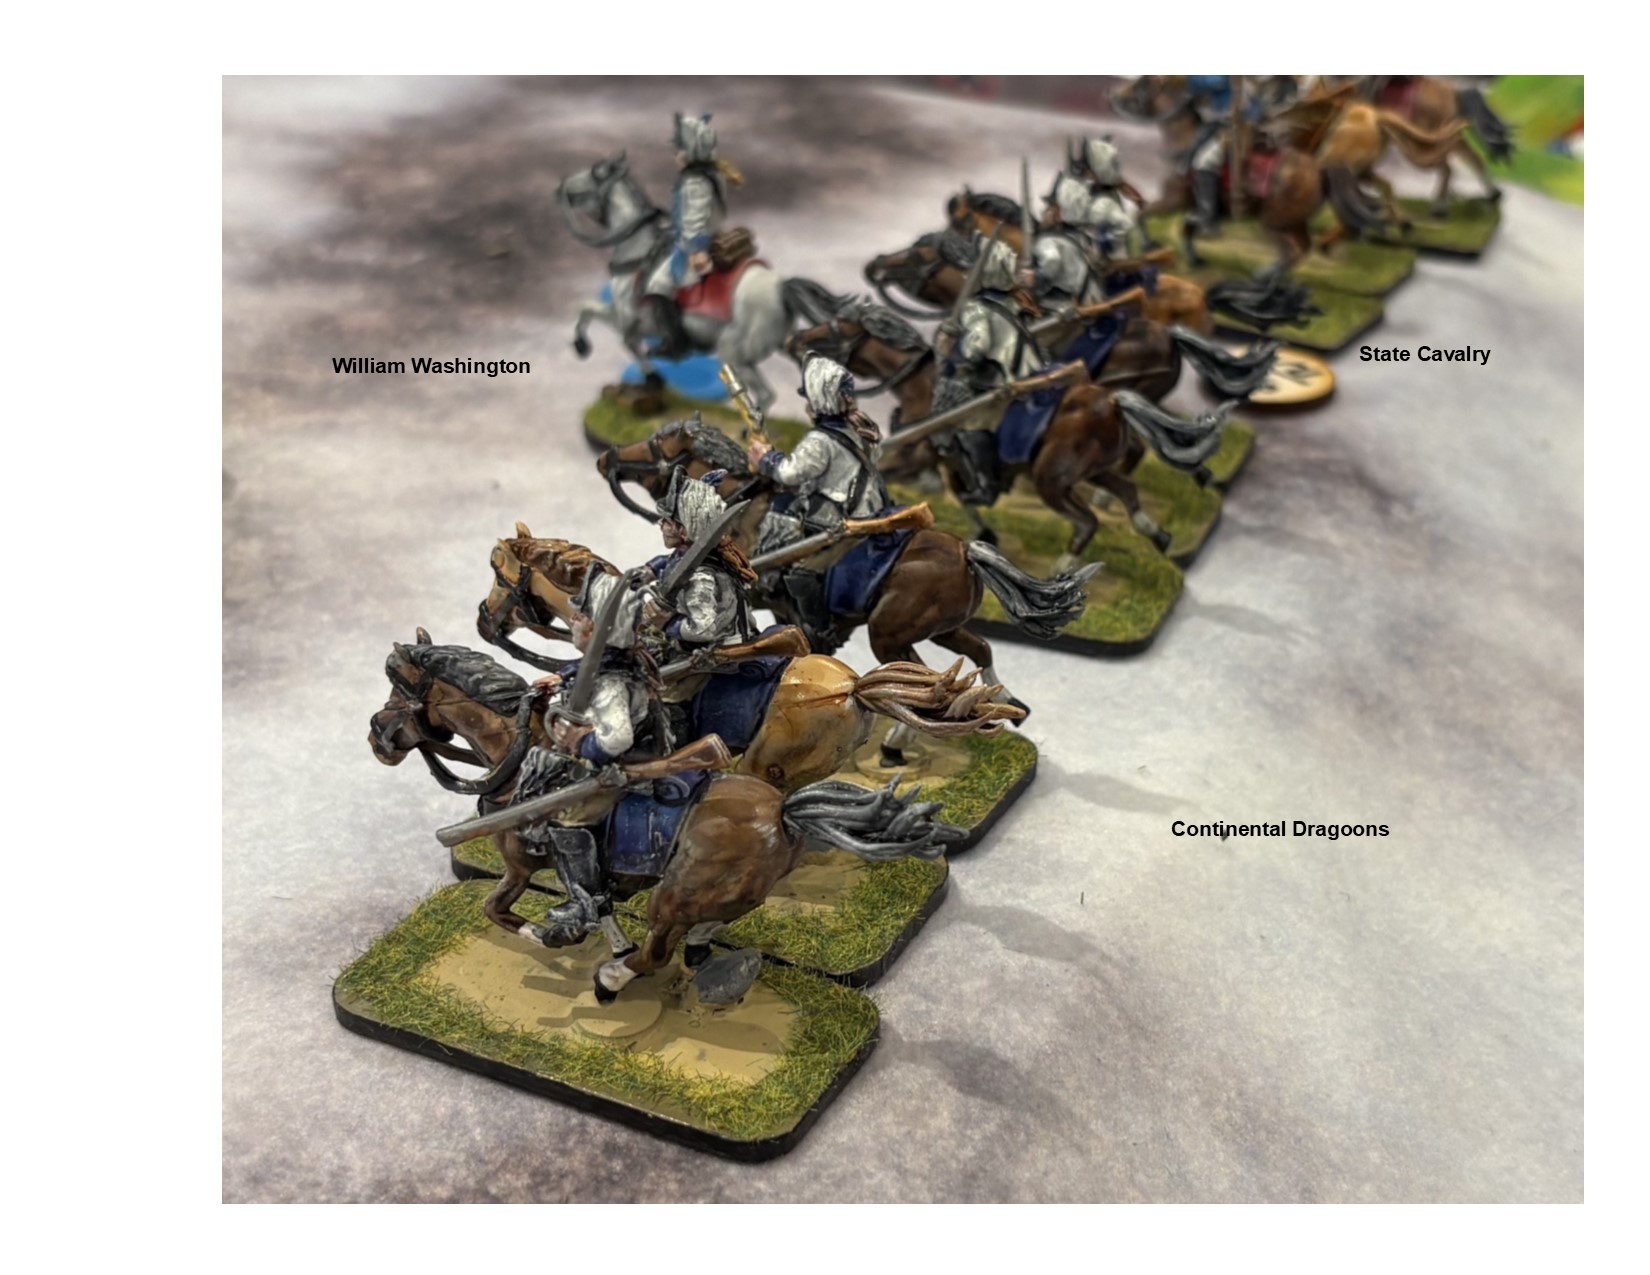
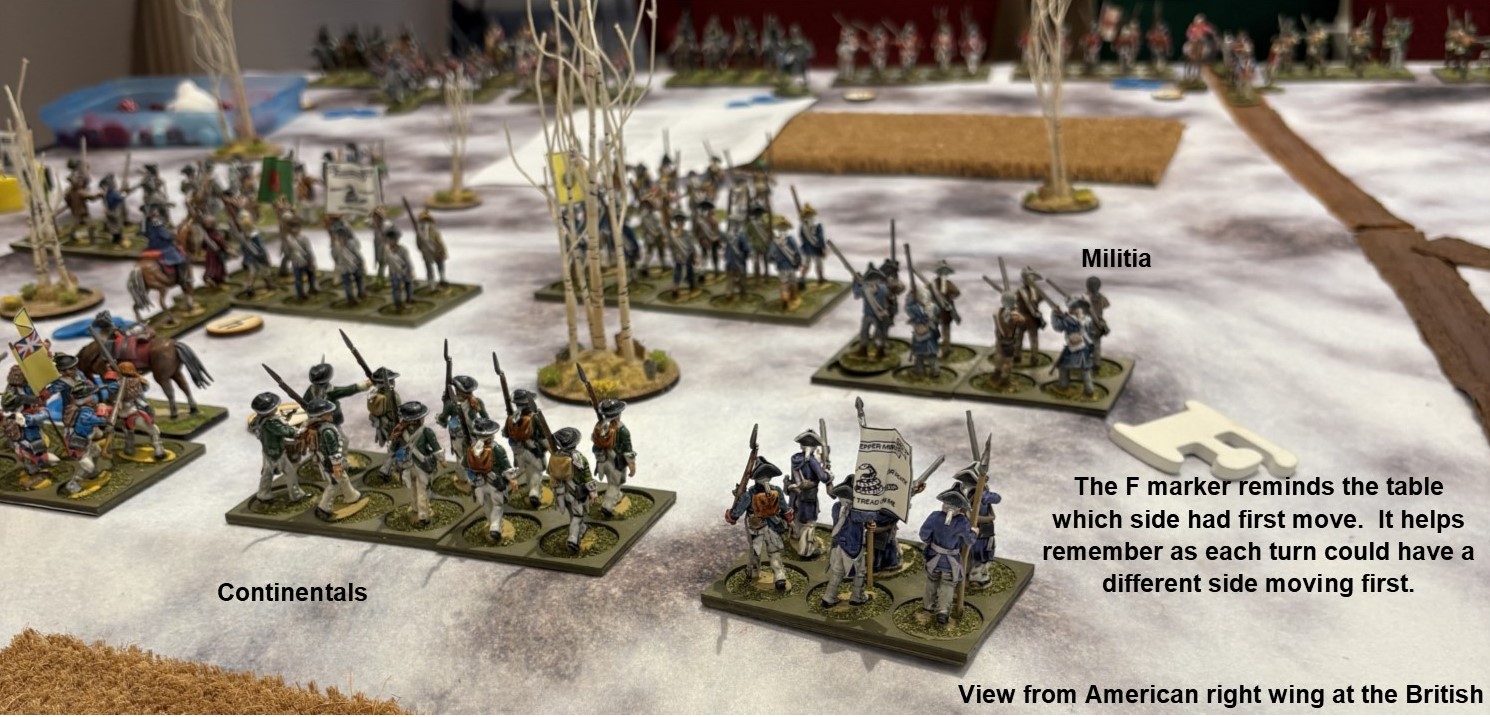
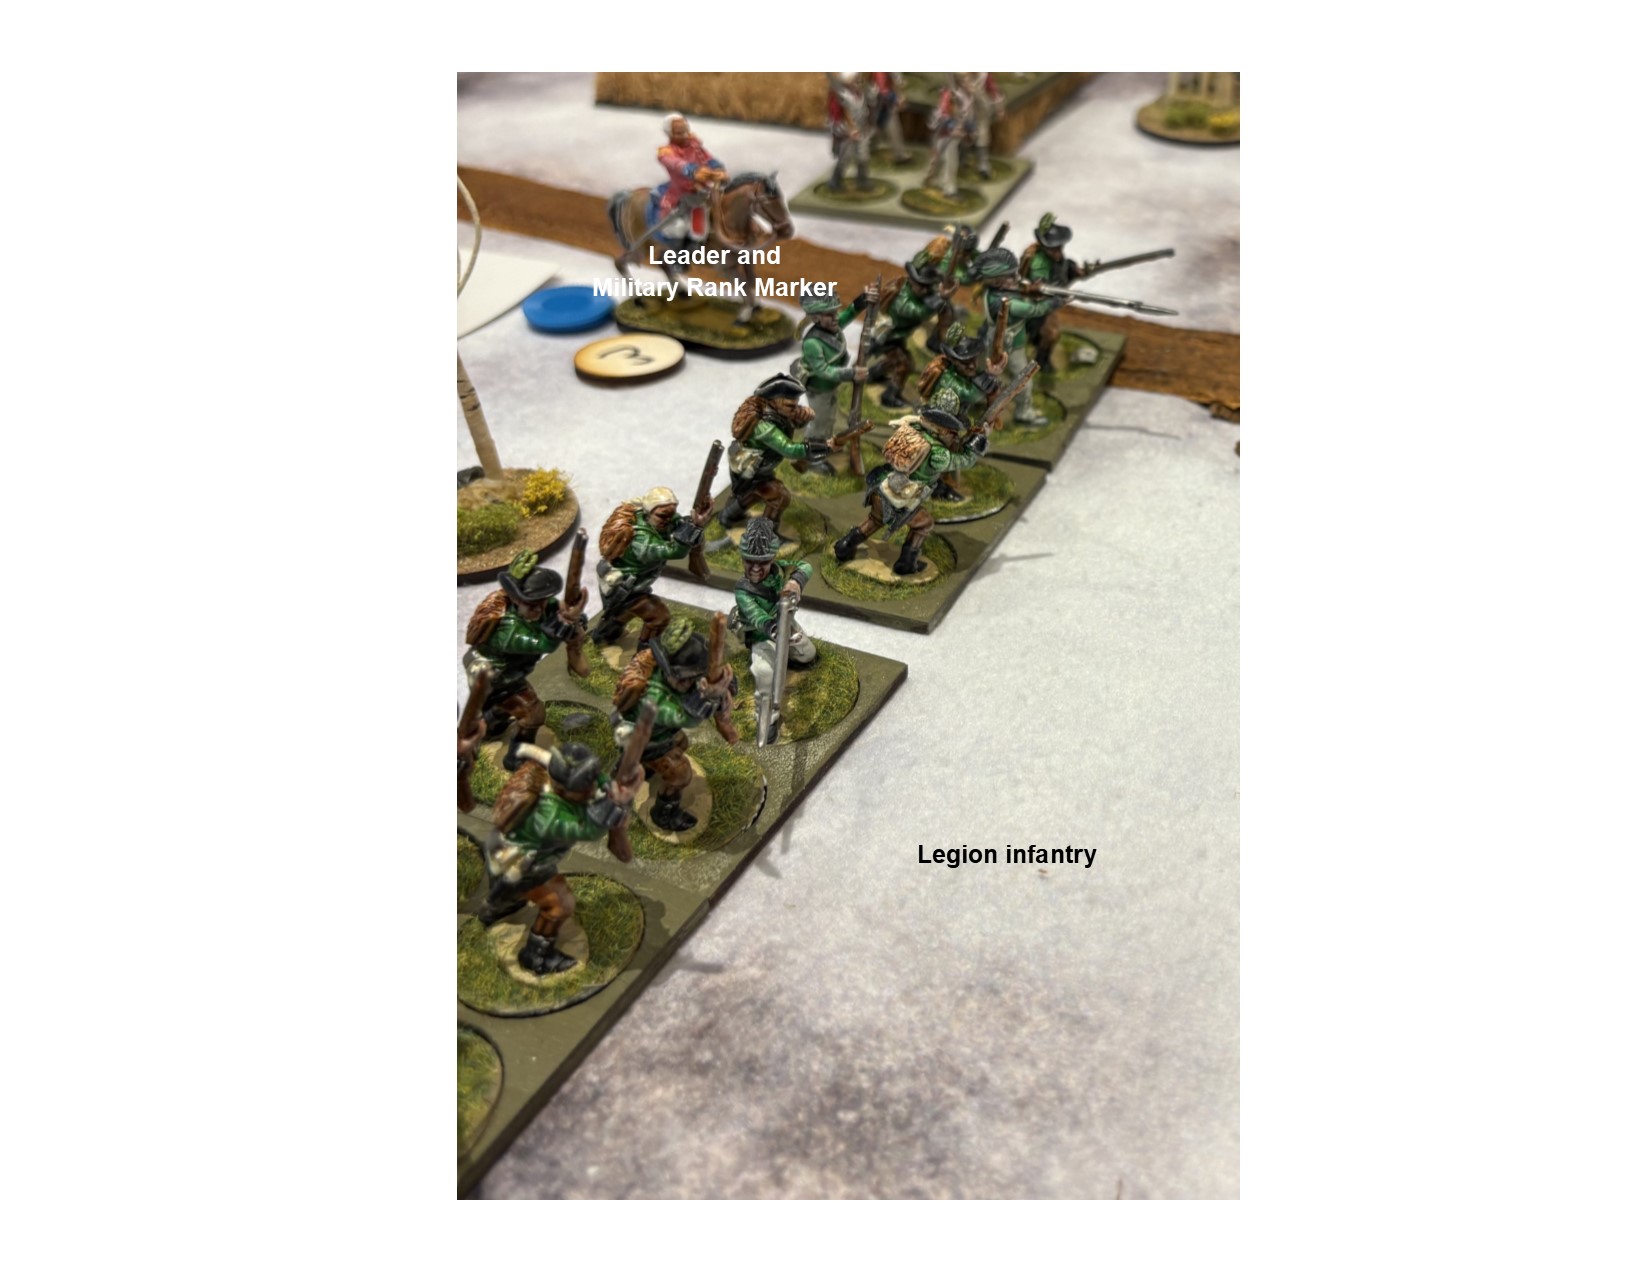
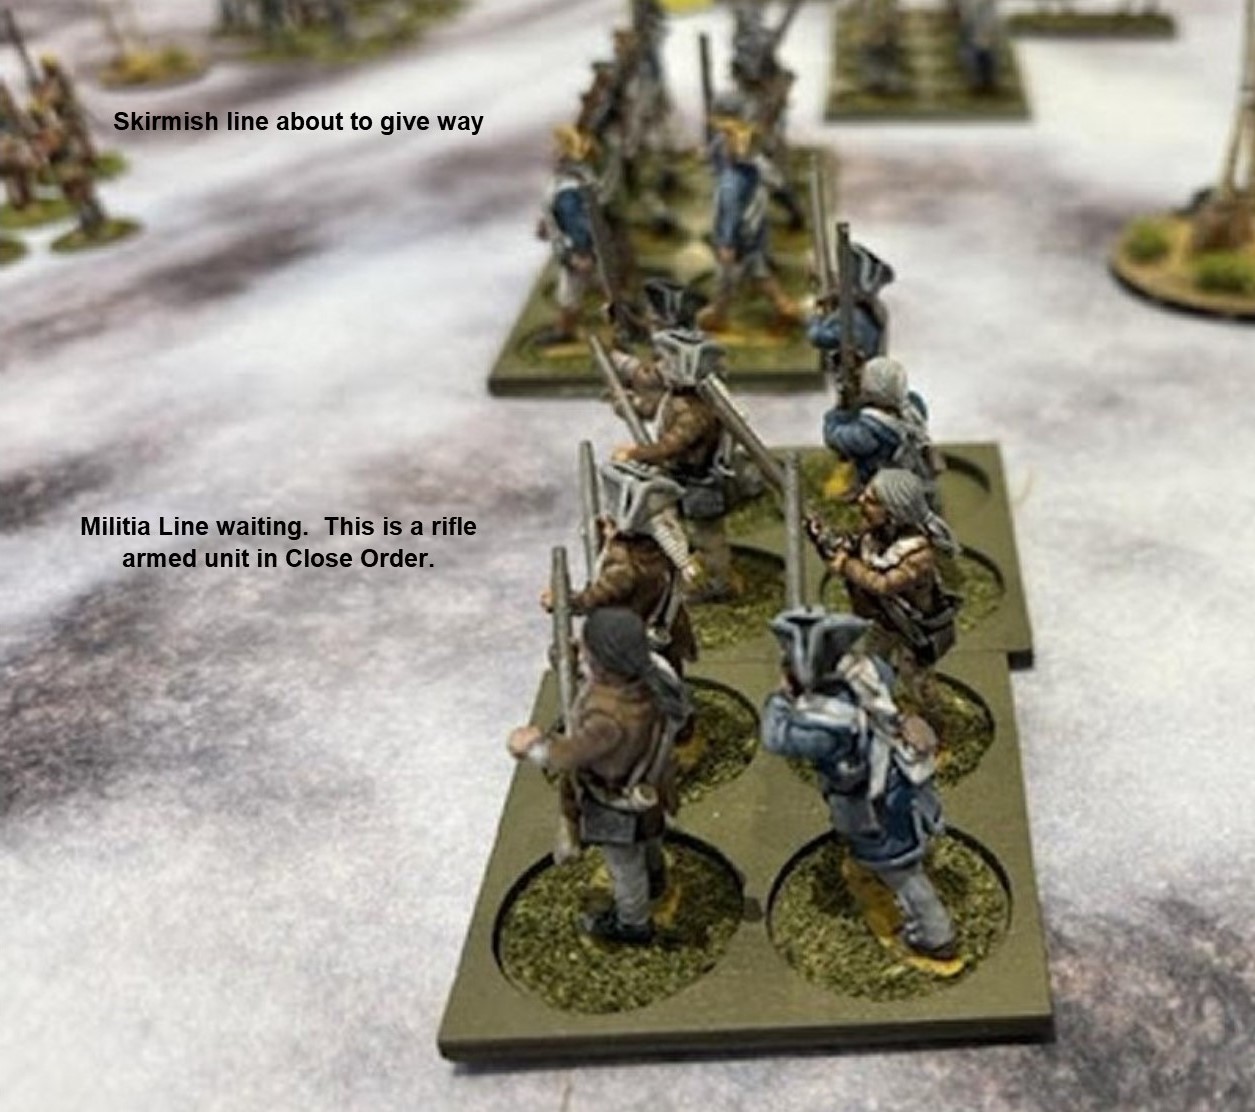
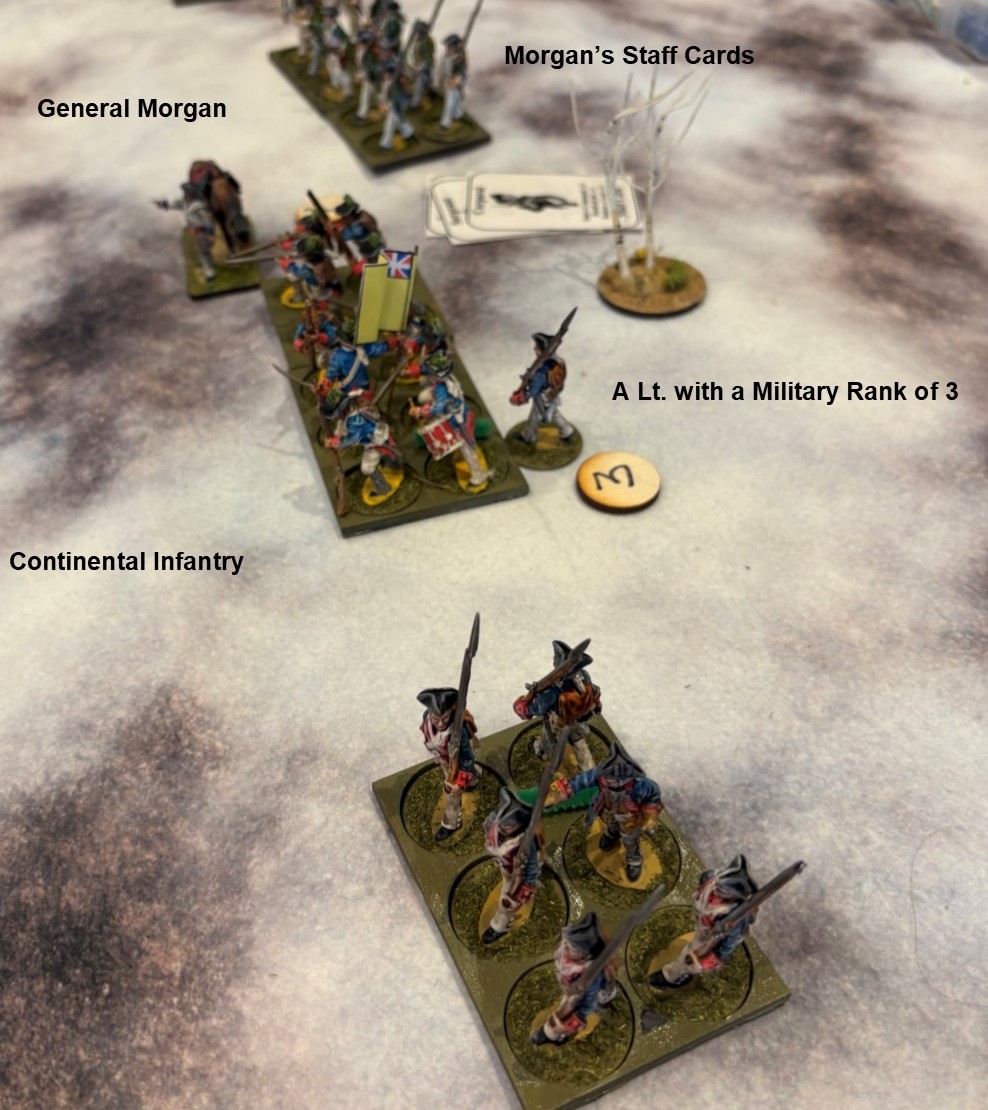
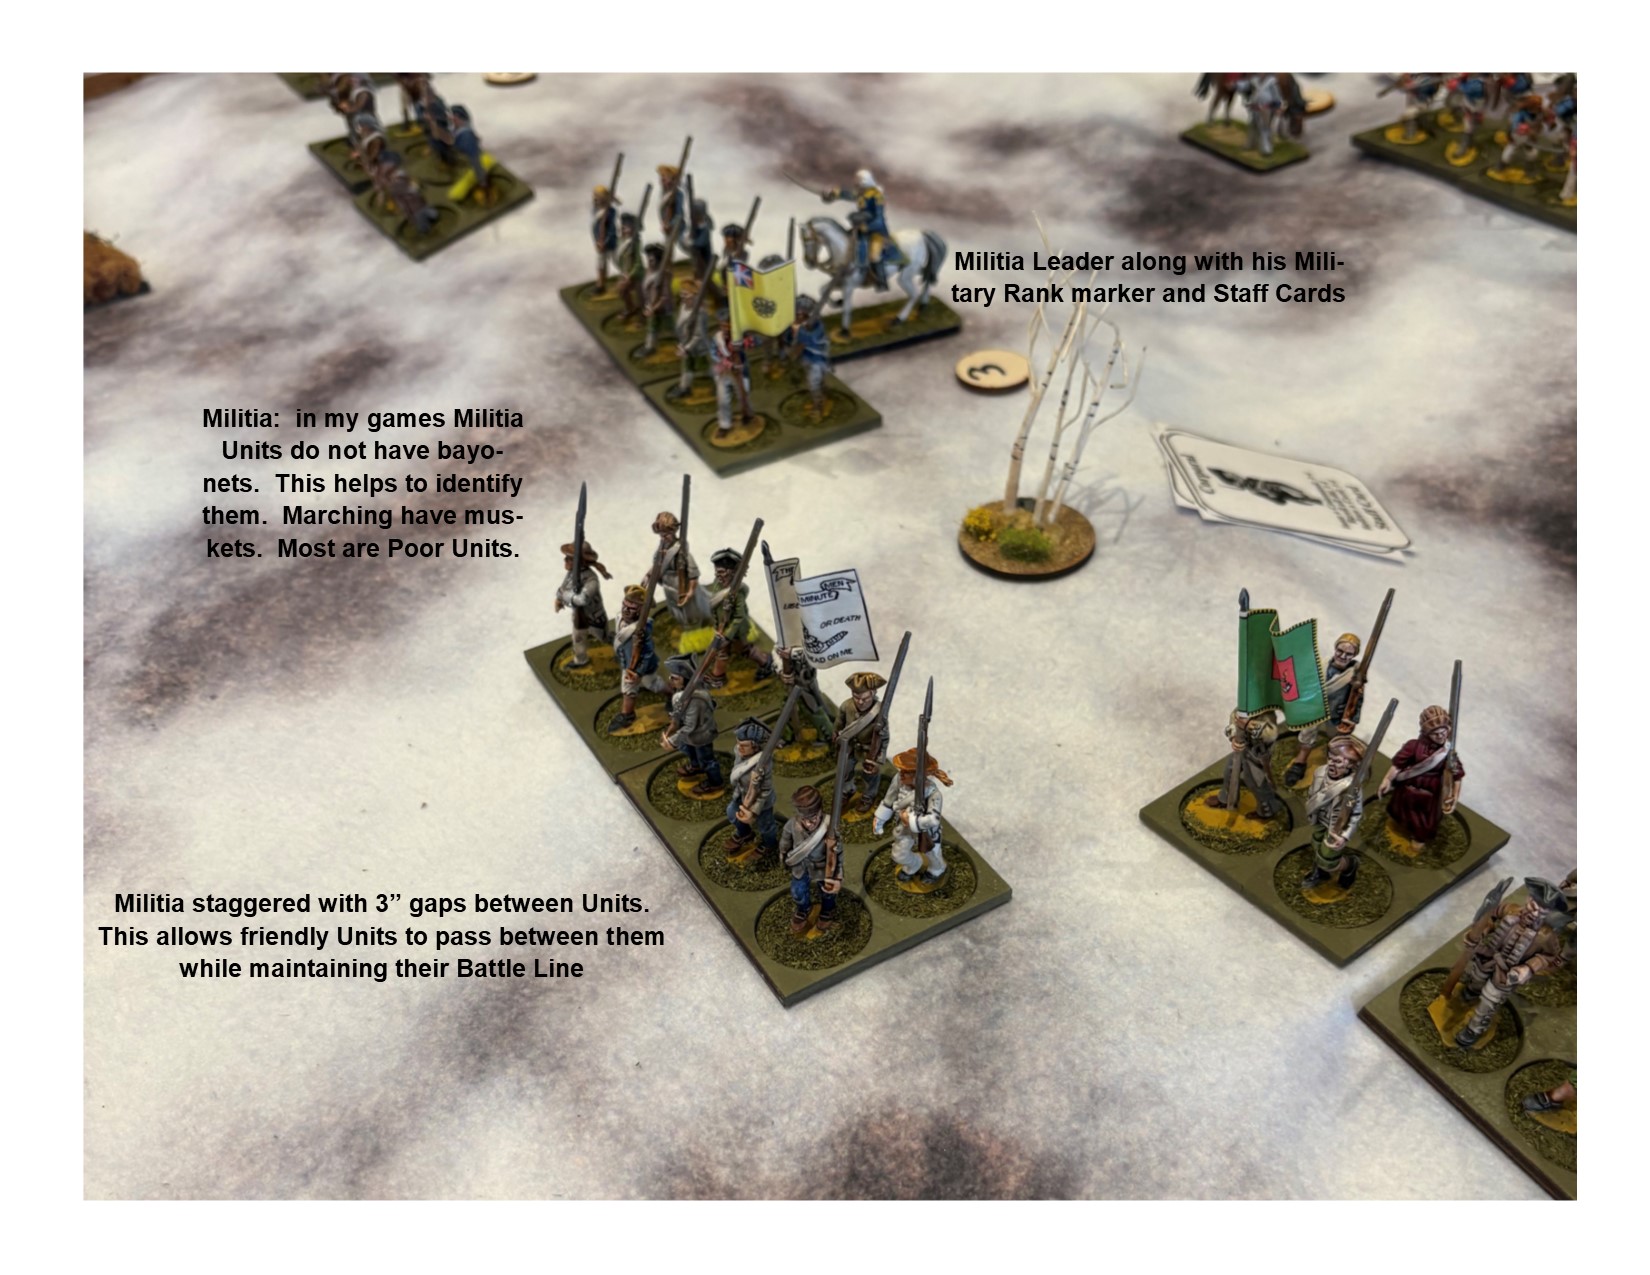
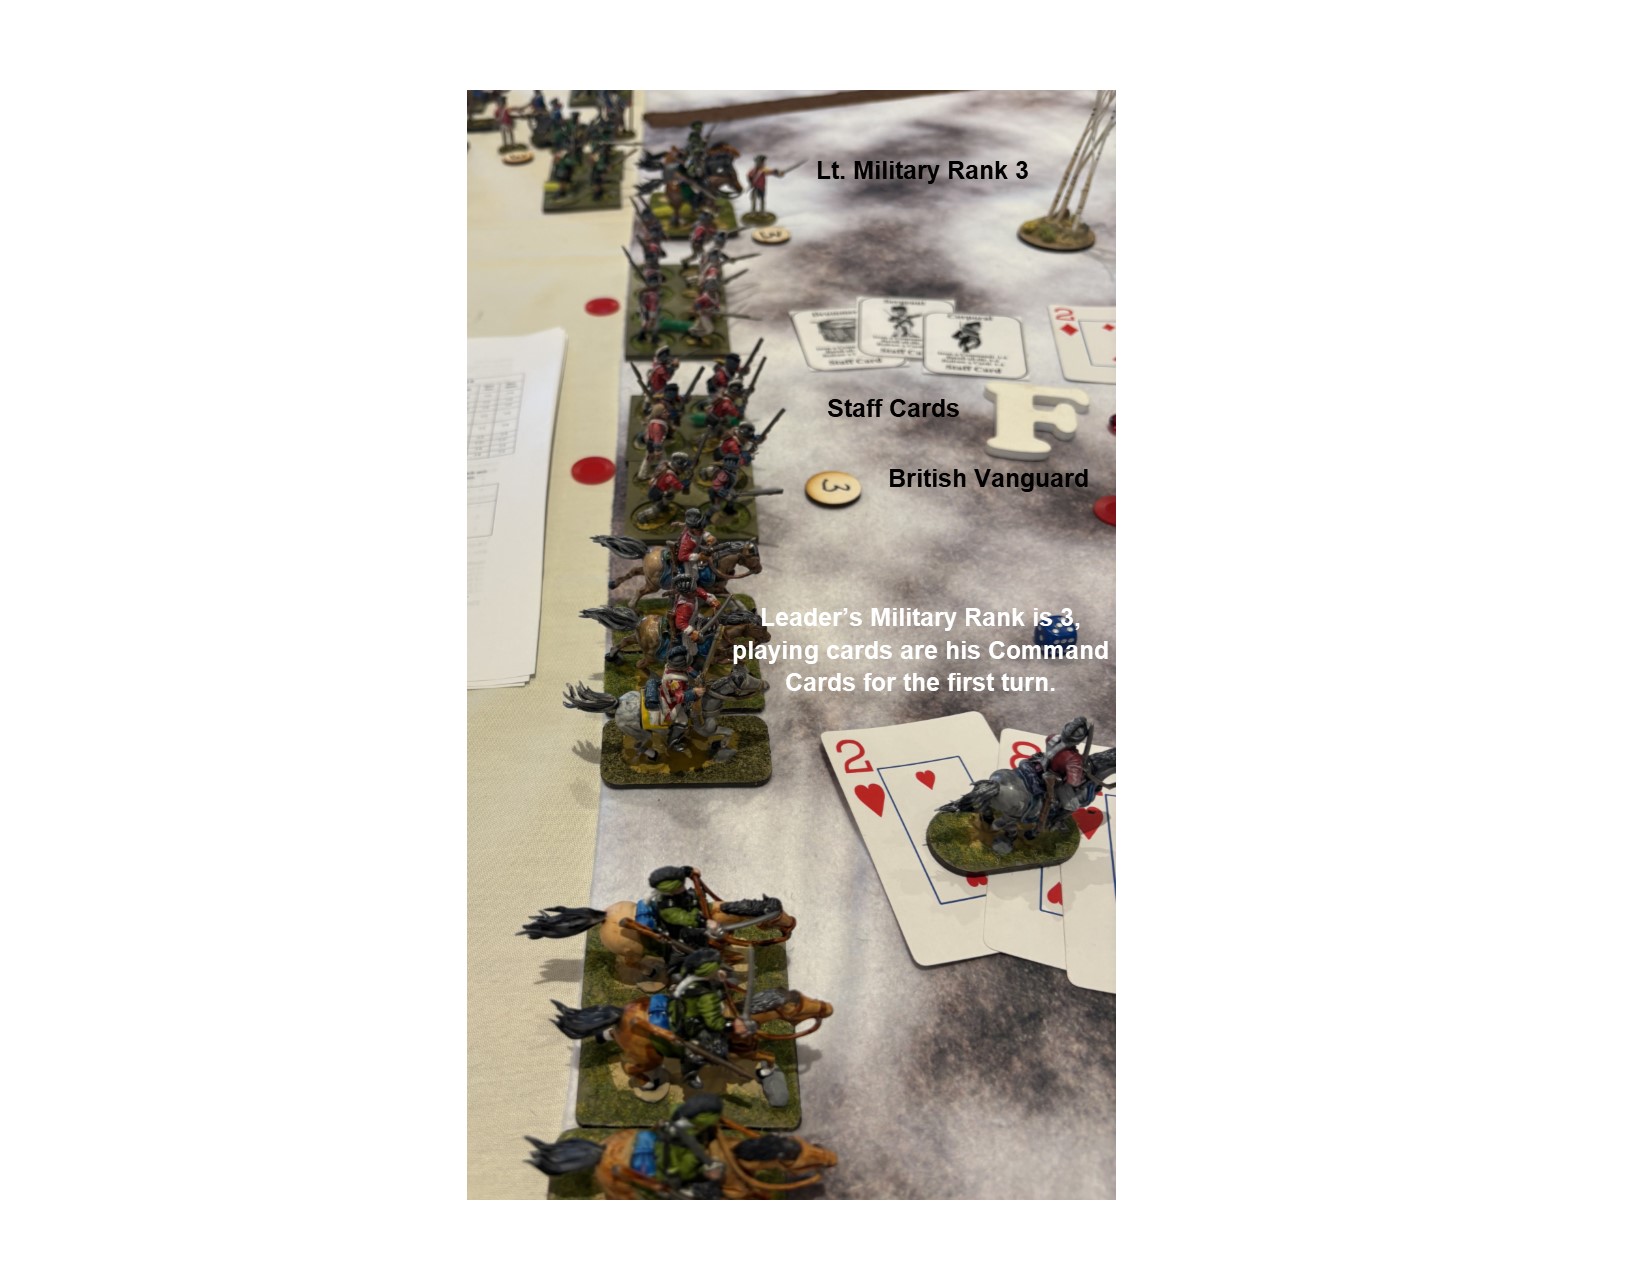
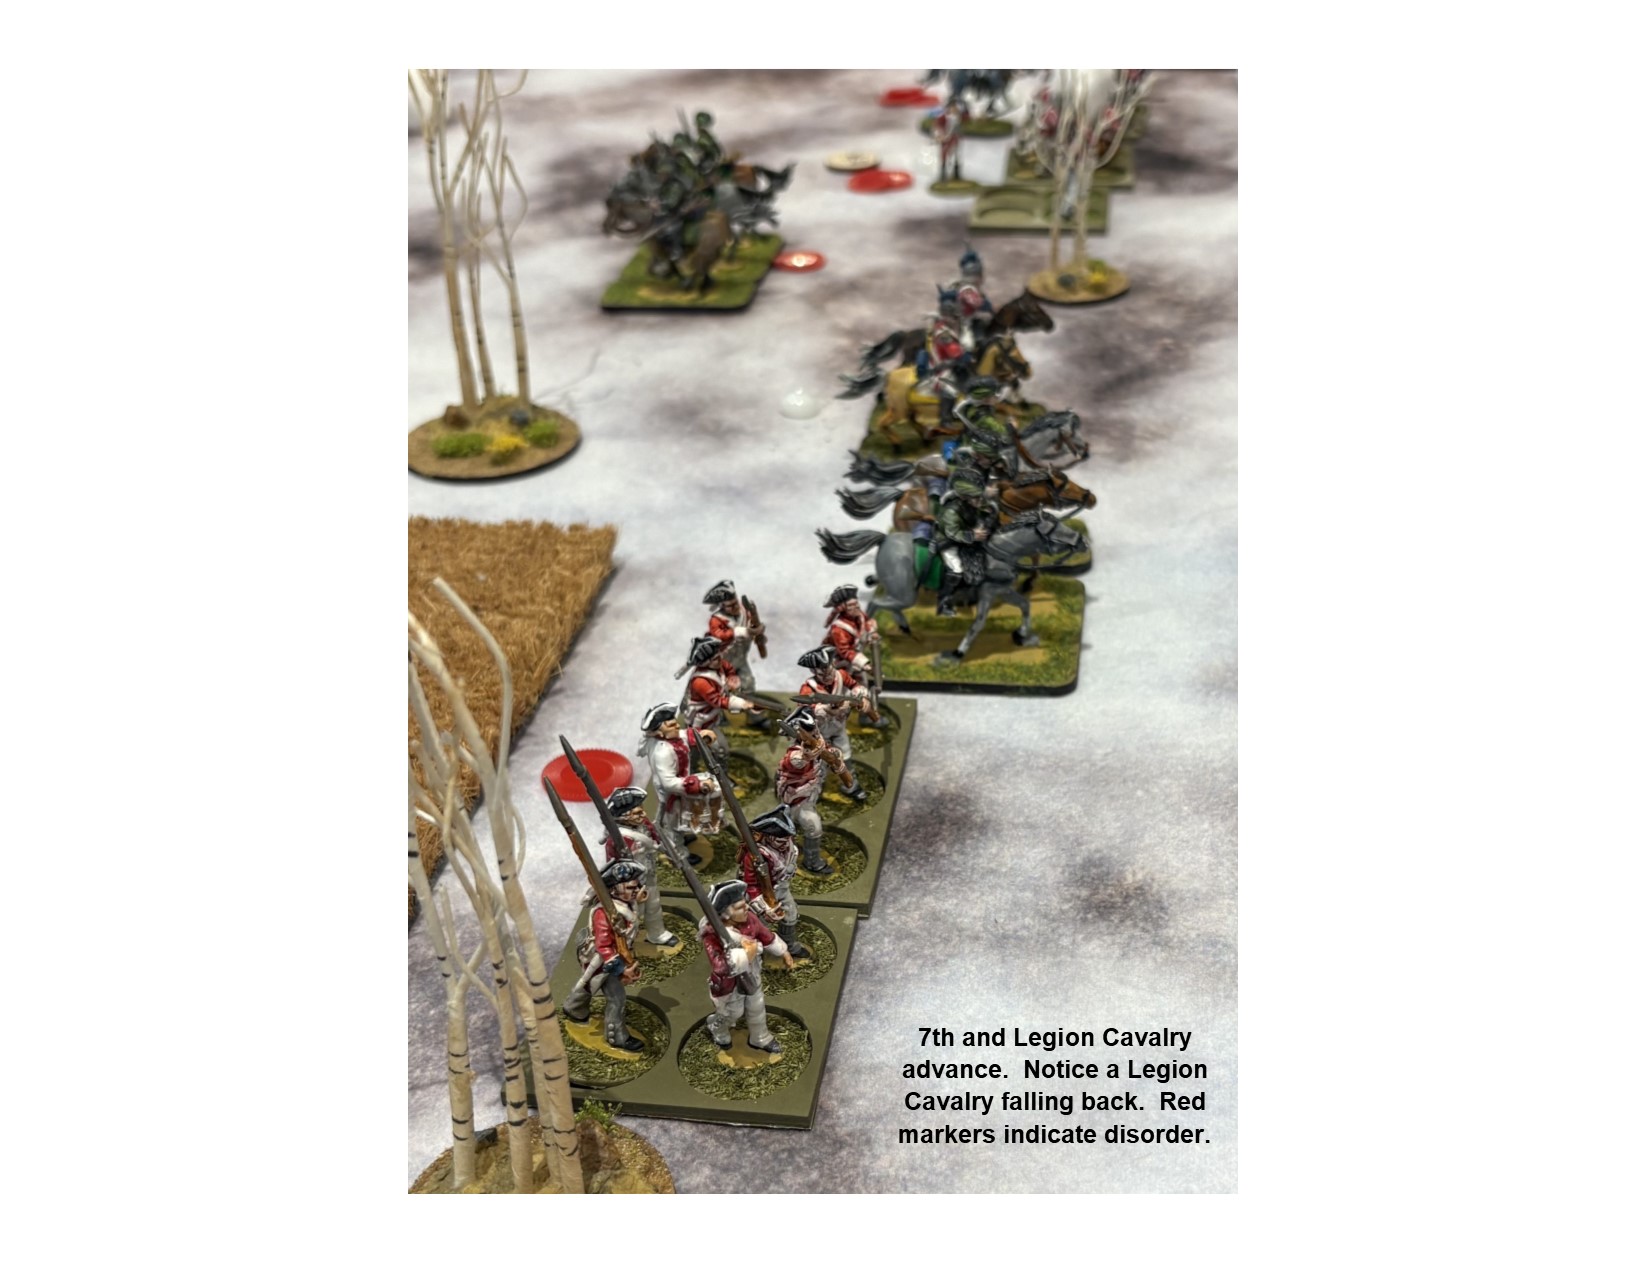
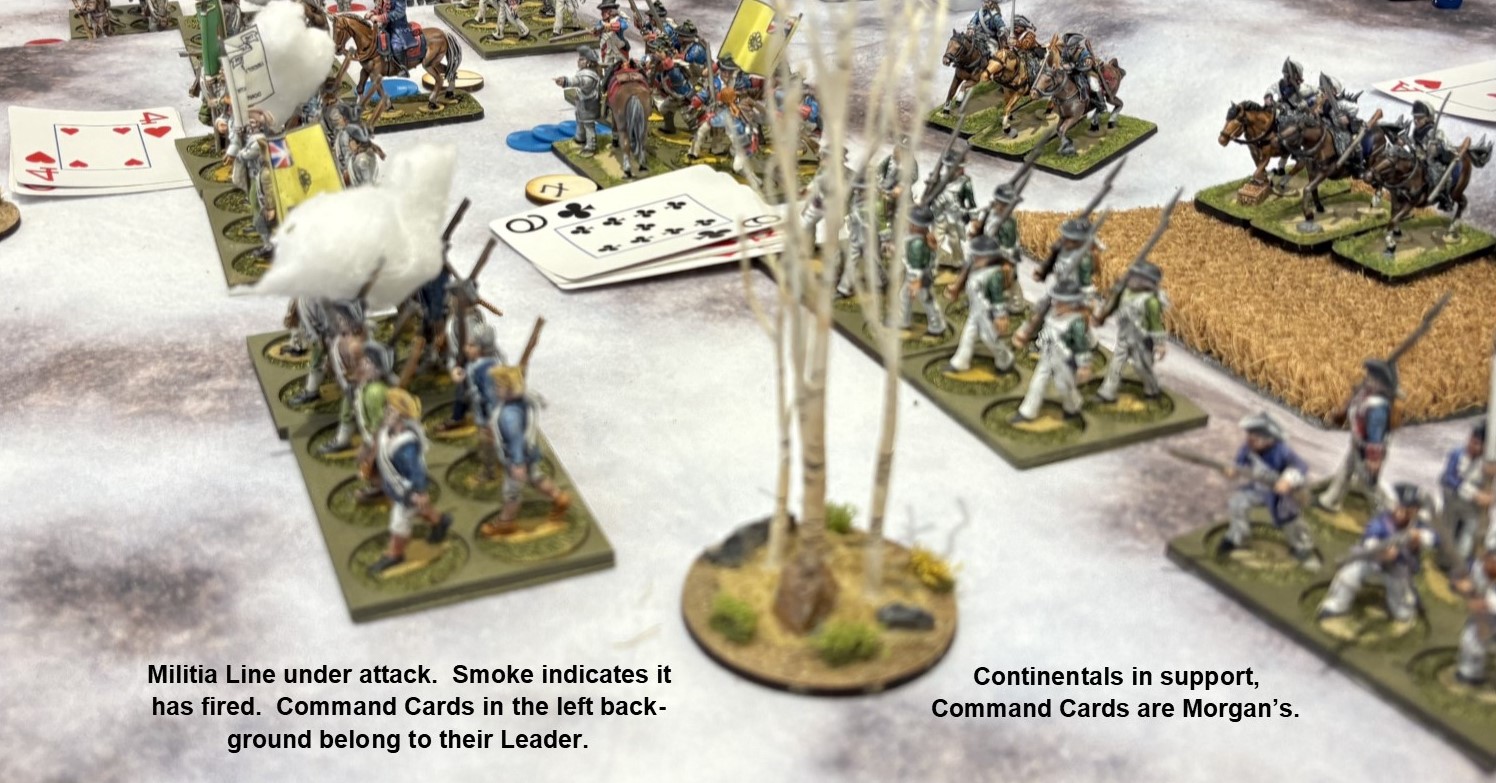
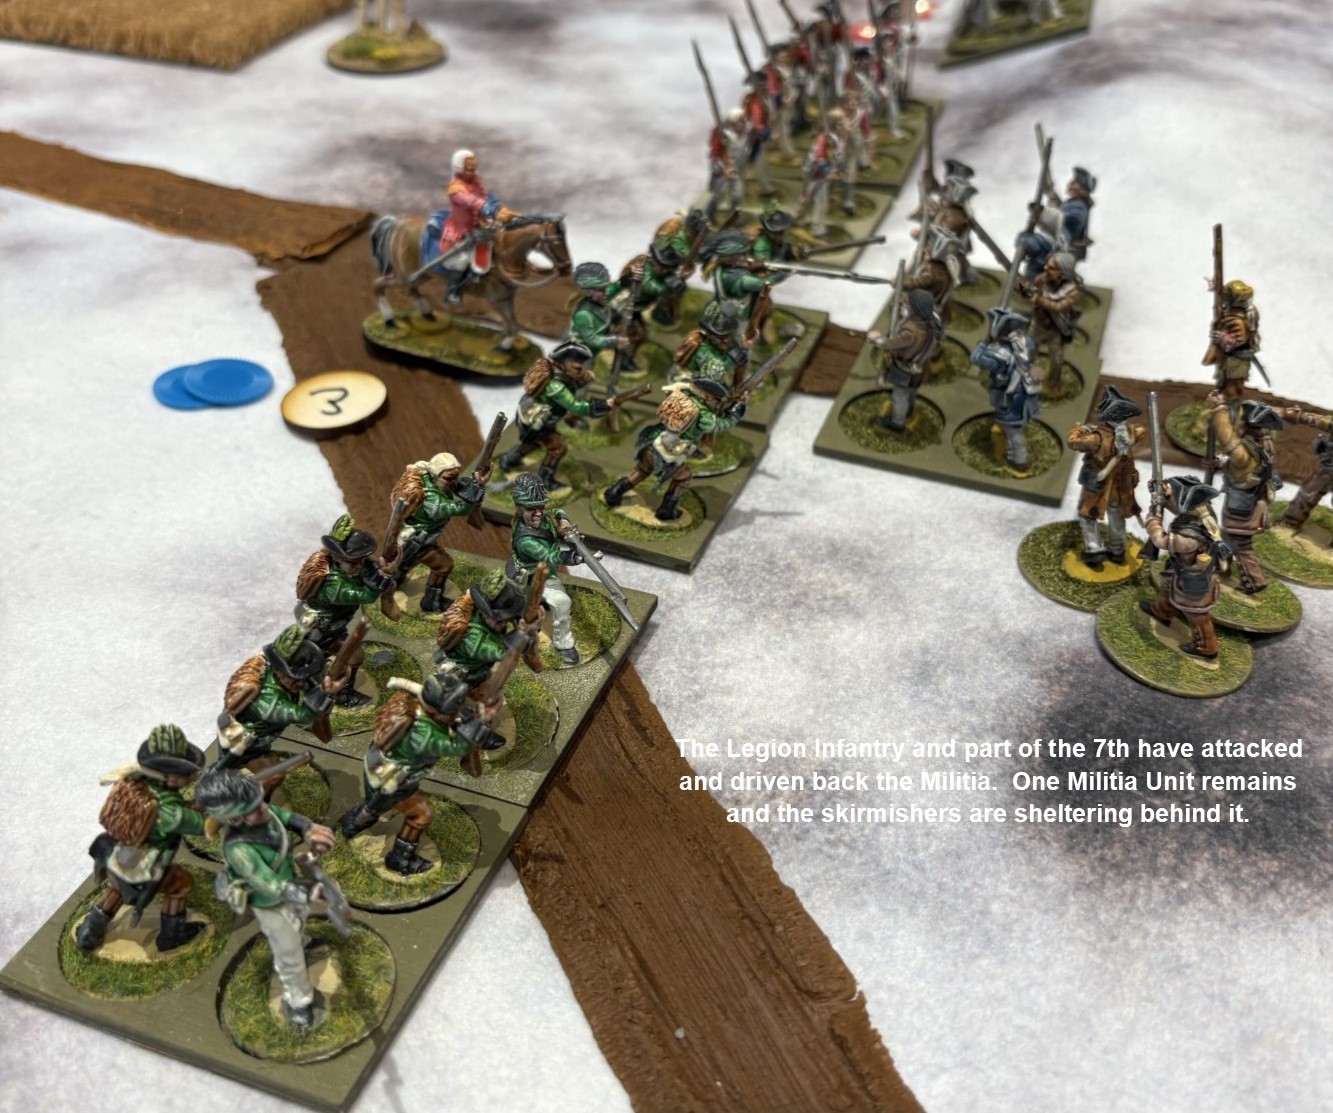
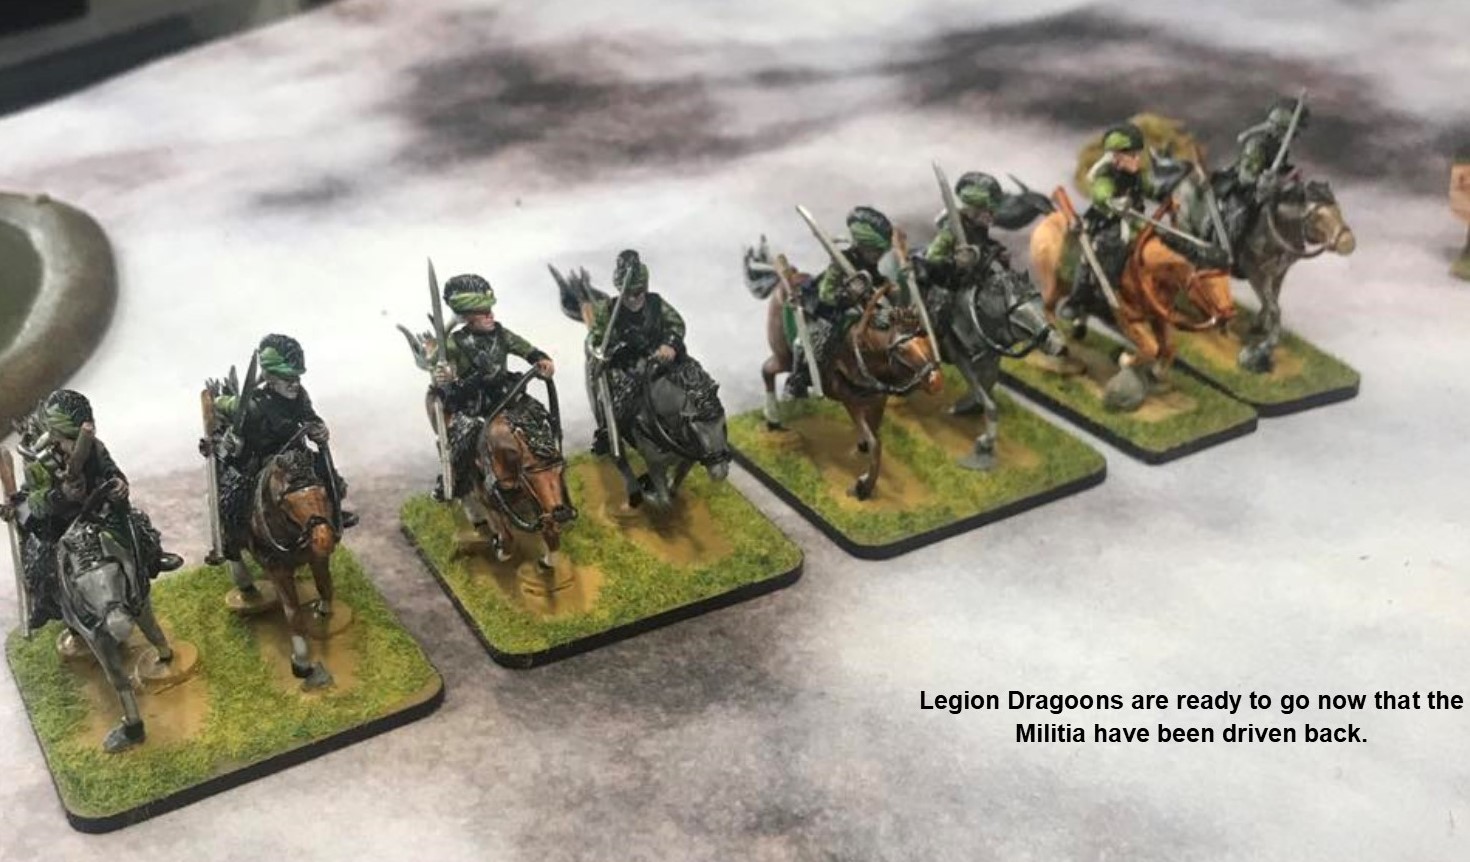
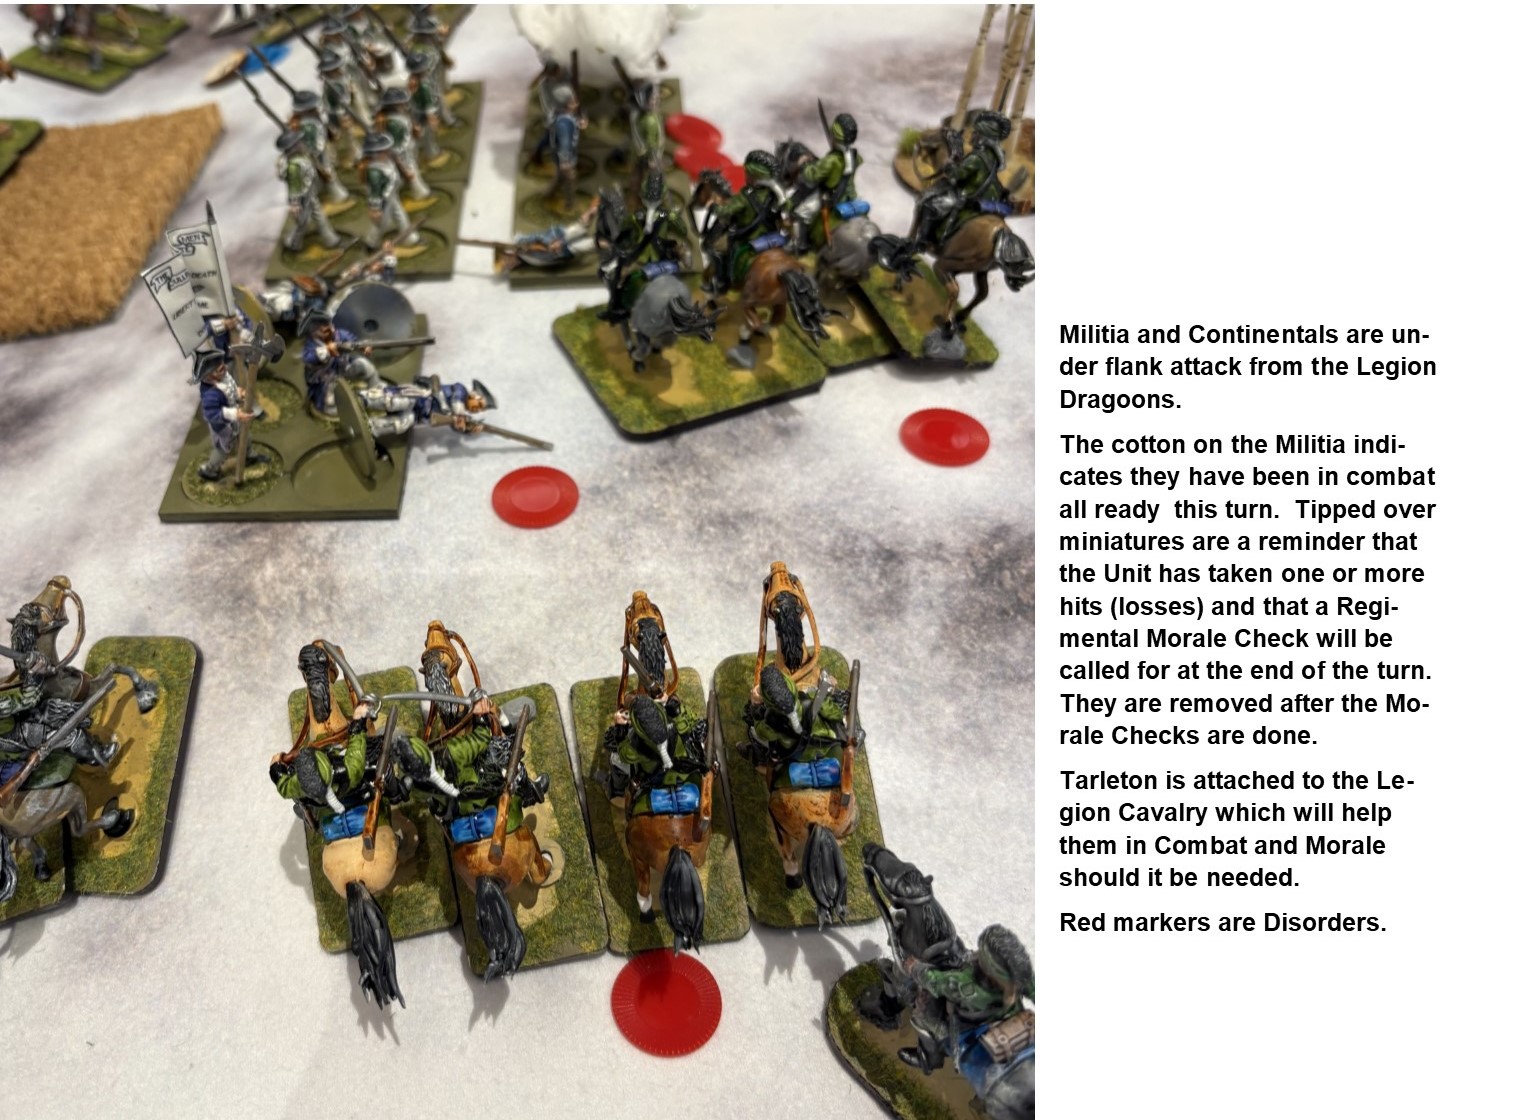
The battle of The Cowpens was possibly the turning point of the American War of Independence. It pitted the seasoned American general Daniel Morgan against the British commander Banastre Tarleton. This battle saw Morgan handle the Militia in layers that allowed them to fight, fall back and fight again. These tactics would be adopted and used by general Nathaniel Greene at Guilford Courthouse later in the war.
I have been intrigued by this battle and have run it many times at conventions. I recall decades ago running it in 54mm scale use Charge at Fall In at the Eisenhower Hotel in Gettysburg. Now I figured given the scale, the game title and the nostalgia for old school rules it would be a hit. Sadly, no, as I recall I had a hard time even getting players. Ok move ahead in our Tardis to 2026. This year (spring) ran it at Havoc, Mayhem and Huzzah and you know what, little interest. I even canceled one at Huzzah due to only one player.
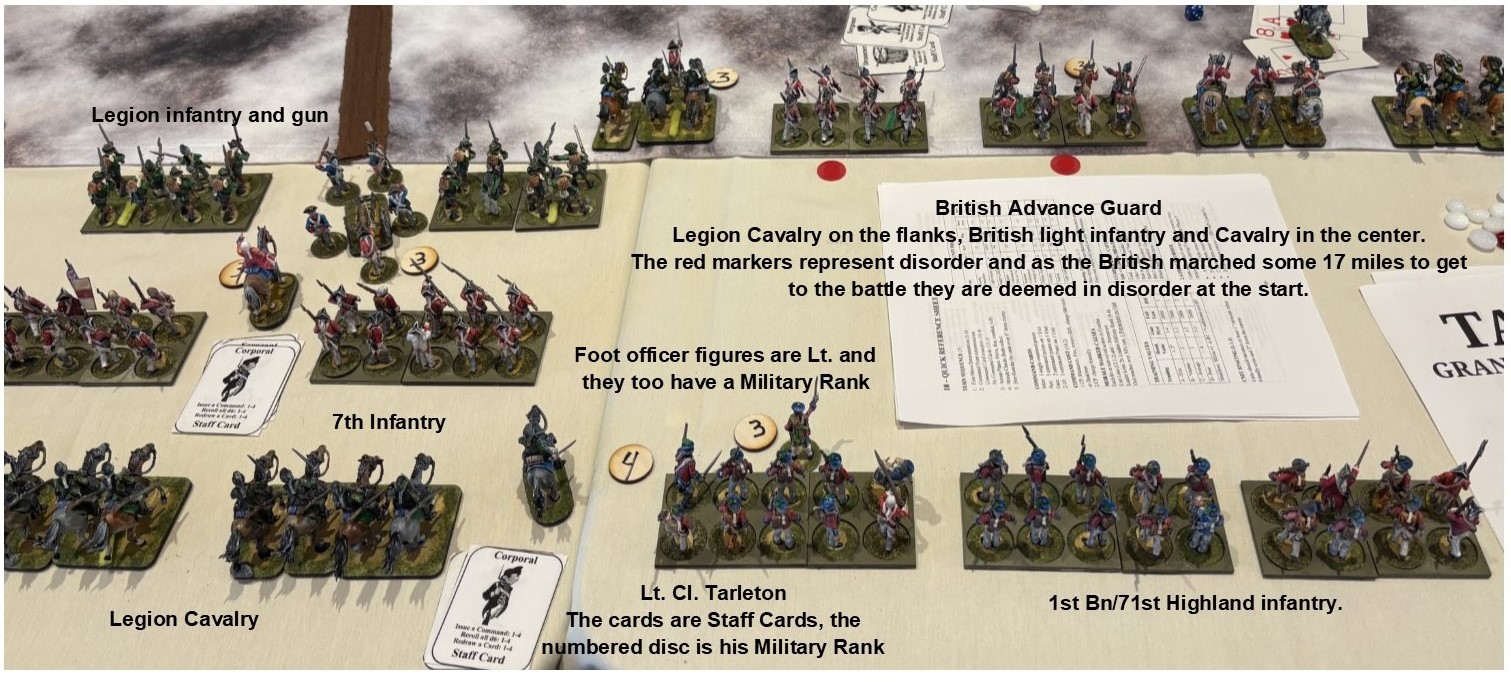
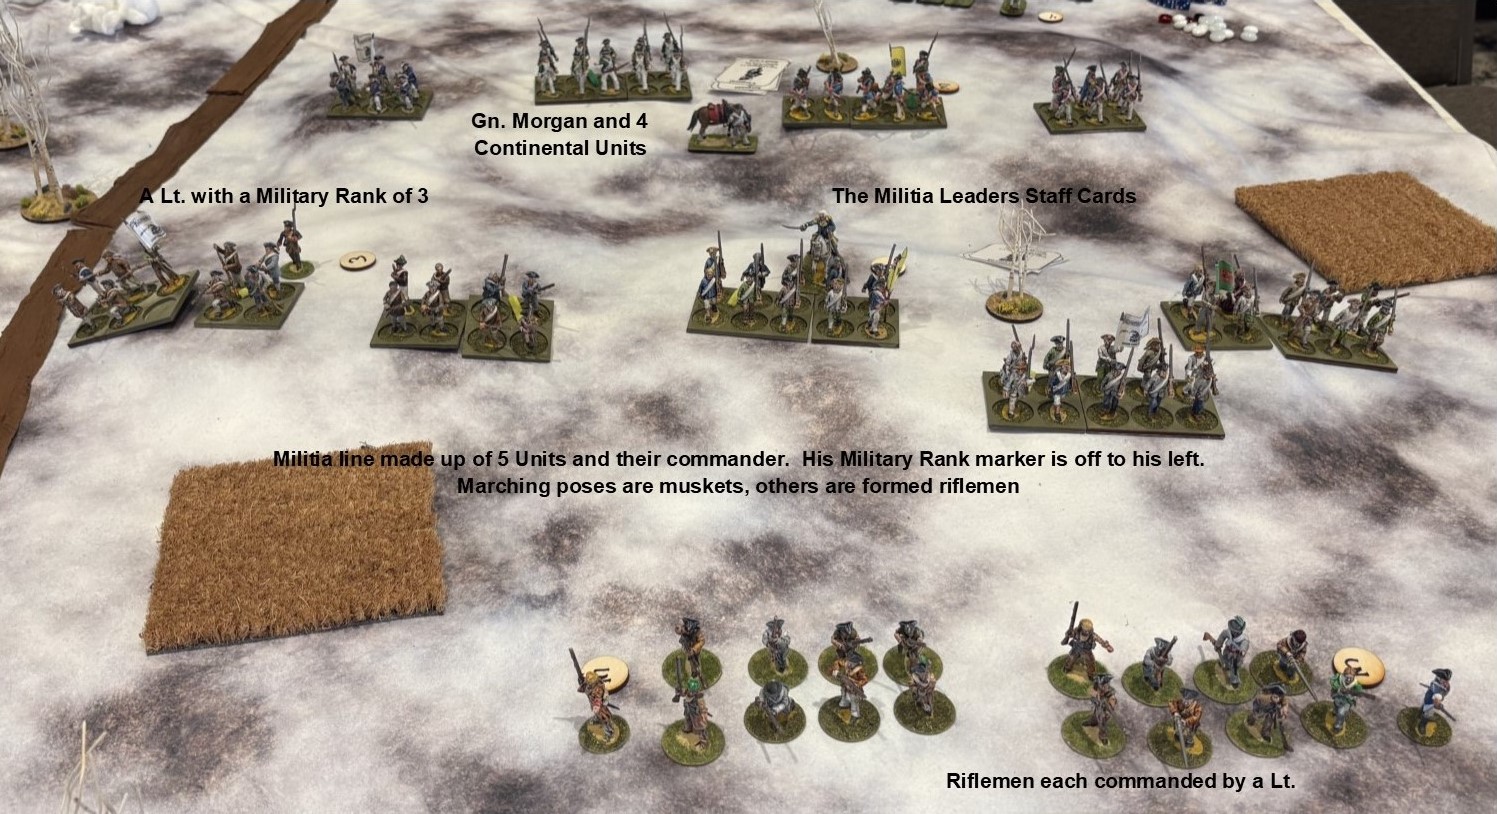
From a game master point of view, it is tricky. The width of the field is only around 500 yards, not very big and the depth isn’t that much deeper. Even though my Light Bobs ground scale (1″ = 10 to 12 yards) it was hard to get the troops on the table. Well enough of this part. I did have a few games and I even played in one as well. I present here more of a collage of pictures from two different games. I have placed them in chronological order and then added comments on each picture. The comments are mainly to help people understand the playing bits like cards and beads understand what they mean. Furthermore, it gives me another reason to show off my 40mm troops.