
Captain Smyth’s first march south nearly ended before it began. Outnumbered and caught in an ambush, his battalion would have to hold until reinforcements arrived.
For over a year, I have been researching how other online wargamers utilize the board game Chutes and Ladders as a solo or multiplayer campaign engine. I’ll share more on that journey in a future post.
Over this past July 4th weekend, I found myself with no work and no plans, so I decided to finally break out my campaign materials and spend the time working through the mechanics and fighting some battles.
First, I had to finish my prototype map. I had found several examples online from other gamers and, while I borrowed a few of their ideas, I ultimately customized my own to better suit the specific needs of a solo game of Light Bobs.

I want to digress for a moment to point out something I really noticed during these games. The combination of playing cards, Leader Skills, and randomized First Move Determination makes Light Bobs particularly well suited to solo play. I frequently found myself reacting to situations I had not planned or expected.
Over the weekend, I played two solo battles, both of which were quite close. I will report on the first engagement, which took place in the Mid-Atlantic states. As each theater of the war corresponds to specific army lists, the campaign follows a logical progression: Boston, the Mid-Atlantic states, Saratoga, the South and finally the Mid-Atlantic again.
Our hero, Captain Smyth, in command of the fictitious 1st battalion/250th Regiment, and his faithful Lieutenant Royce shipped out of Boston—the starting zone—and headed south toward New York. They rolled a 1 on the Battle Board, which sent them much further ahead than expected. We cannot disclose where Smyth’s battalion was put ashore, as that remains a secret; however, once they landed, they began their march south. They performed so well that a unit of Tory Militia joined them, adding another 60 men to their ranks.
Almost immediately, Captain Smyth entered a Battle Box and encountered an ambush. For my scenario battles, I borrowed lightly from the excellent rules by Neal Thomas titled “One Hour Wargames.” Captain Smyth was significantly outnumbered, facing a battalion led by a Military Rank 4 leader with 400 men under his command. Smyth, with a Military Rank of 3, had only 300 regulars and 60 Tory Militia. While it looked like a fair fight on paper, it was anything but—as I said, it was an ambush.
Unaware of the impending conflict, Captain Smyth had bivouacked in a secure position but left artillery and some German Jägers to guard the pass. The engagement began at dawn when the two Units were roused by sudden rifle fire from their front.
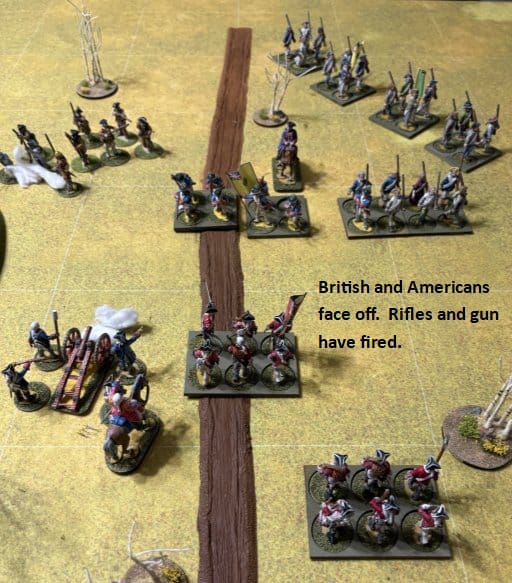
Although Lieutenant Royce immediately called for reinforcements, he knew they wouldn’t arrive for at least three turns. As the morning sun rose, he watched as six Colonial units began their slow, deliberate march onto the table.
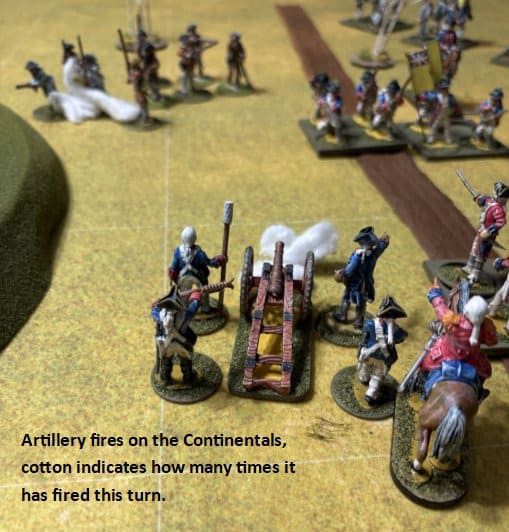
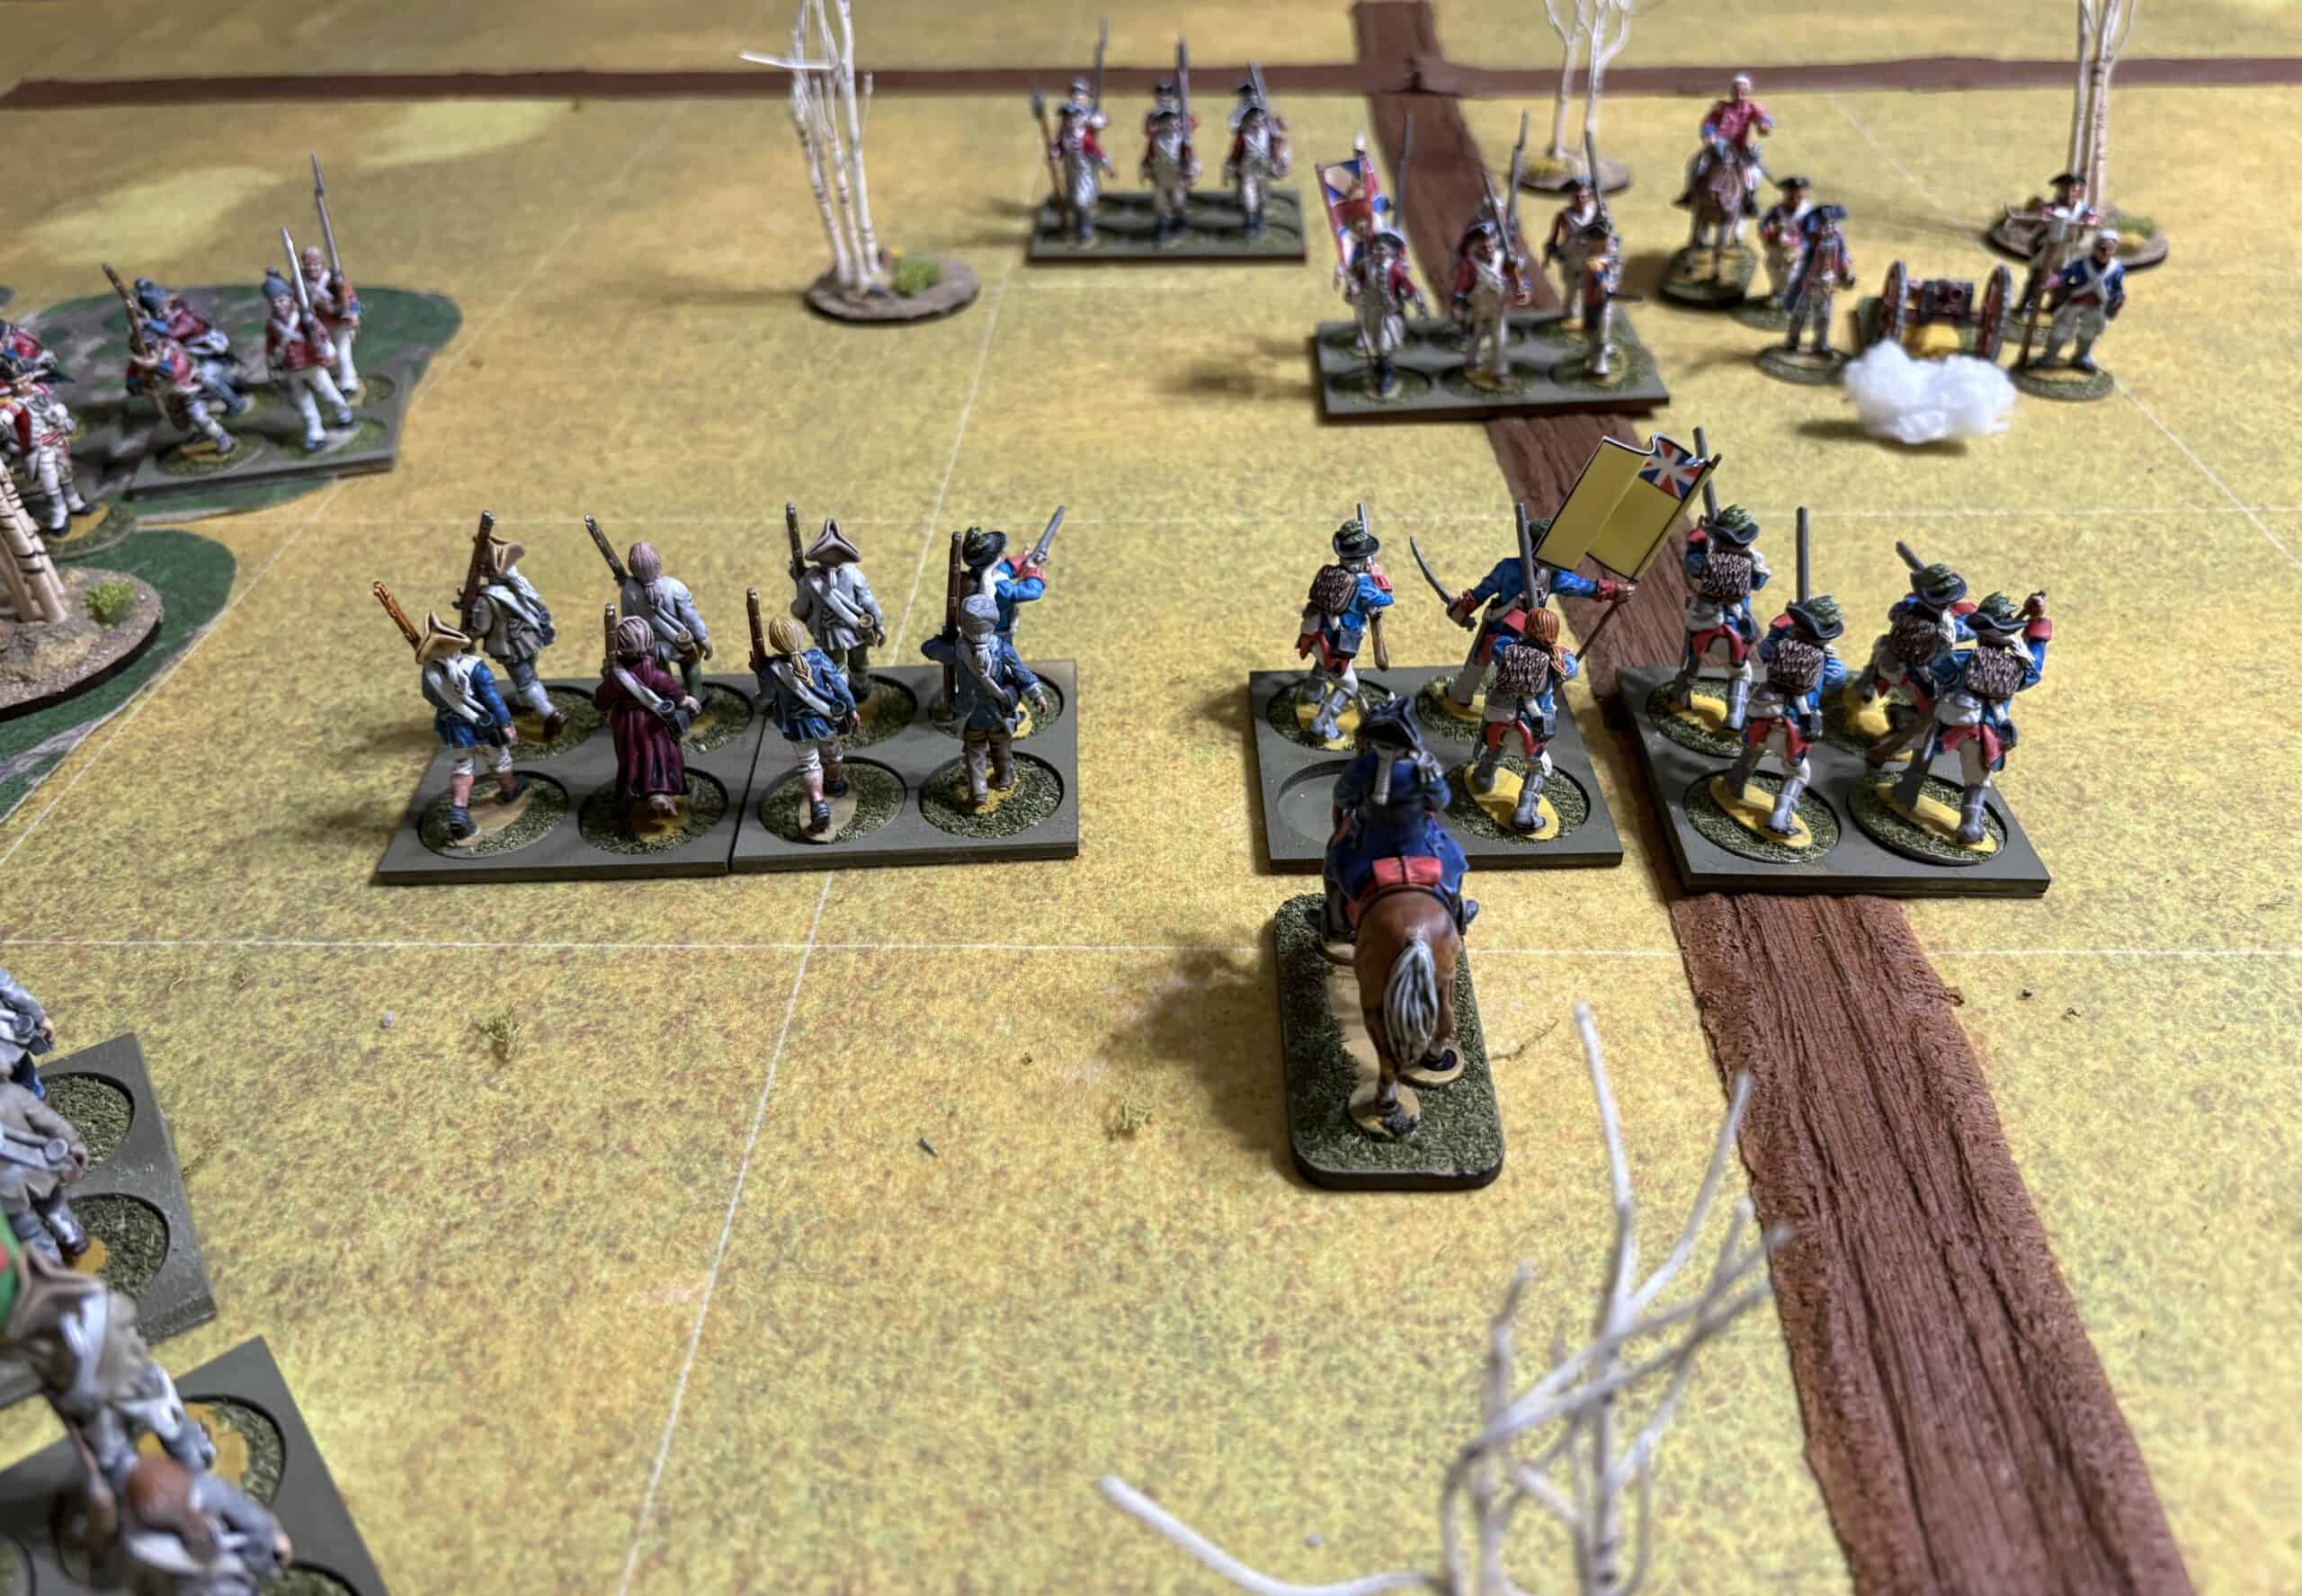
Royce had positioned his troops between a hill on the left and a woods on the right, providing a clear field of fire. He quickly deployed the artillery to cover the road, placing the Jägers to the gun’s right with the intention that they could retreat into the woods to protect the flank if necessary. To bolster their defensive fire, Royce attached himself directly to the artillery. Advancing against them was a confident formation of American riflemen and Continental infantry.
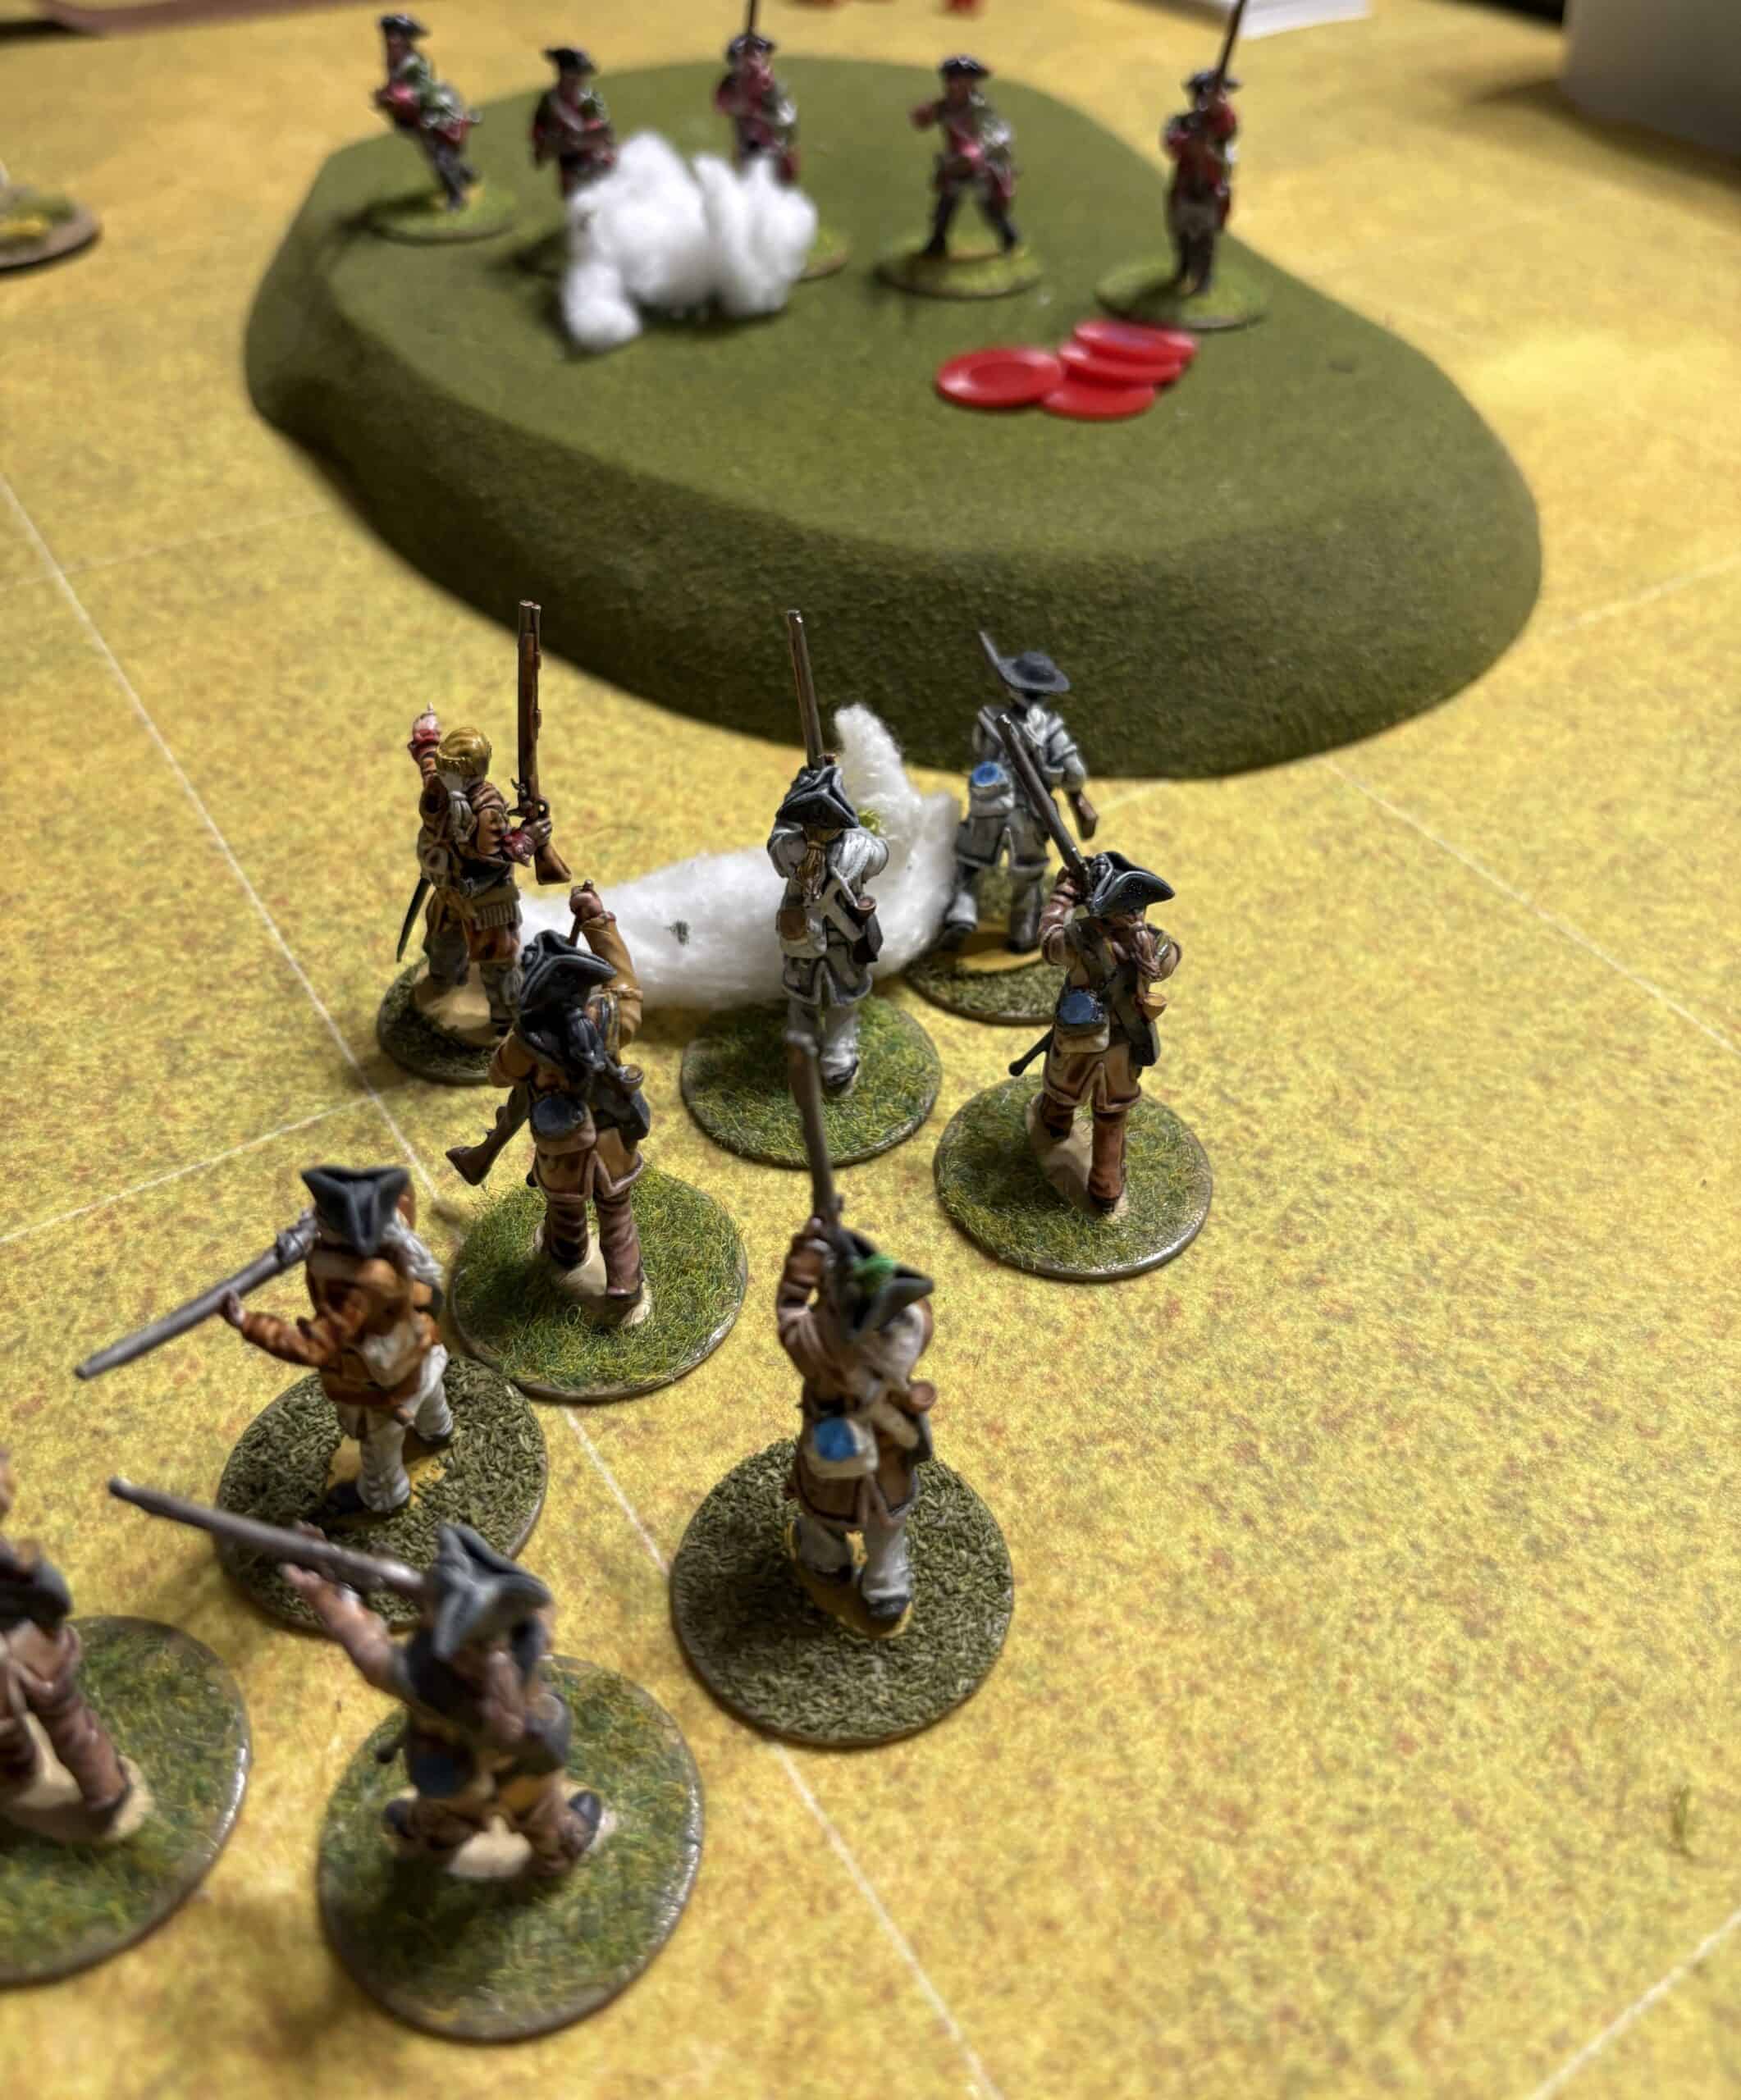
For the first turn, the riflemen and Jägers traded fire, with the rifles gaining the upper hand. The American riflemen were a specialized elite unit, granting them two extra combat dice, but the Jägers held their ground despite the heavy incoming fire.
The artillery opened the action. Although the Jägers took another casualty, their status as skirmishers meant they didn’t trigger a battalion Morale Check, allowing them to hold the line. They successfully drew the rifle fire away from the gun crew. Suddenly, the sound of drums echoed from the rear. British reinforcements were arriving.
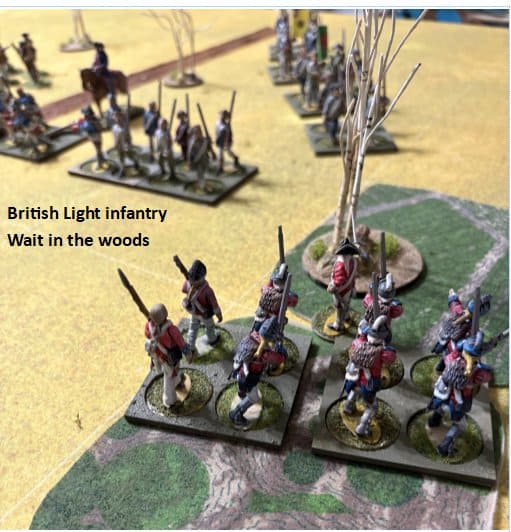
The next turn, the British managed to secure the first move, and a very welcome unit of Light Infantry marched onto the field, accompanied by Captain Smyth—much to Lieutenant Royce’s relief.
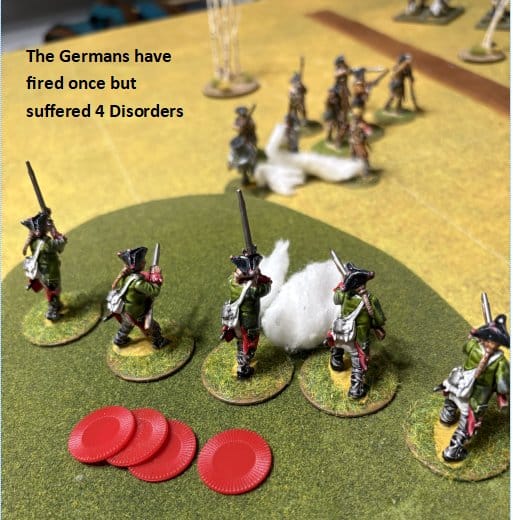
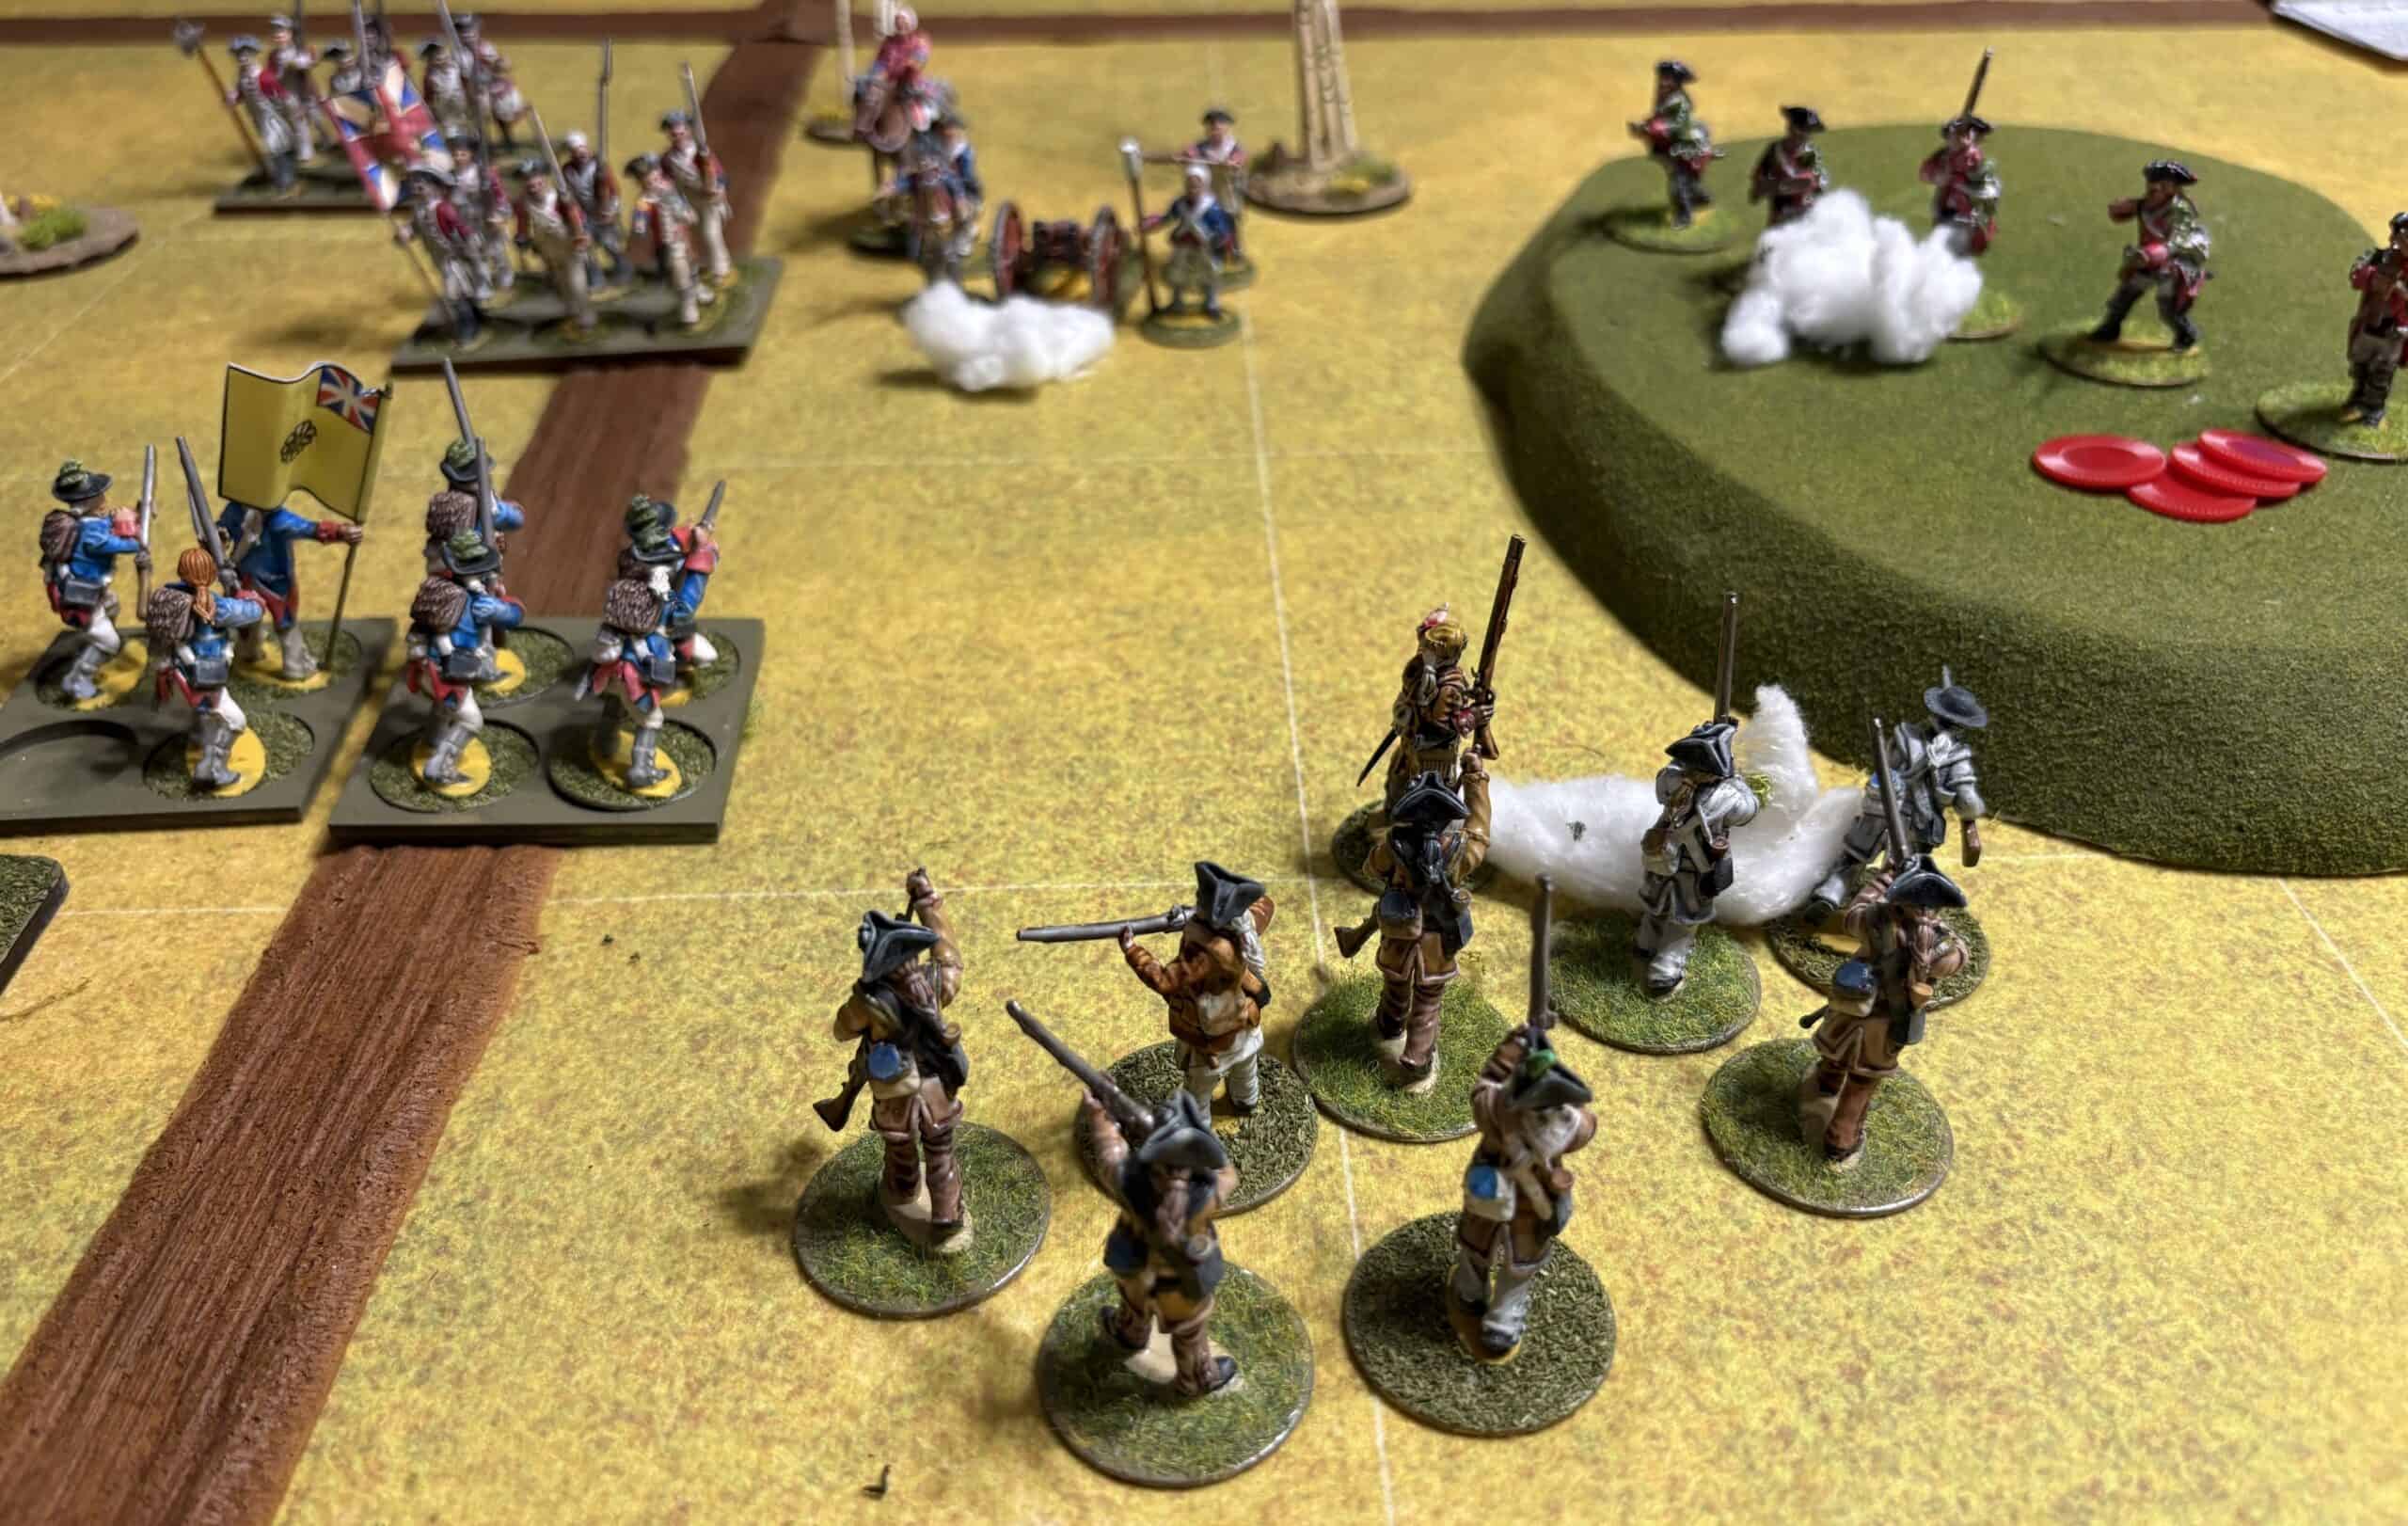
Captain Smyth possessed a unique trait developed over his years of service; he was known as “The Tactician”, which granted him a +1 bonus to his card draw for First Move Determination. With the arrival of the Light Infantry, he played an Ace on the Jägers, granting them three Command Points. They used two to maneuver behind the gun and in front of the Light Infantry, taking up a strong position on the hill to the left of the artillery. They spent the last Command Point of the Ace to remove 1 Disorder.
From this vantage point, they engaged the American riflemen at close range, slowly whittling them down. In one of the photos, you can see them marked with four red disorder tokens, indicating they were “spent” for part of the turn. Meanwhile, the Light Infantry held the center.
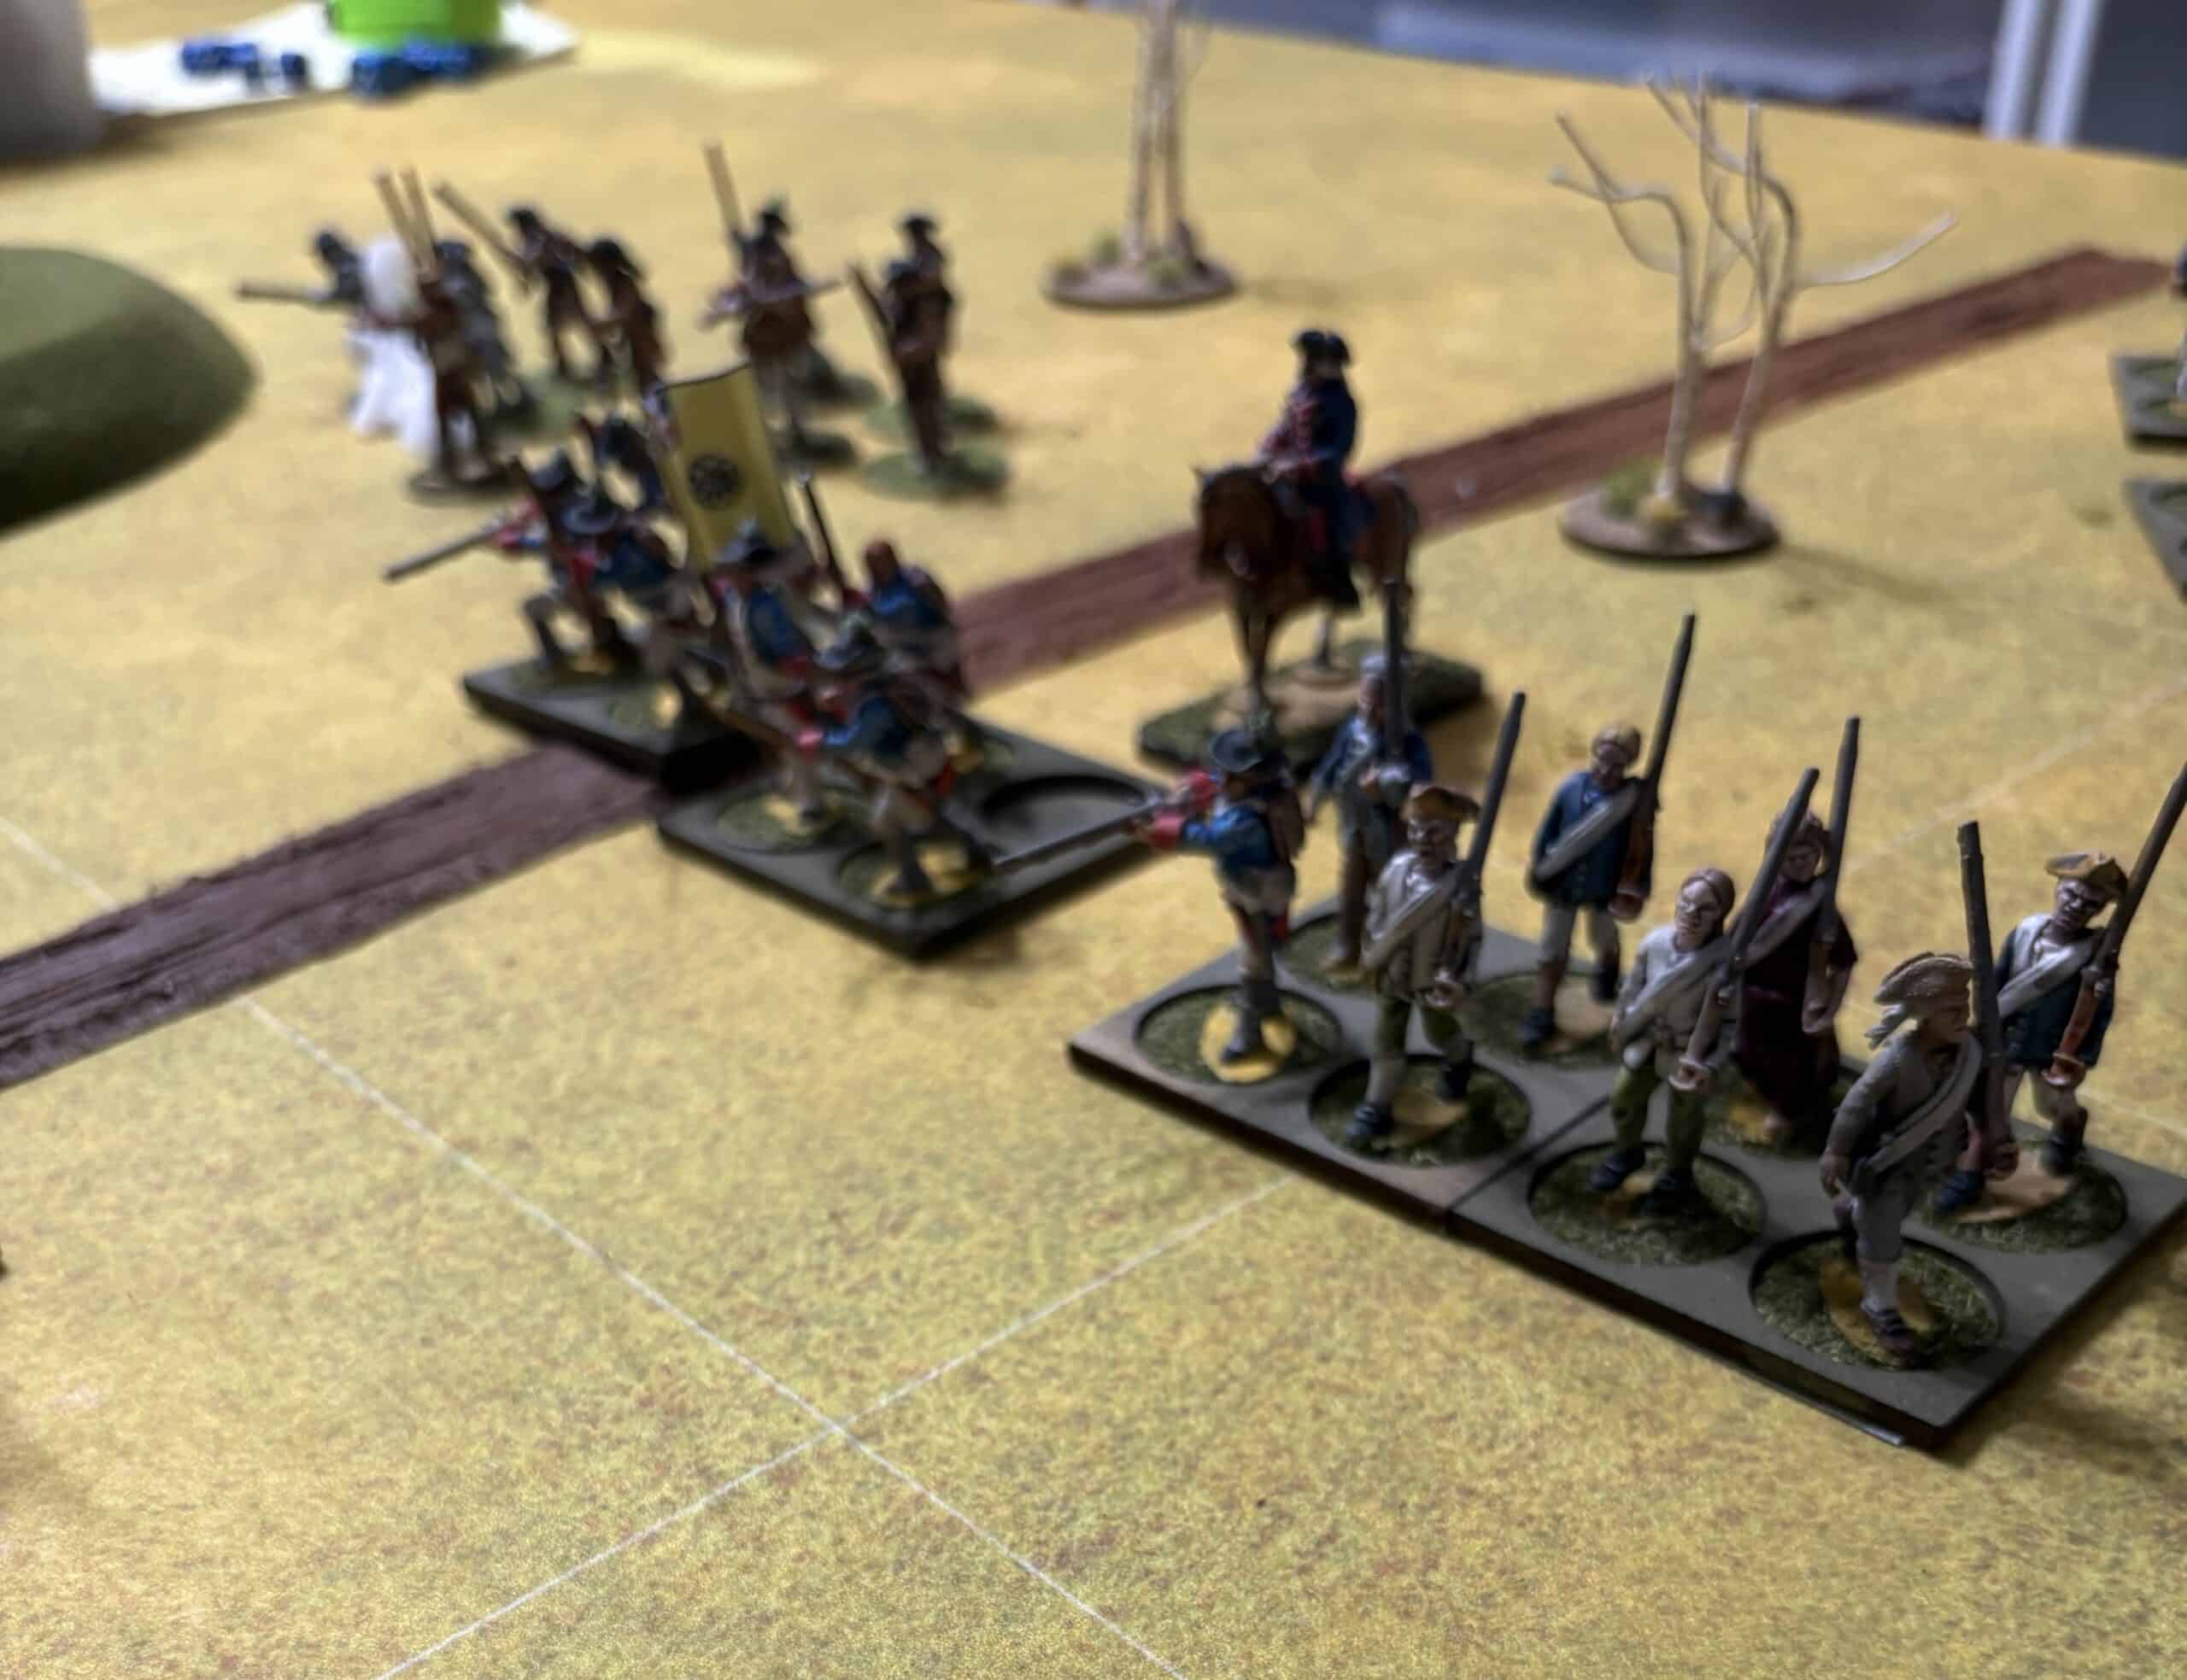
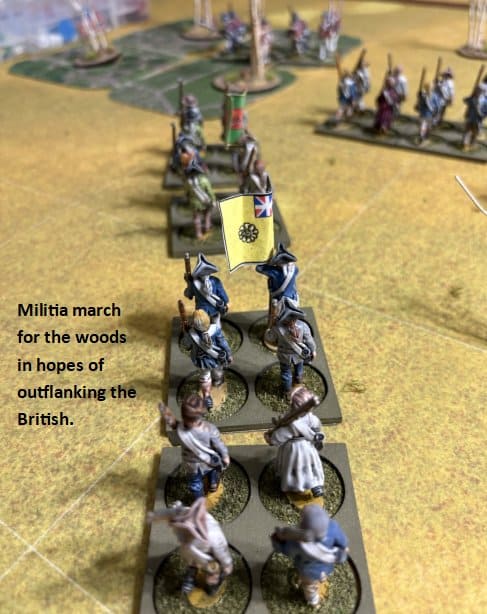
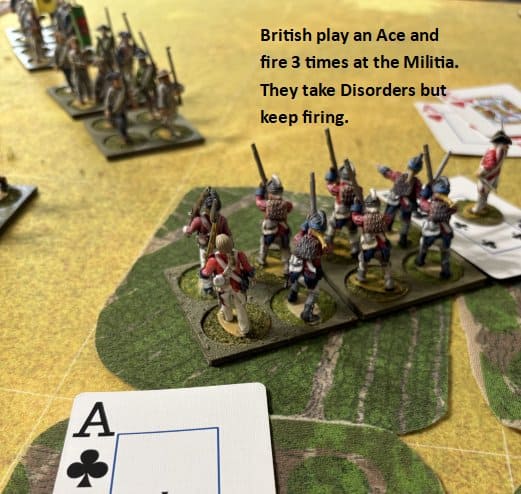
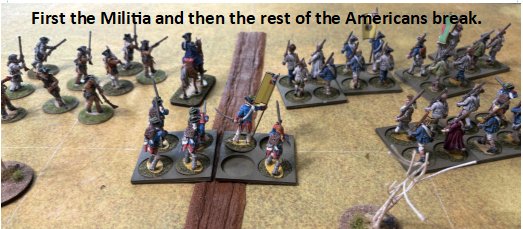
As the remaining American forces entered the board, two British Line Infantry units arrived to relieve the Light Infantry. In the distance, Captain Smyth spotted a long column of rebels marching toward the woods on his right flank. Playing another Ace on the Light Infantry, Captain Smyth maneuvered them into position to fire twice on the rebel militia column. This triggered a battalion morale check, which the militia failed spectacularly; they broke formation and fled to the rear. The rout was so decisive that the entire American force, seeing their left flank collapse, retreated from the field. It was a job well done by Captain Smyth and Lieutenant Royce.
The final picture shows him drawing a promotion card. He needed a 4 or better, and a 10 was well deserved. He was promoted to Military Rank 4, Lieutenant Colonel and his battalion was reinforced to 400 regulars plus the 60 Tory militia. With his forces bolstered, he continues his march toward New York.

To be continued.
One Reply to “Light Bobs Solo Campaign: Part 1 – The Ambush”